
Scheduling Timesheets
This tutorial guides you through managing timesheets in a scheduling syste
Go to app.office1solution.com
1. Introduction
You will learn how to filter, edit, add, and save timesheet entries effectively.
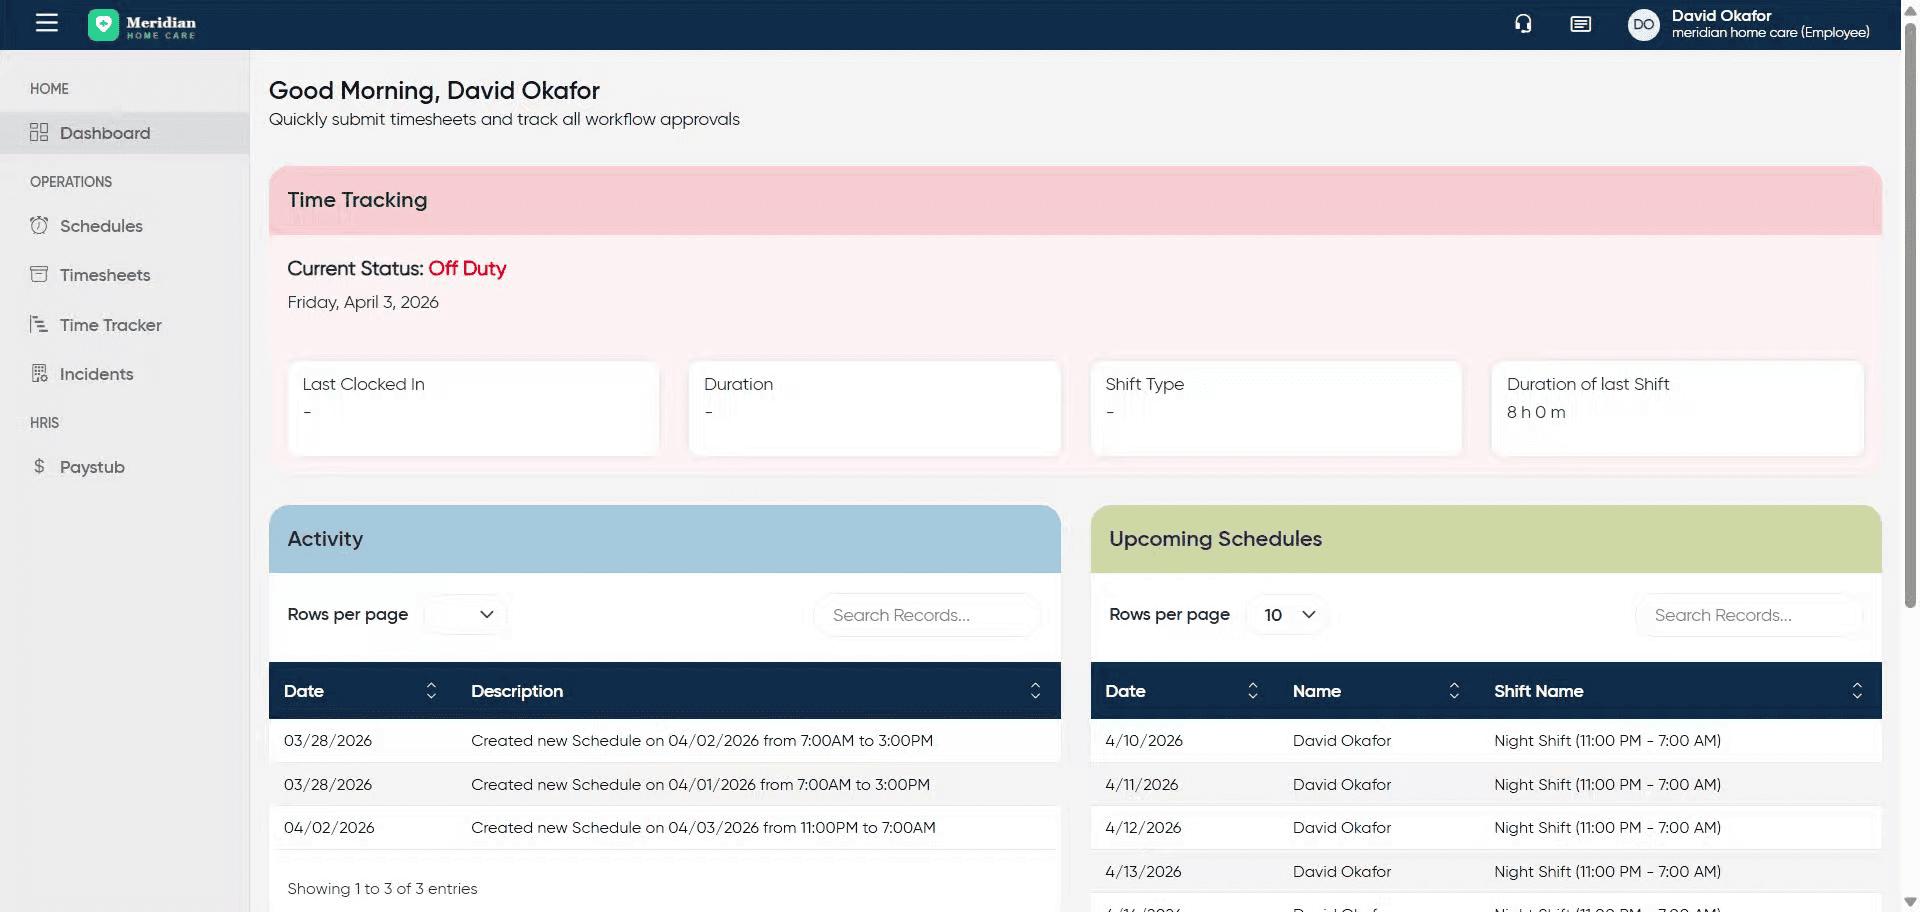
2. Access Timesheets Section
Click the Timesheets section to view your timesheet records.
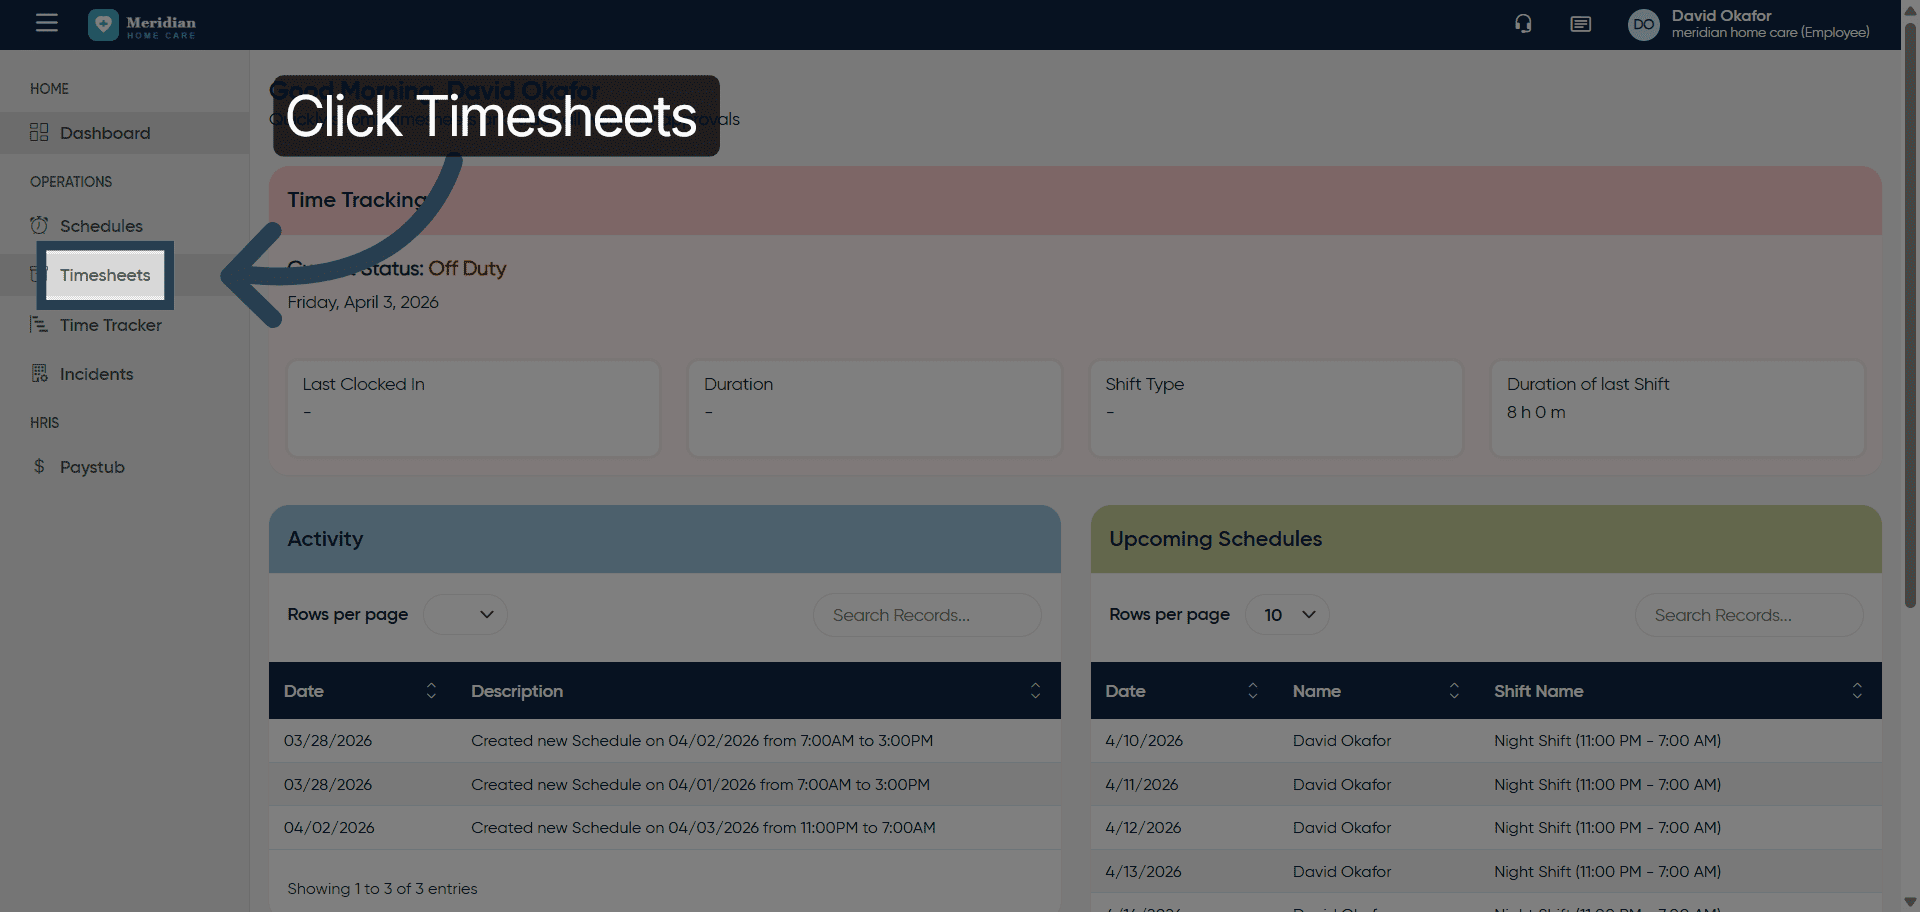
3. Open Start Date Filter
Click the Start Date field to specify the date range for filtering timesheets.
4. Set Filter Start Date
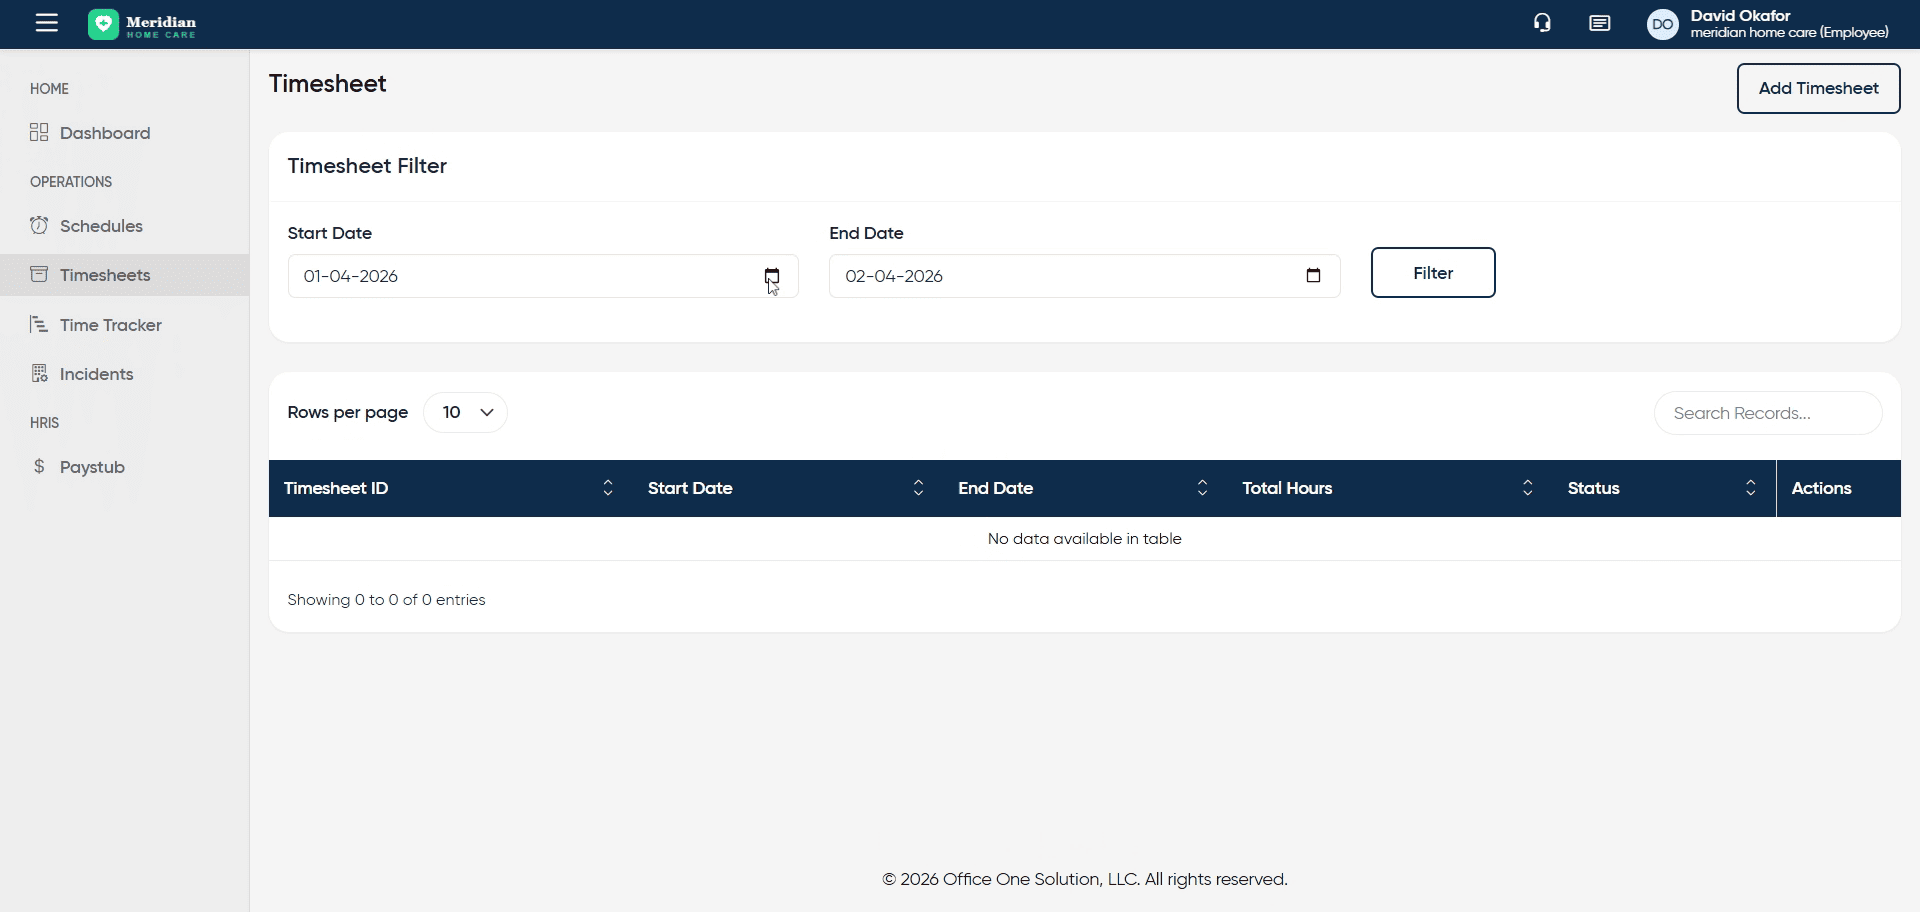
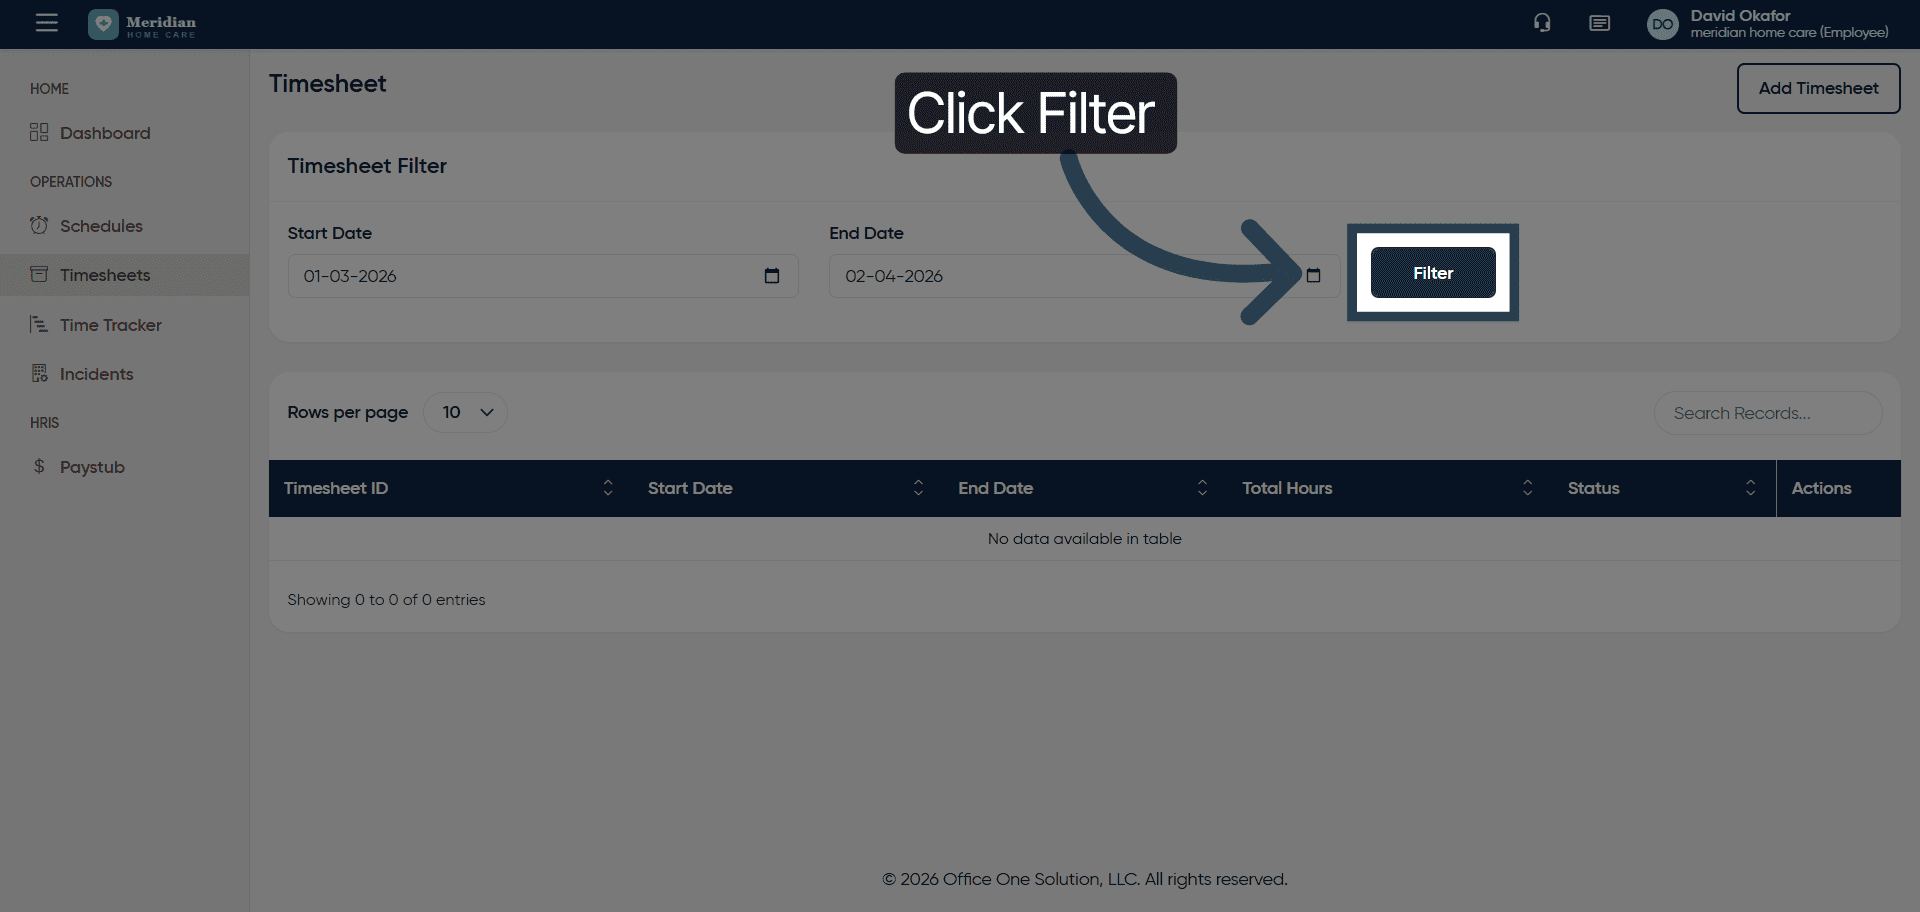
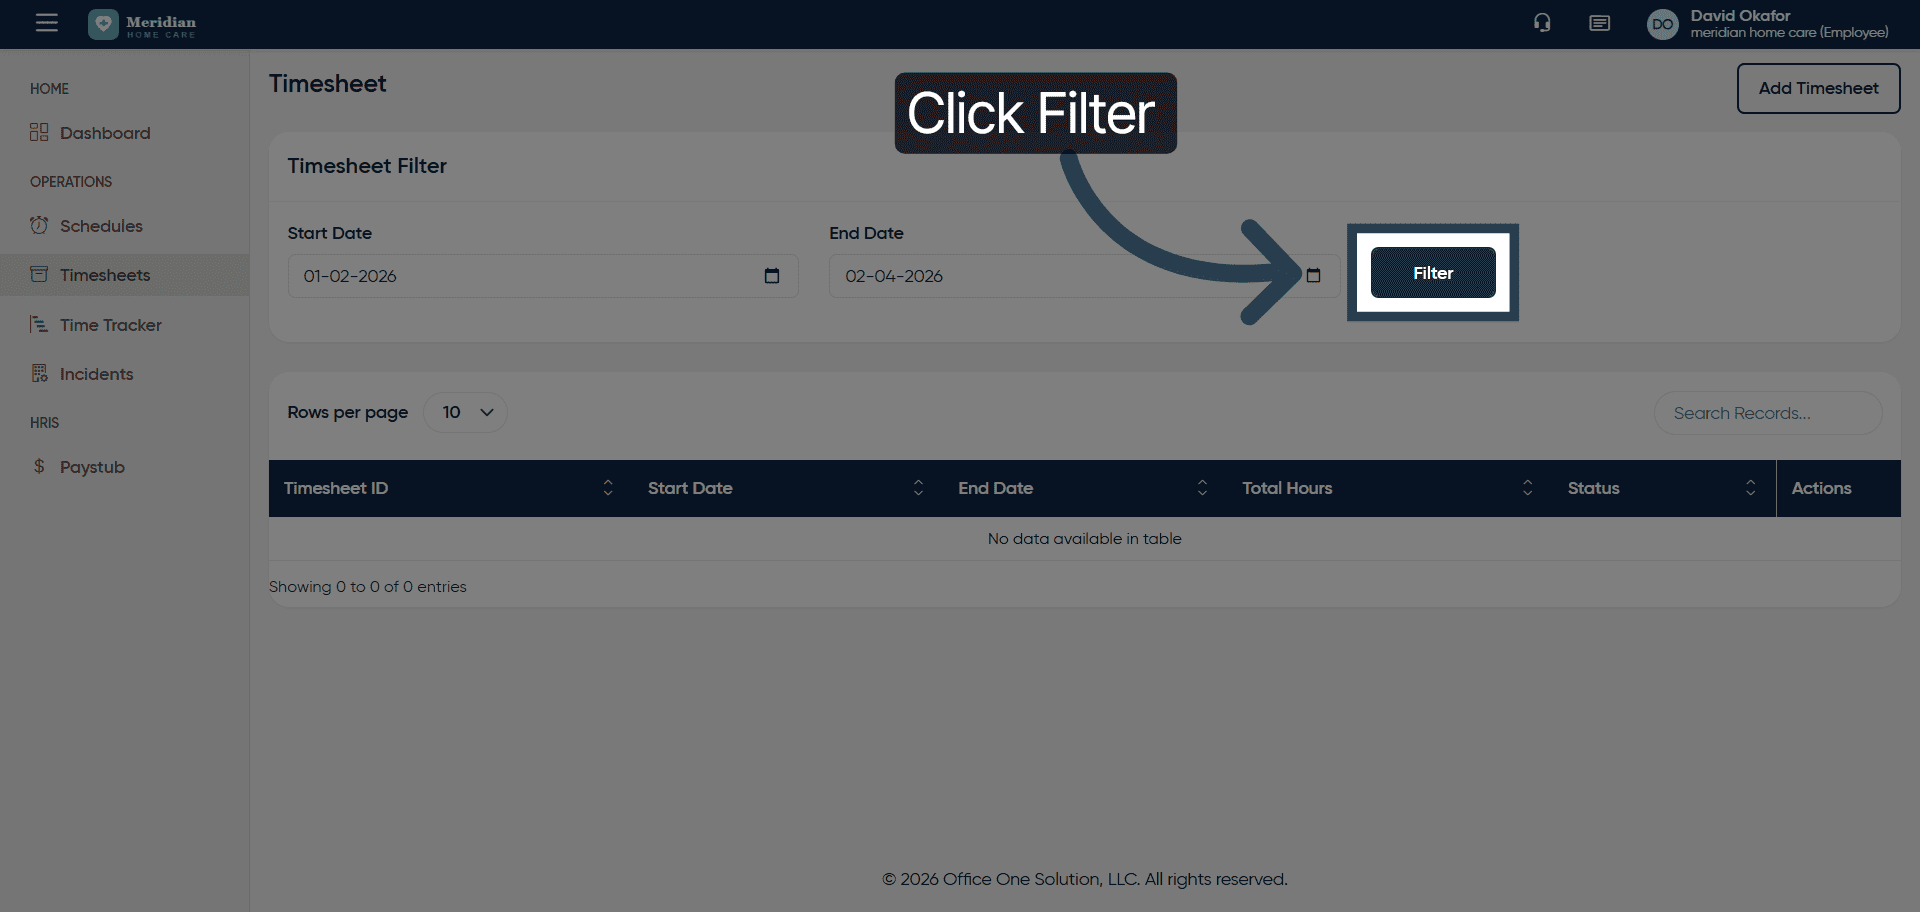
5. Apply Timesheet Filter
Click the Filter button to apply the date filter and display relevant timesheets.
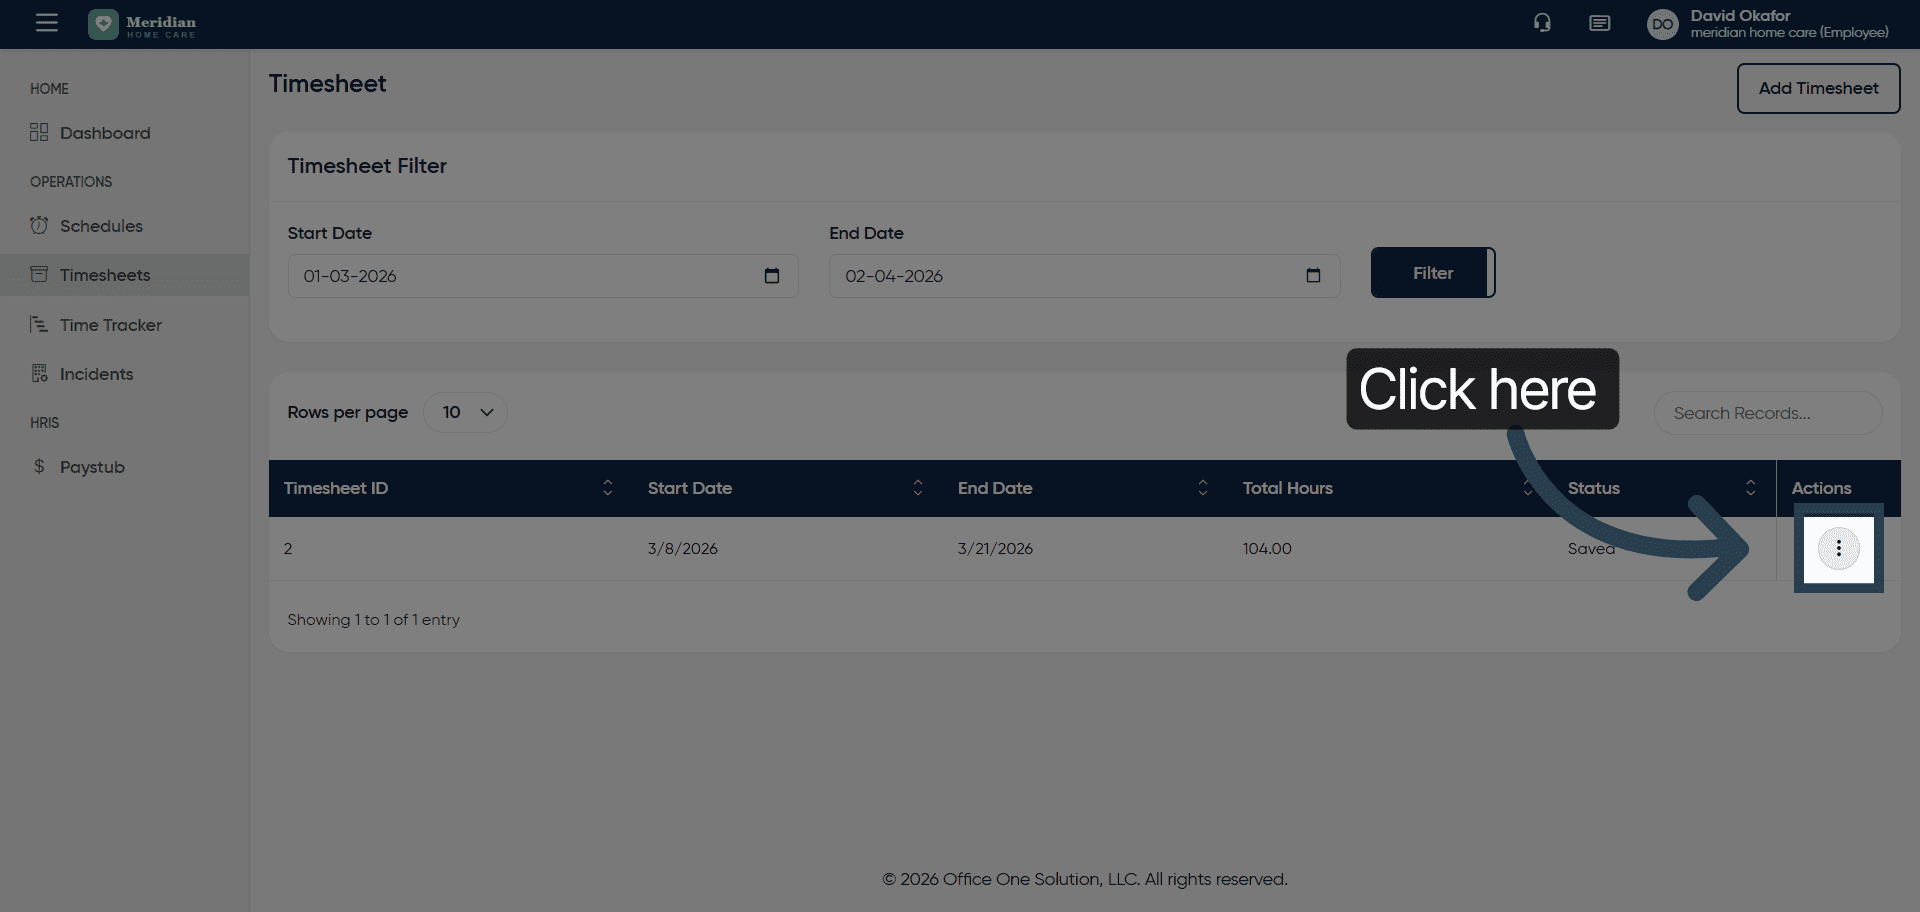
6. Select Timesheet Entry
Click here to select the timesheet entry you want to modify.
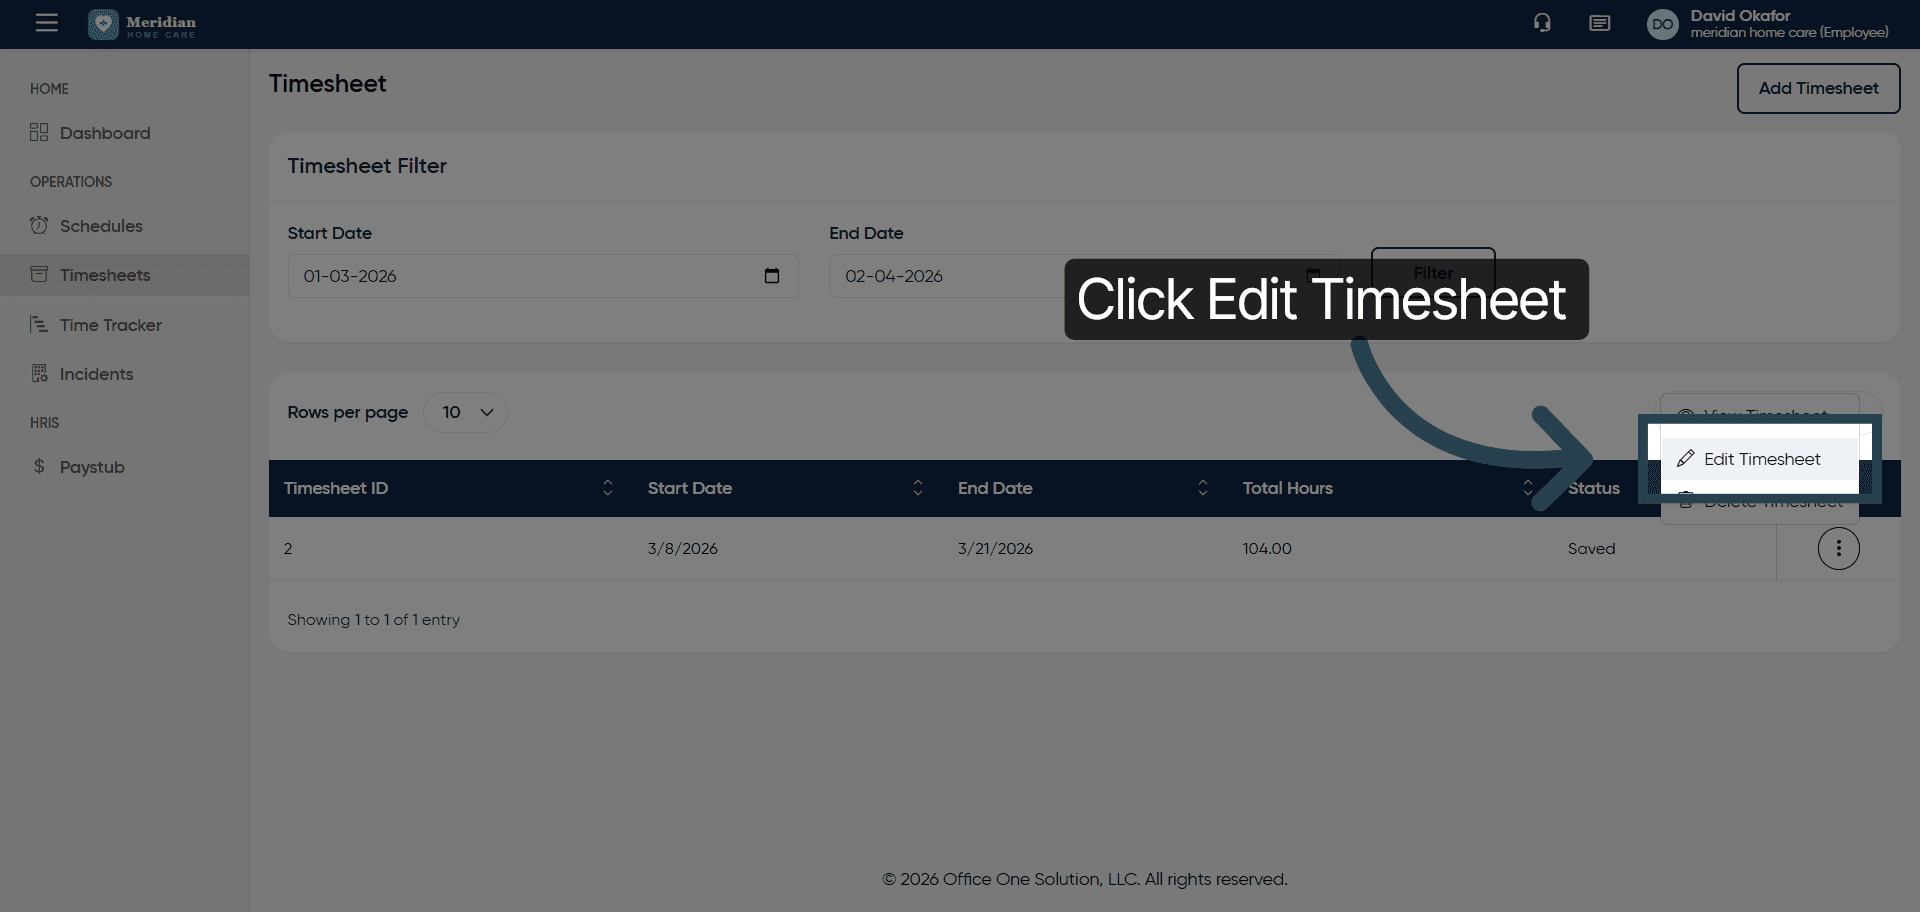
7. Open Timesheet For Editing
Click Edit Timesheet to modify the selected timesheet details.
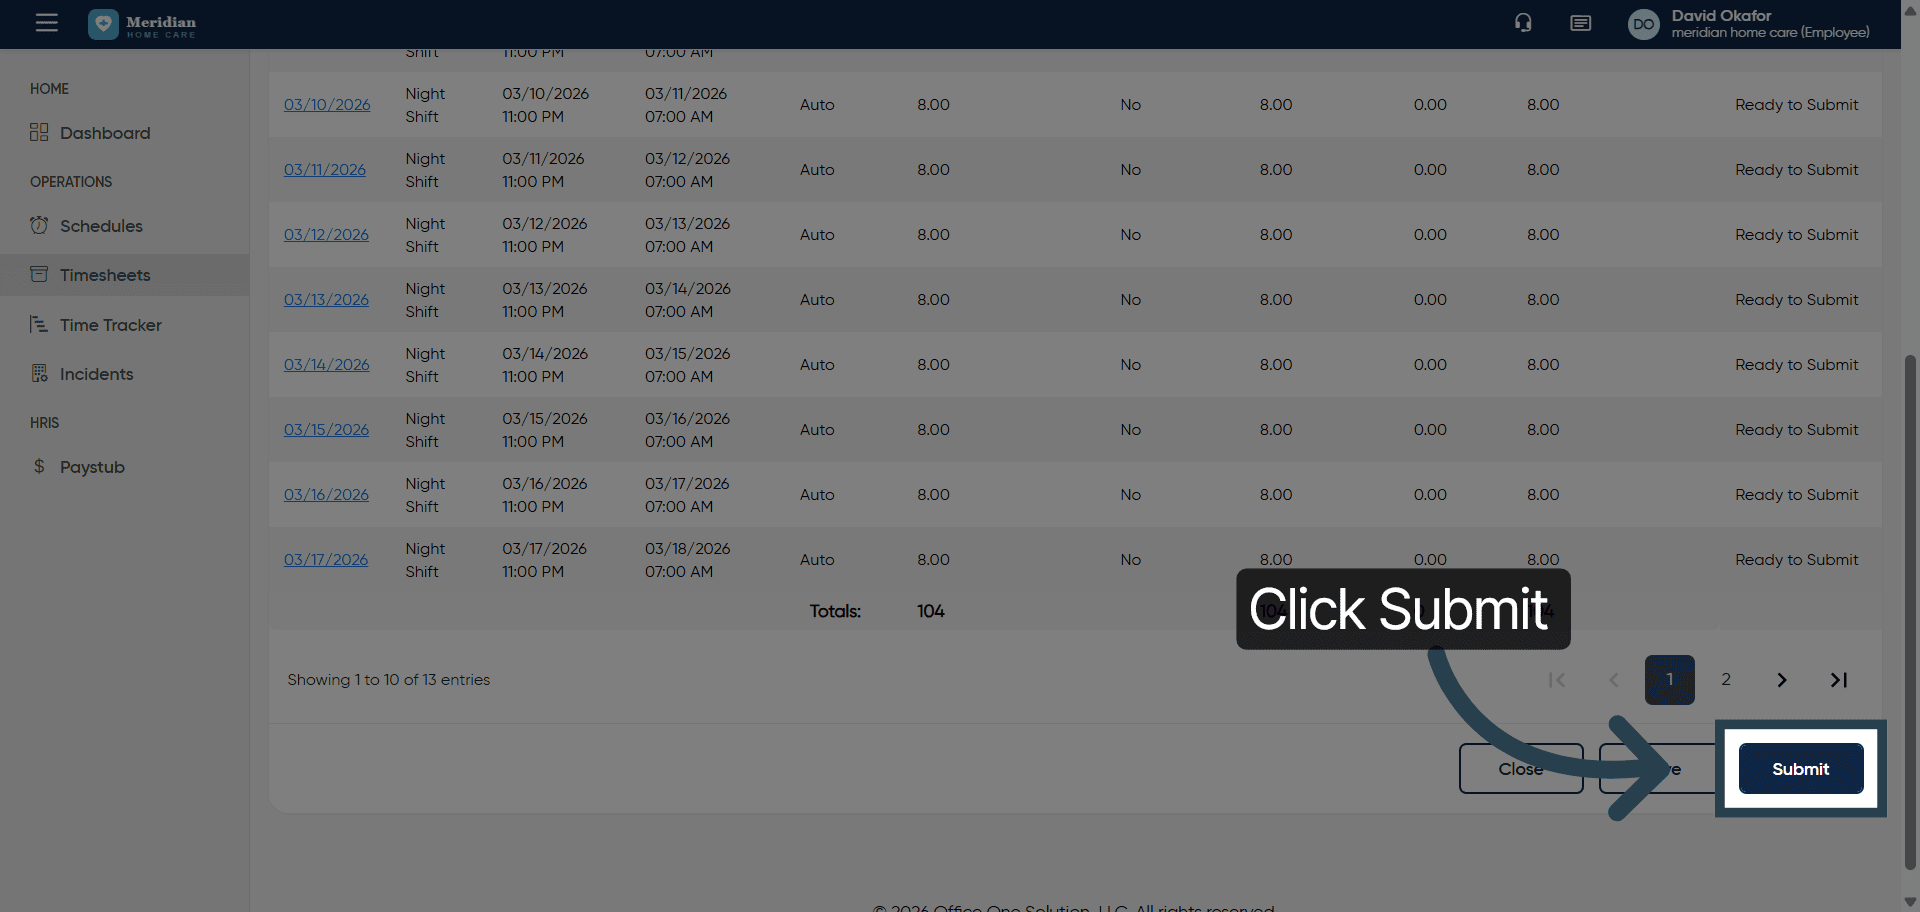
8. Submit Timesheet Changes
Click the Submit button to save and submit your timesheet updates.
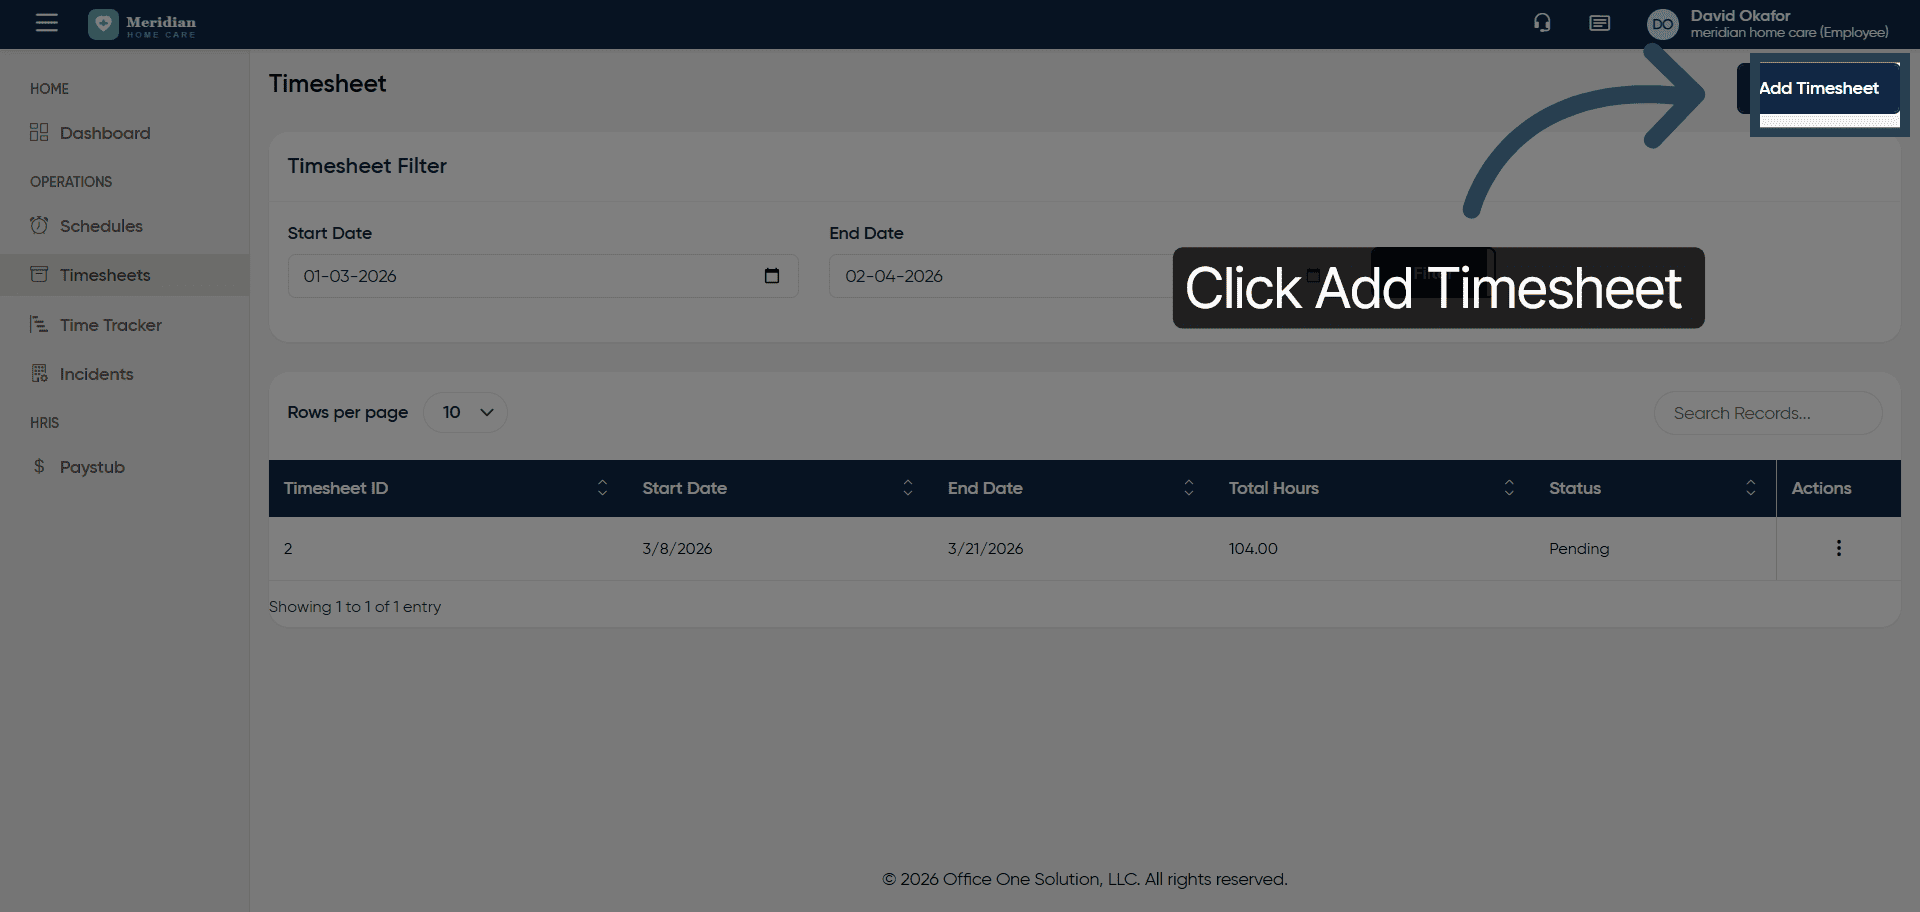
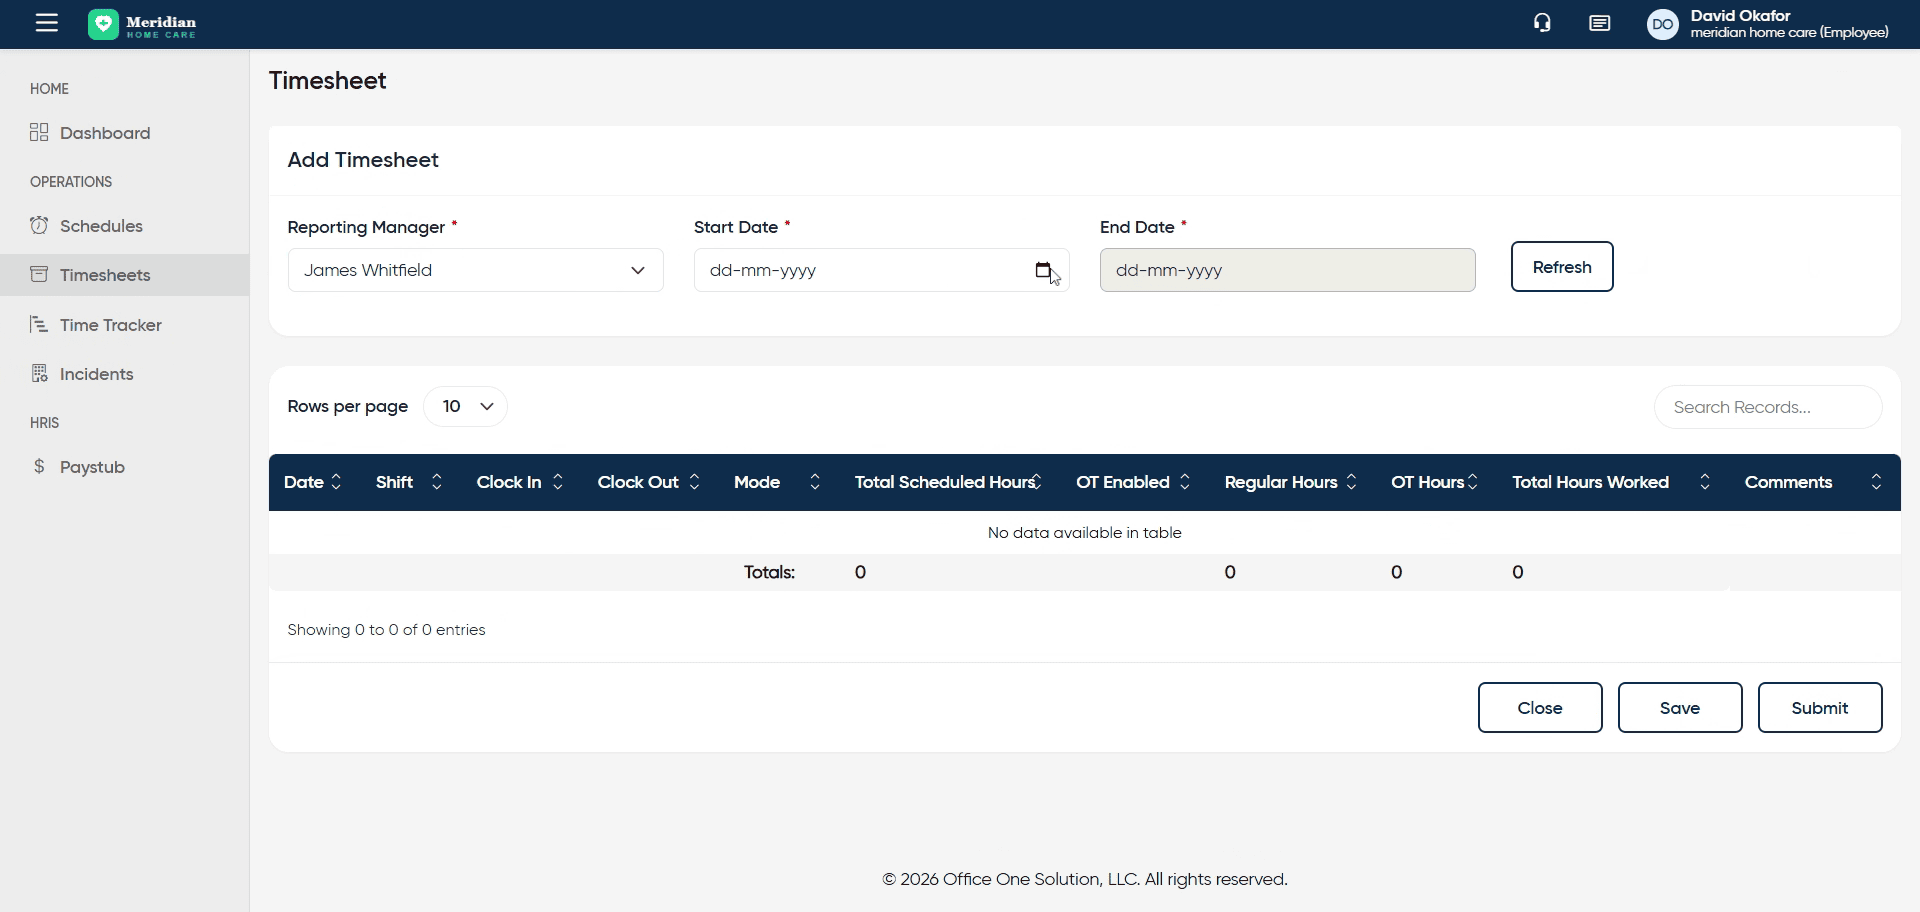
9. Initiate New Timesheet
Click Add Timesheet to begin creating a new timesheet entry.
10. Select Employee For Timesheet
Fill the required details and fetch the results
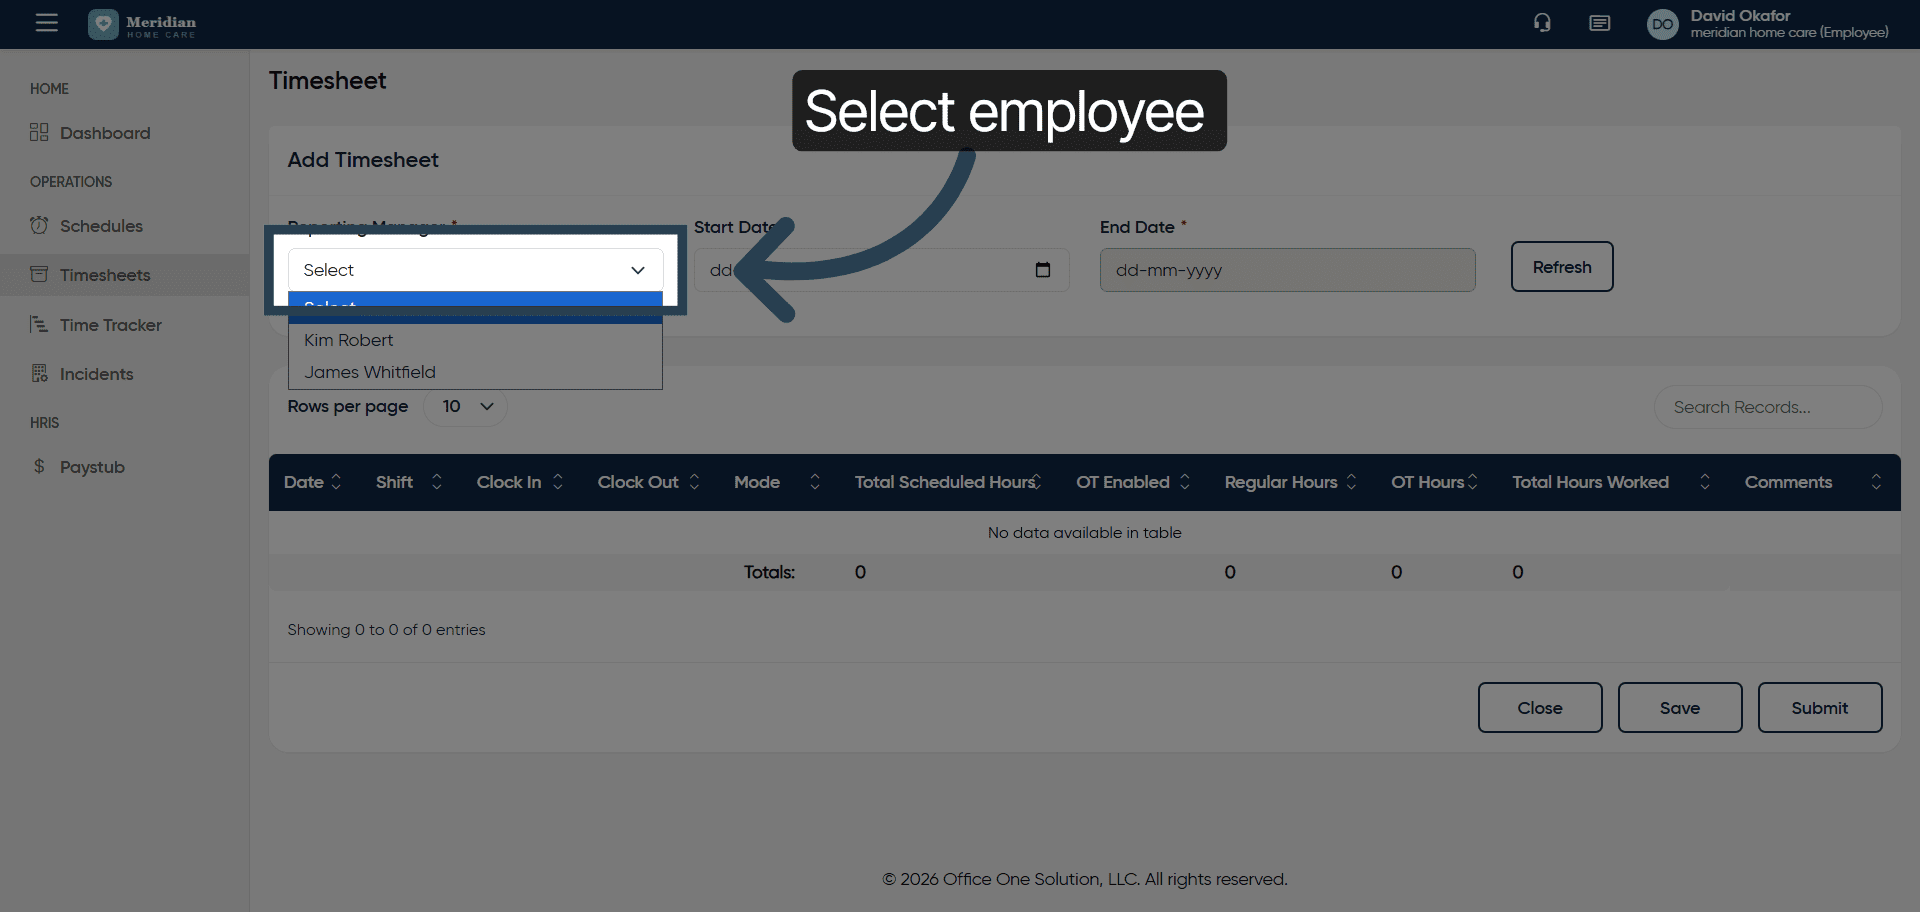
11. Confirm Employee Selection
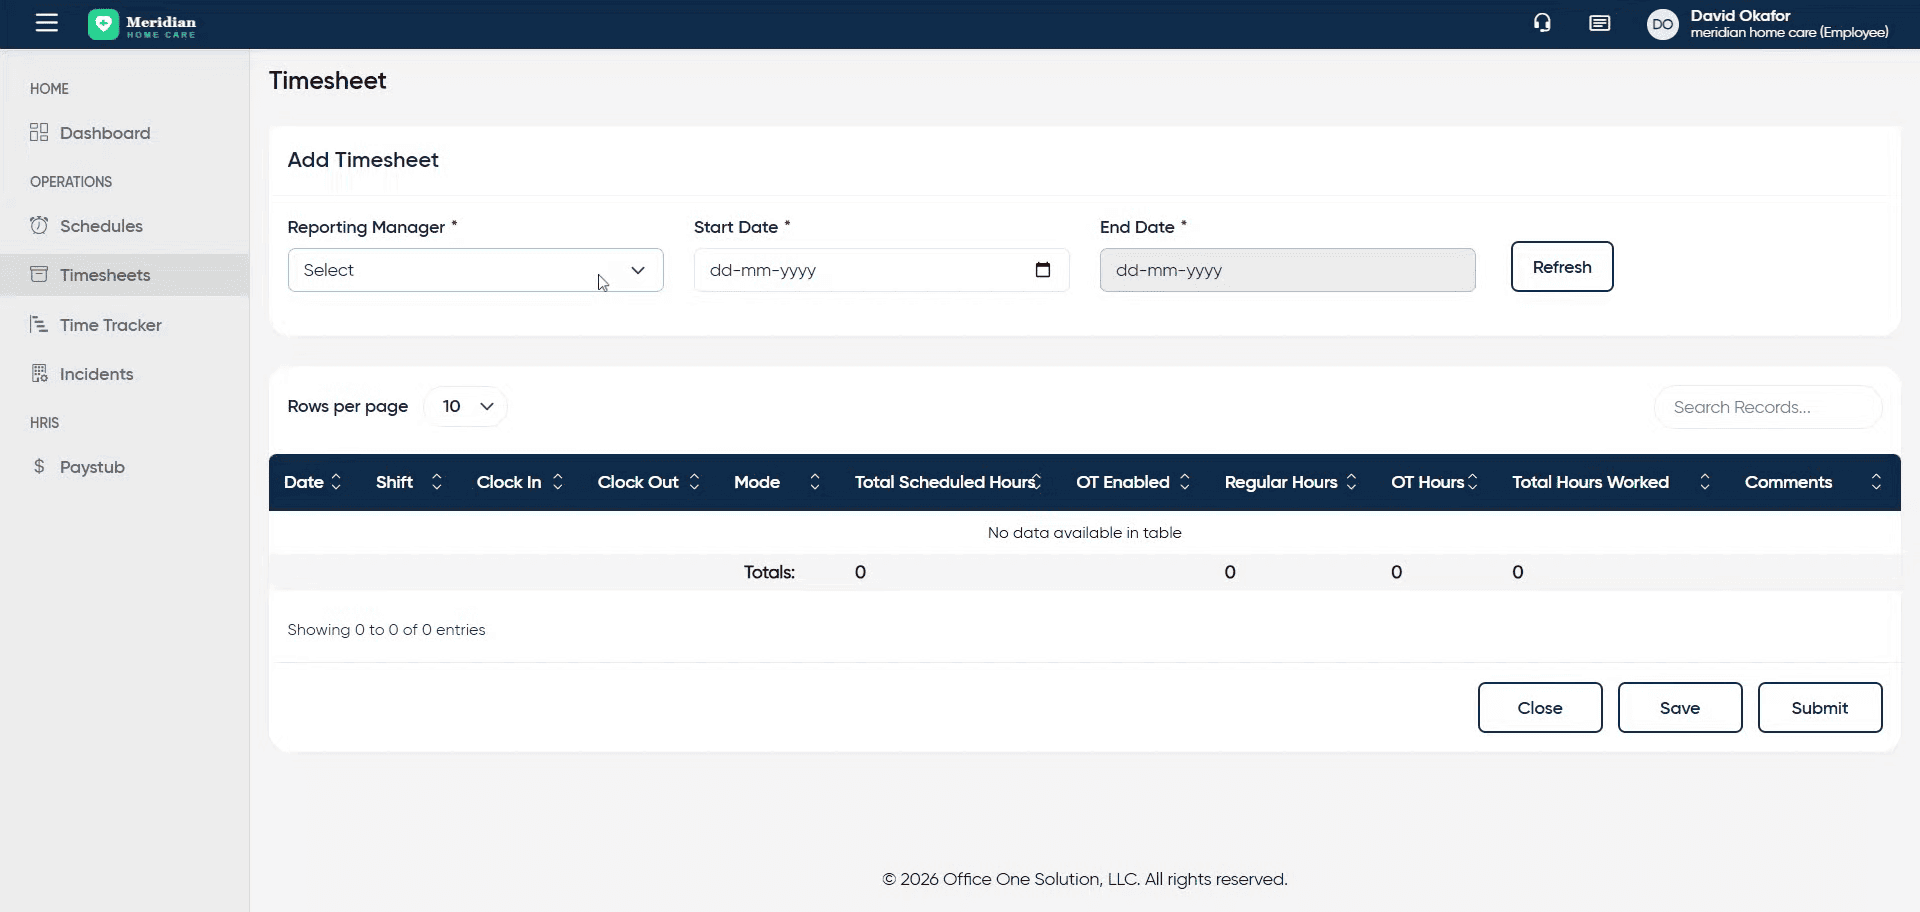
12. Proceed To Timesheet Details
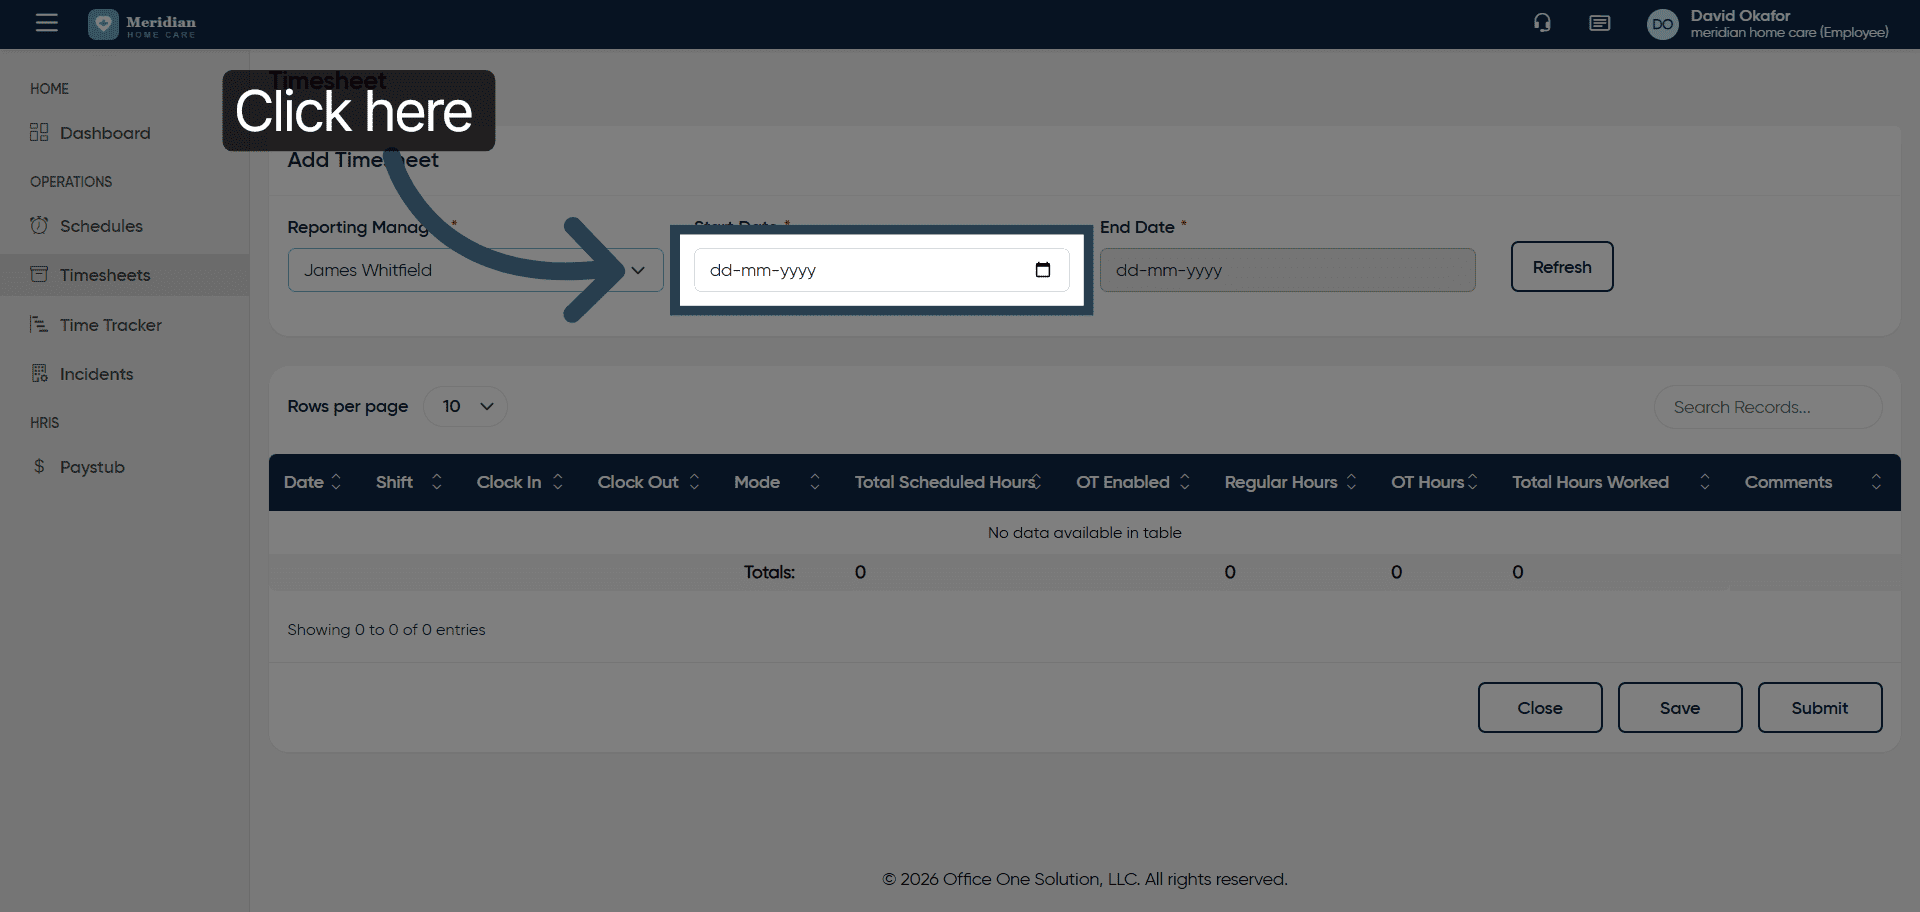
13. Enter Timesheet Start Date
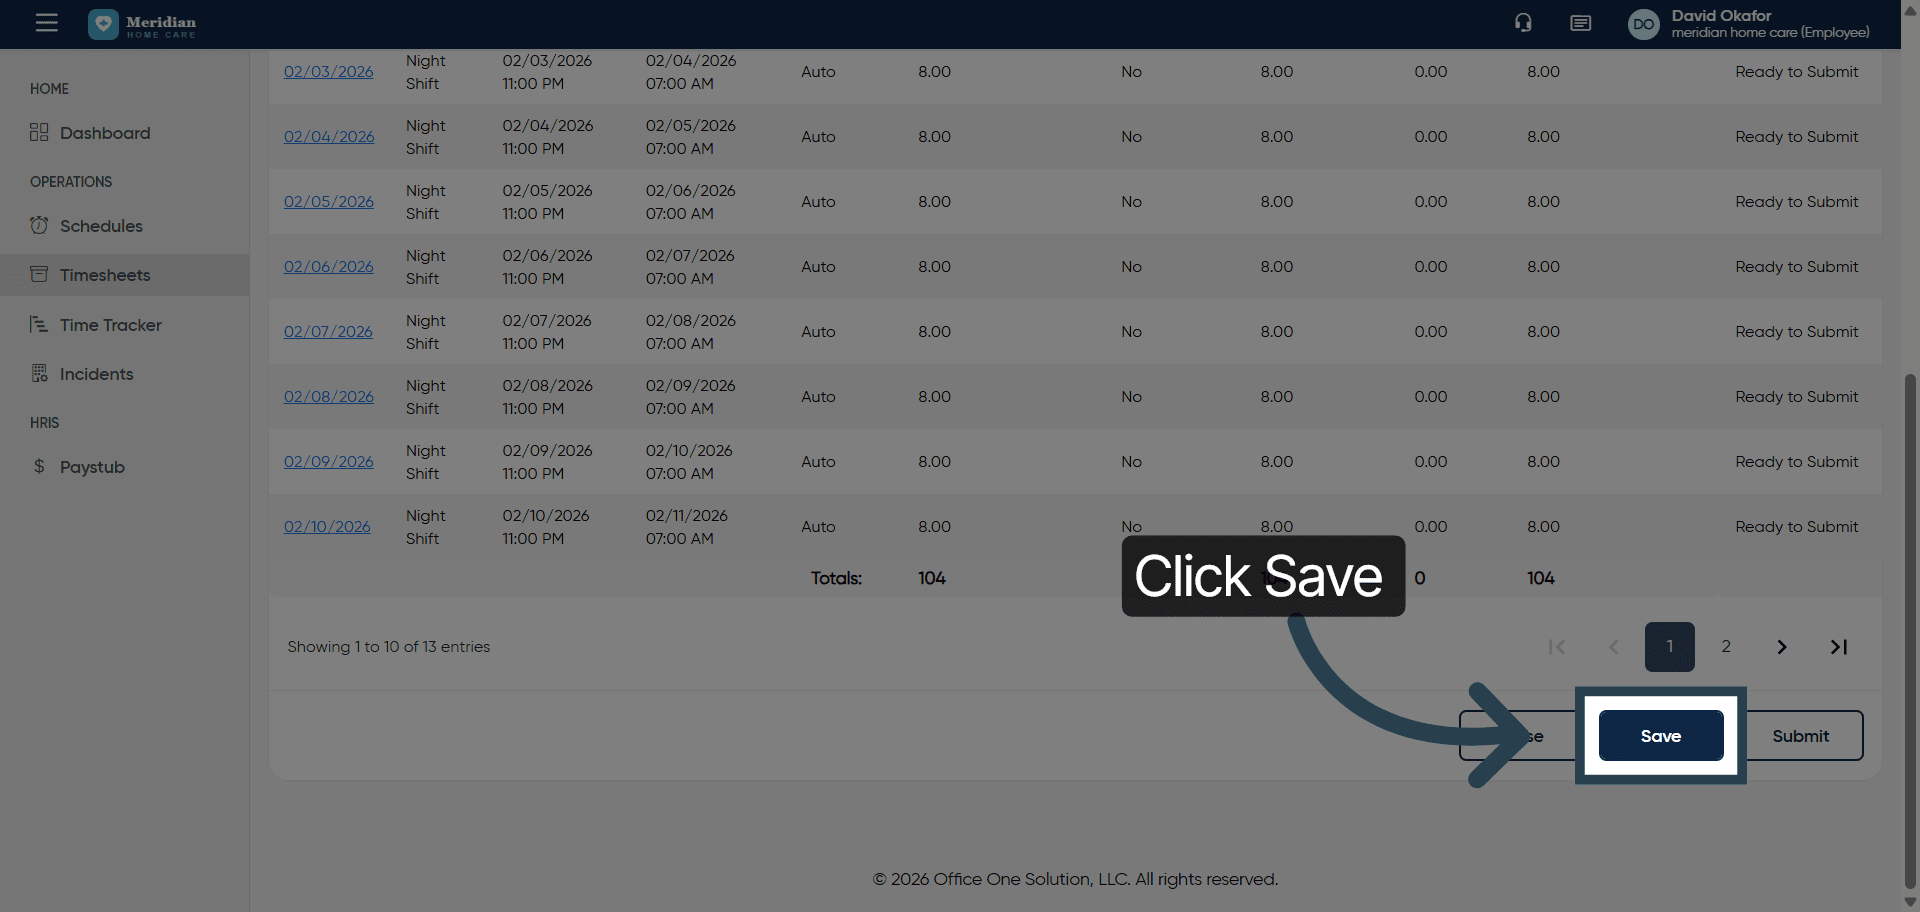
14. Save New Timesheet Entry
Click the Save button to store the new timesheet information.
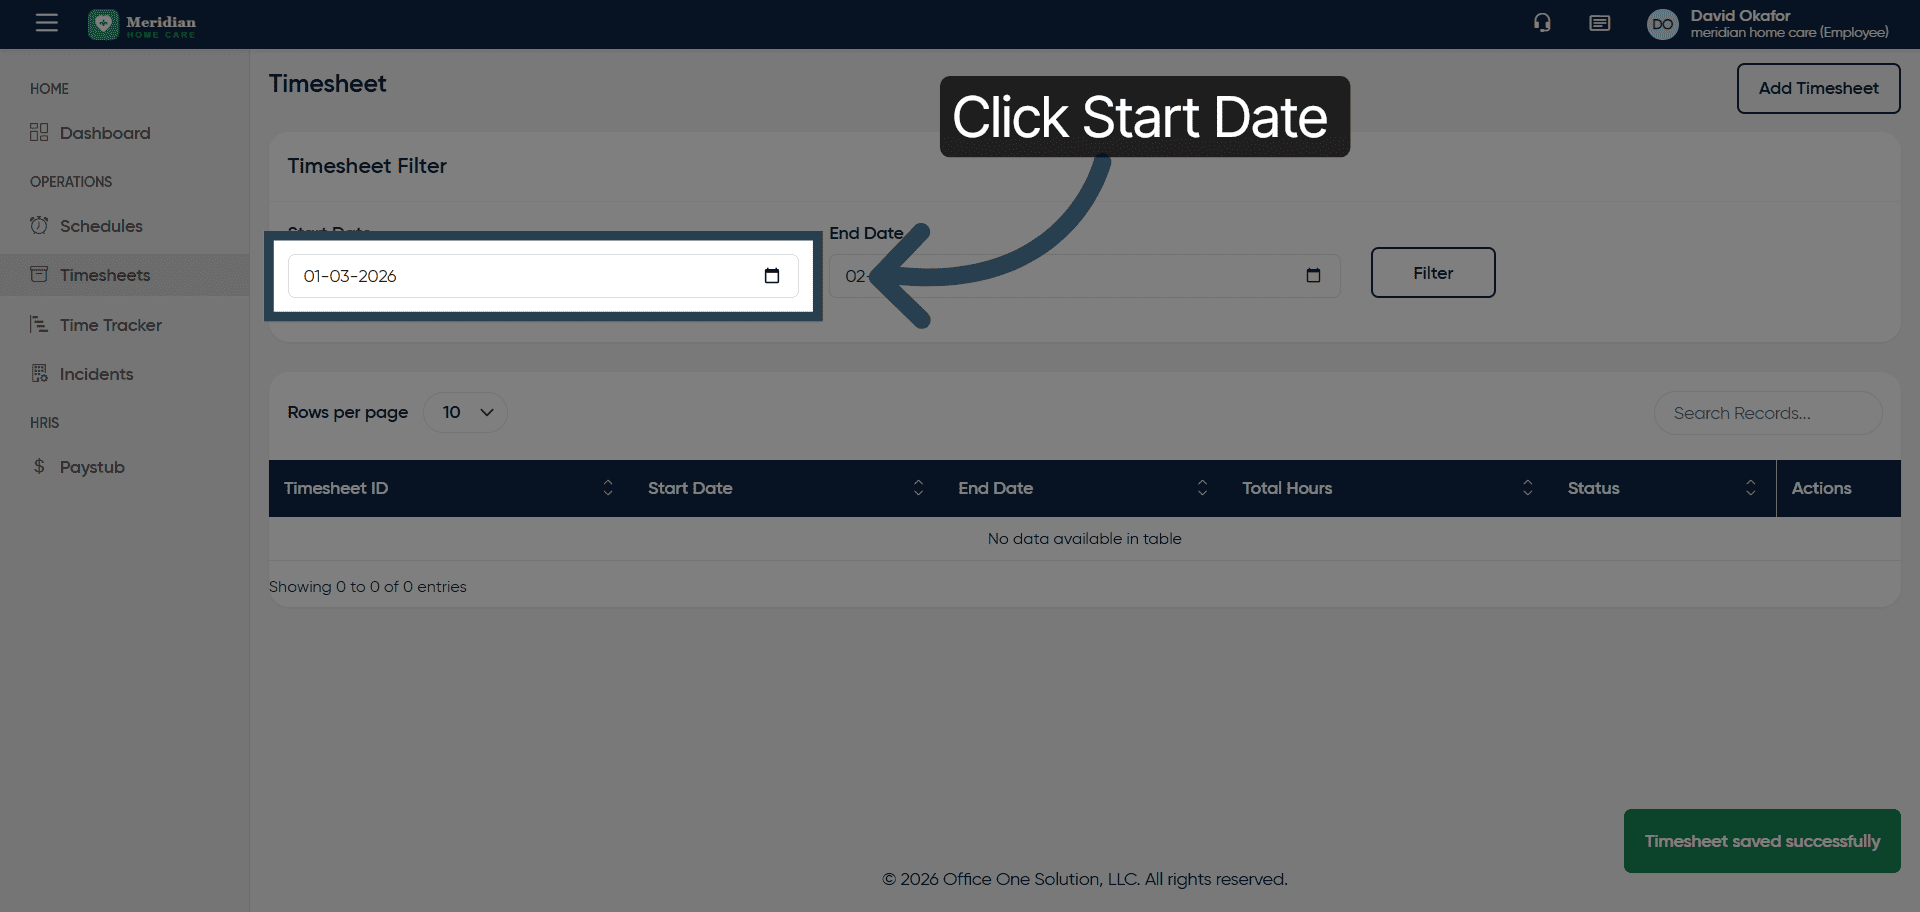
15. Access Start Date Filter Again
Click the Start Date field to set the filter for viewing timesheets.
16. Input Filter Start Date
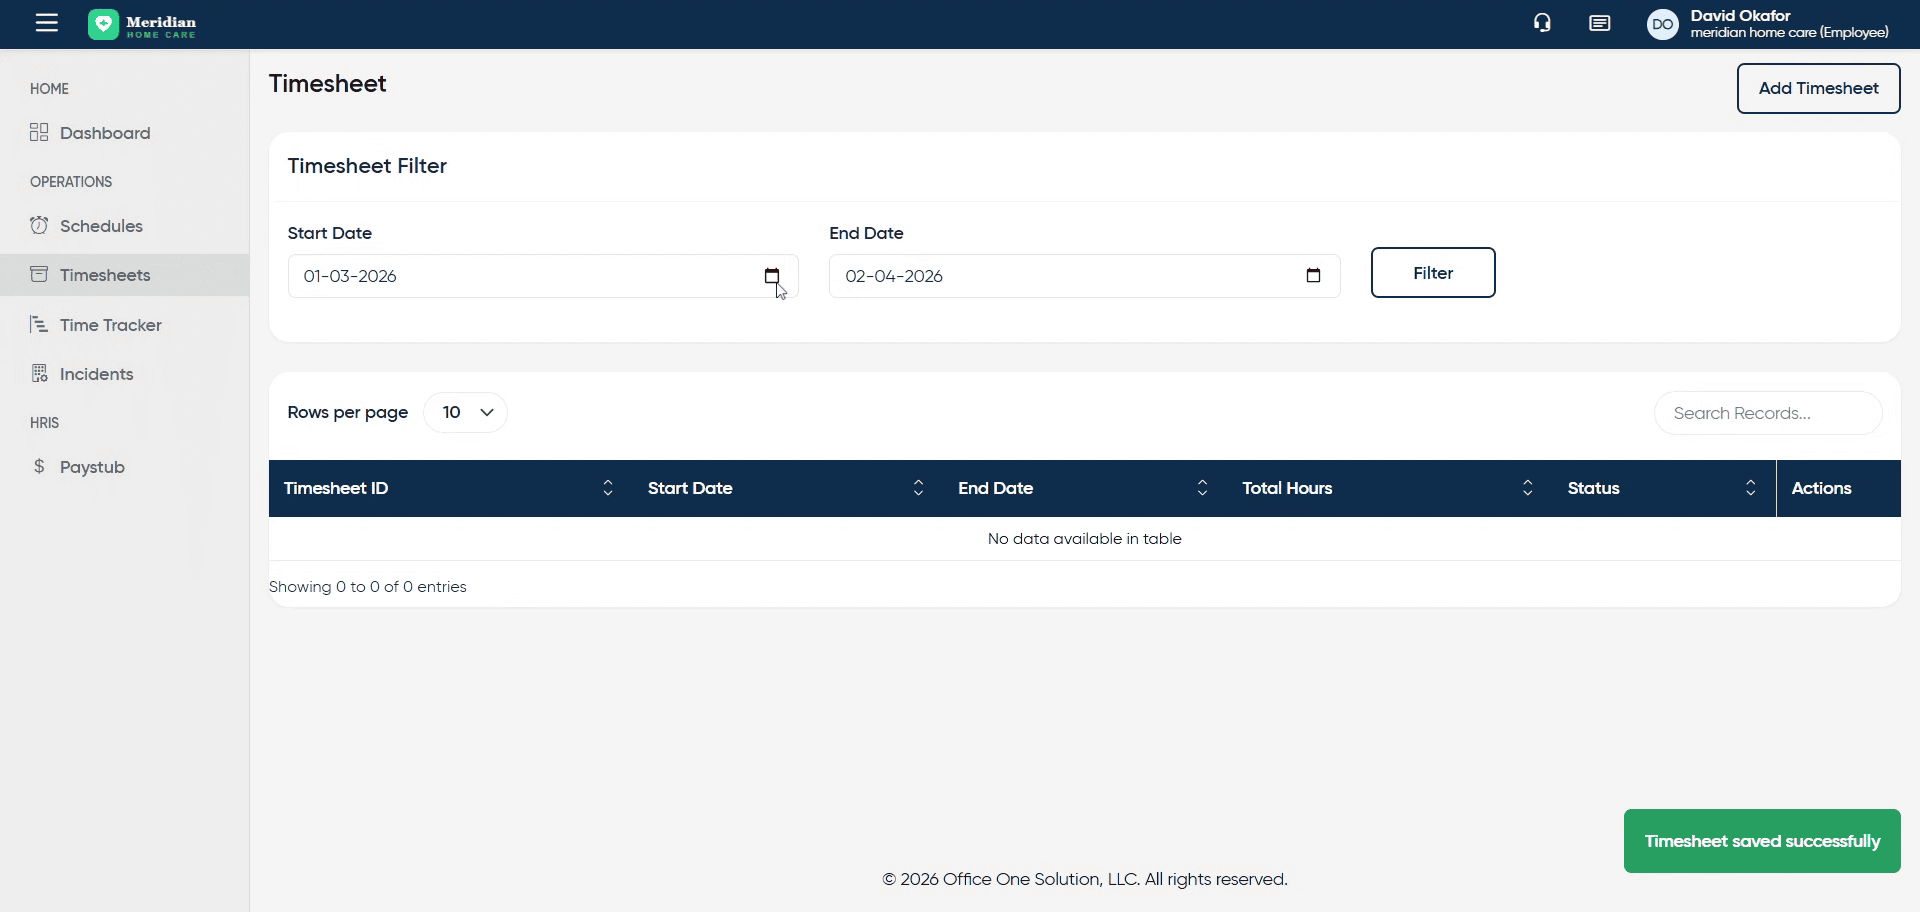
17. Apply Final Timesheet Filter
Click the Filter button to display timesheets matching the specified date range.
You have successfully managed timesheets by filtering, editing, adding, and saving entries in OfficeOne Solution.