
Manage Expenses
This training will equip you with the skills to accurately record and manage expenses within Office1solution.
Go to app.office1solution.com
1. Introduction
You will learn how to add, edit, and submit expense reports to ensure proper financial tracking.
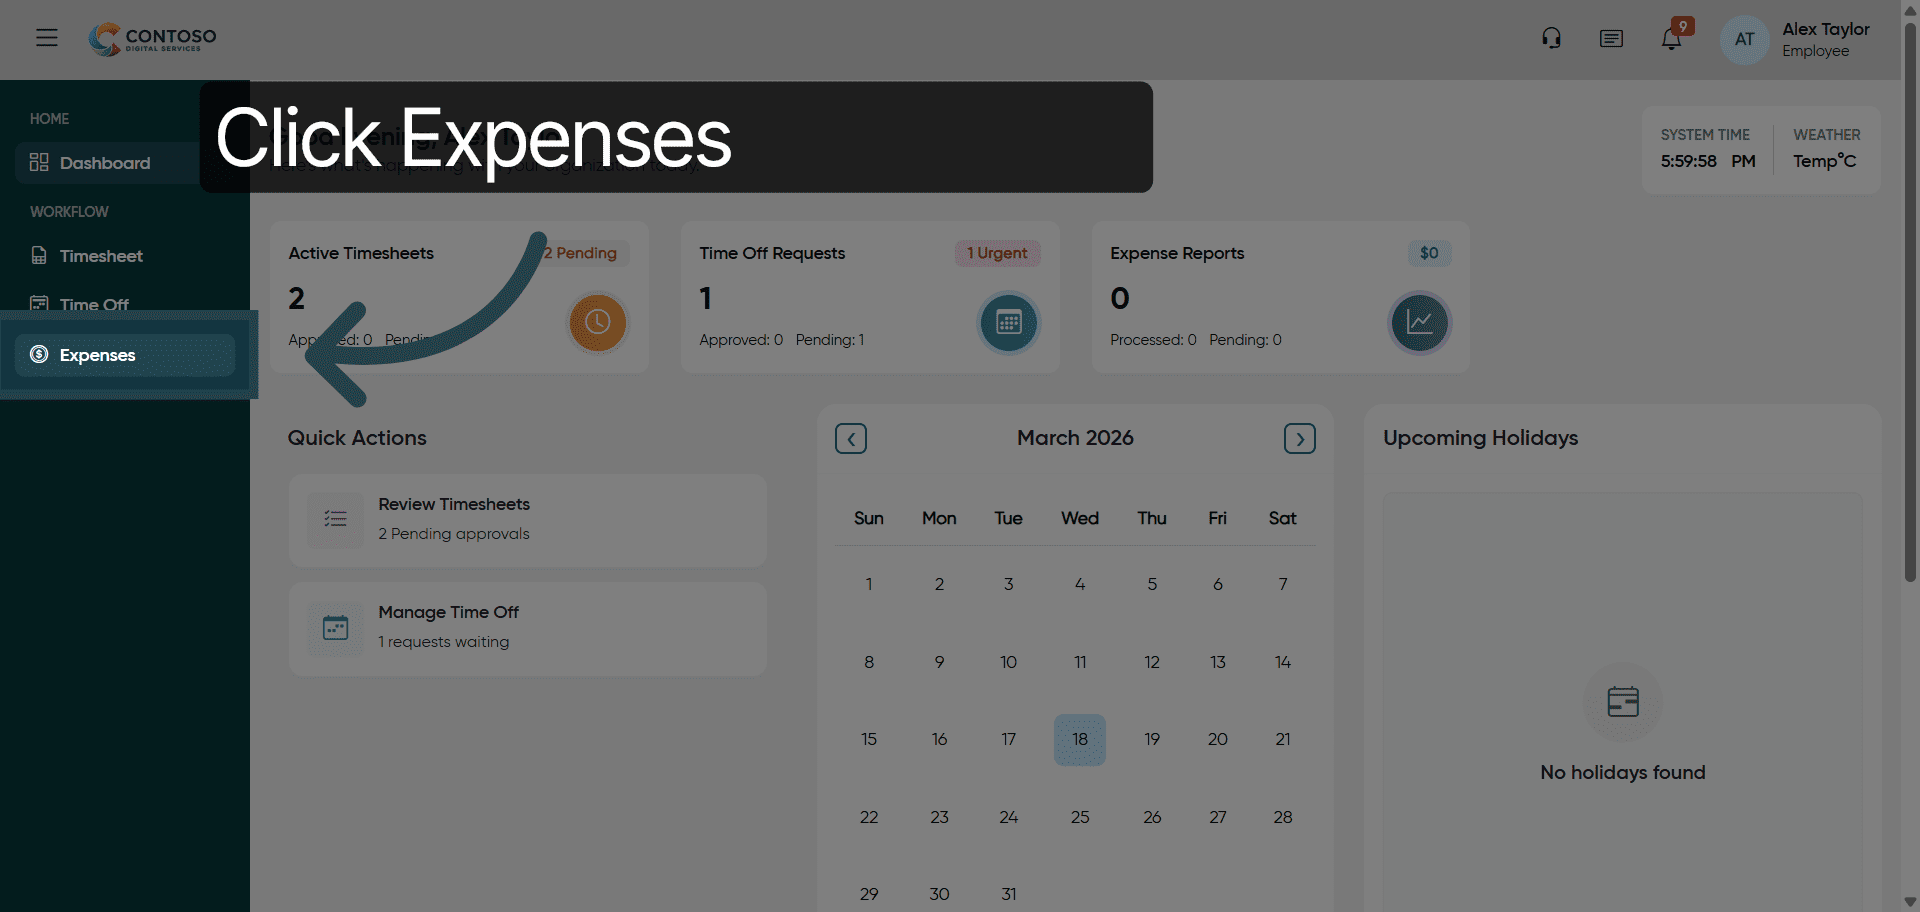
2. Access Expenses Section
Click the Expenses section to begin managing your expense reports.
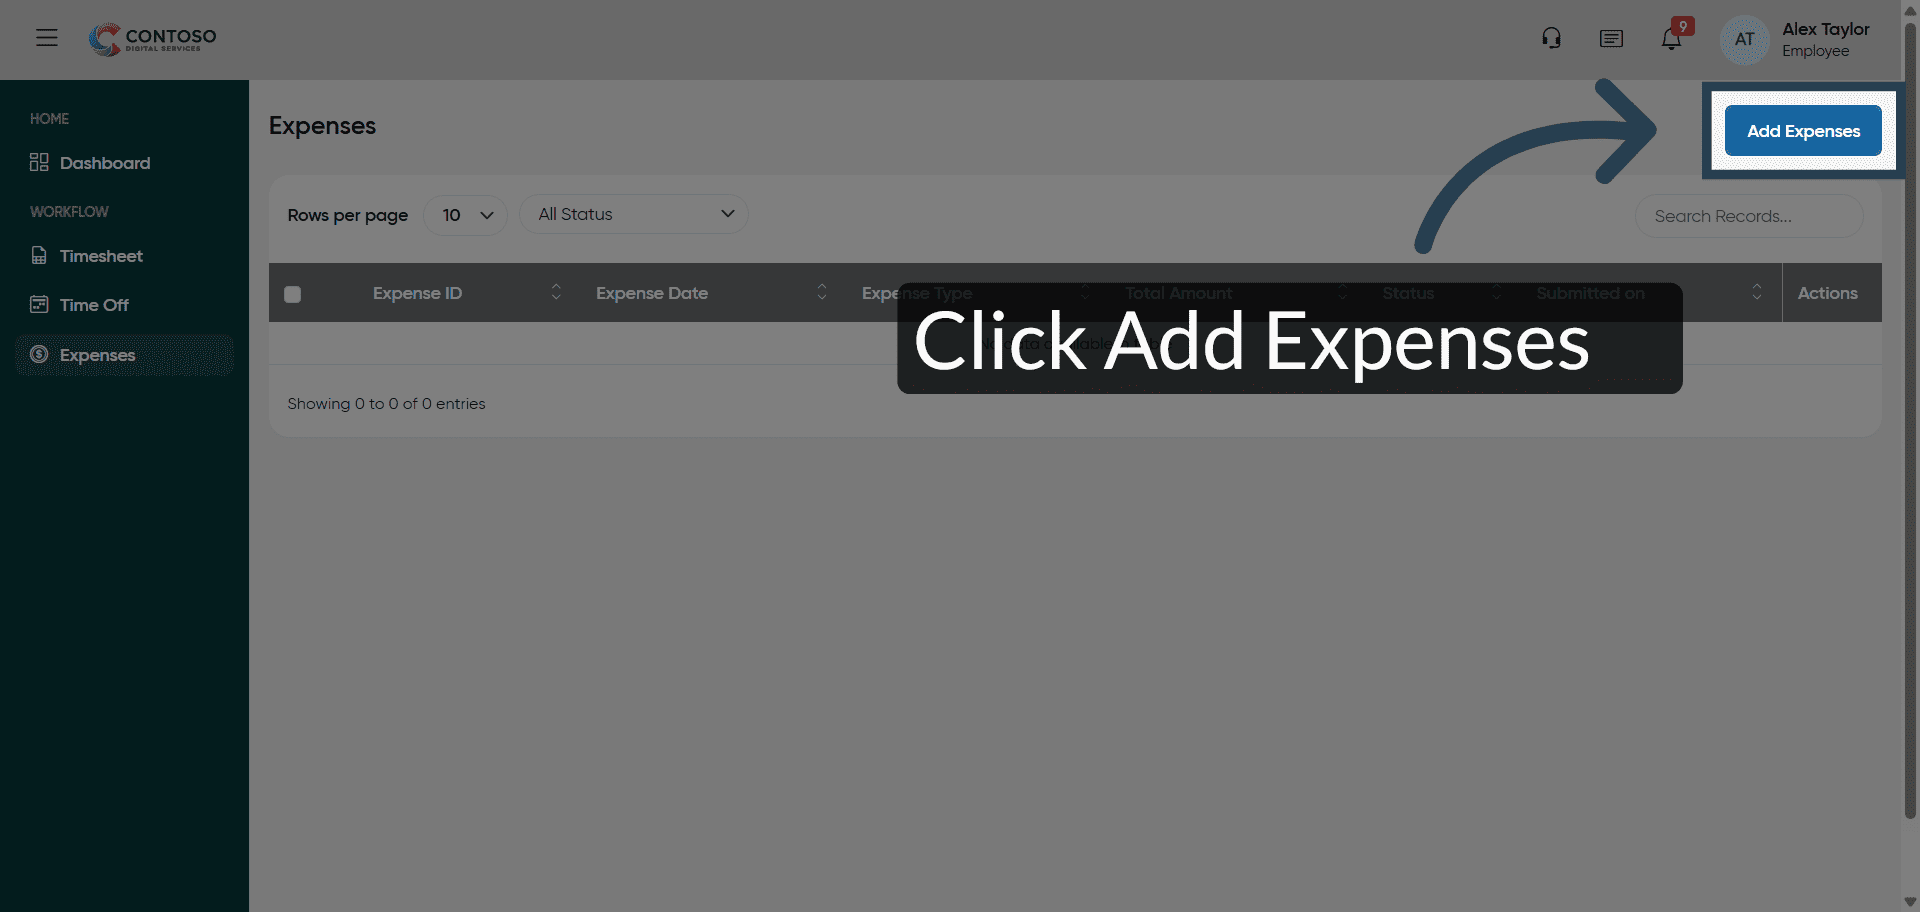
3. Initiate New Expense Entry
Click Add Expenses to start creating a new expense record.
4. Select Expense Title Field
Click the field labeled Enter expense title to specify the expense name.
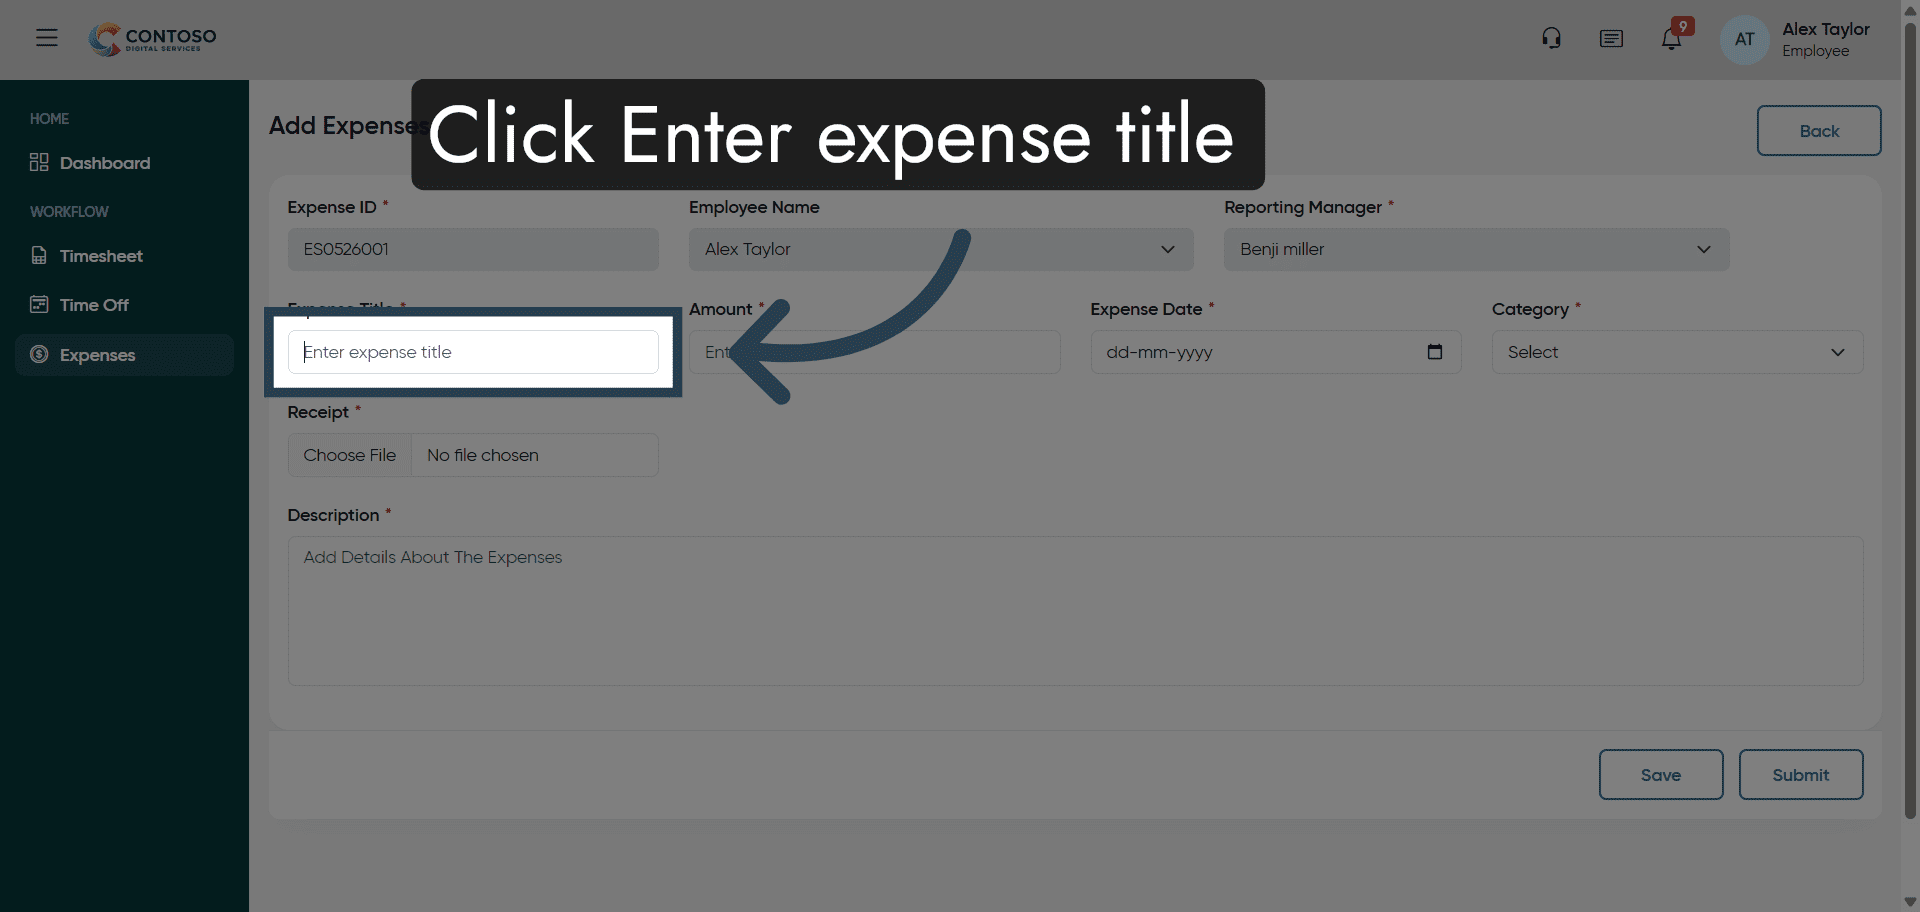
5. Enter Expense Title
Enter your expense title, such as Outing expenses, to describe the purpose of the expense.

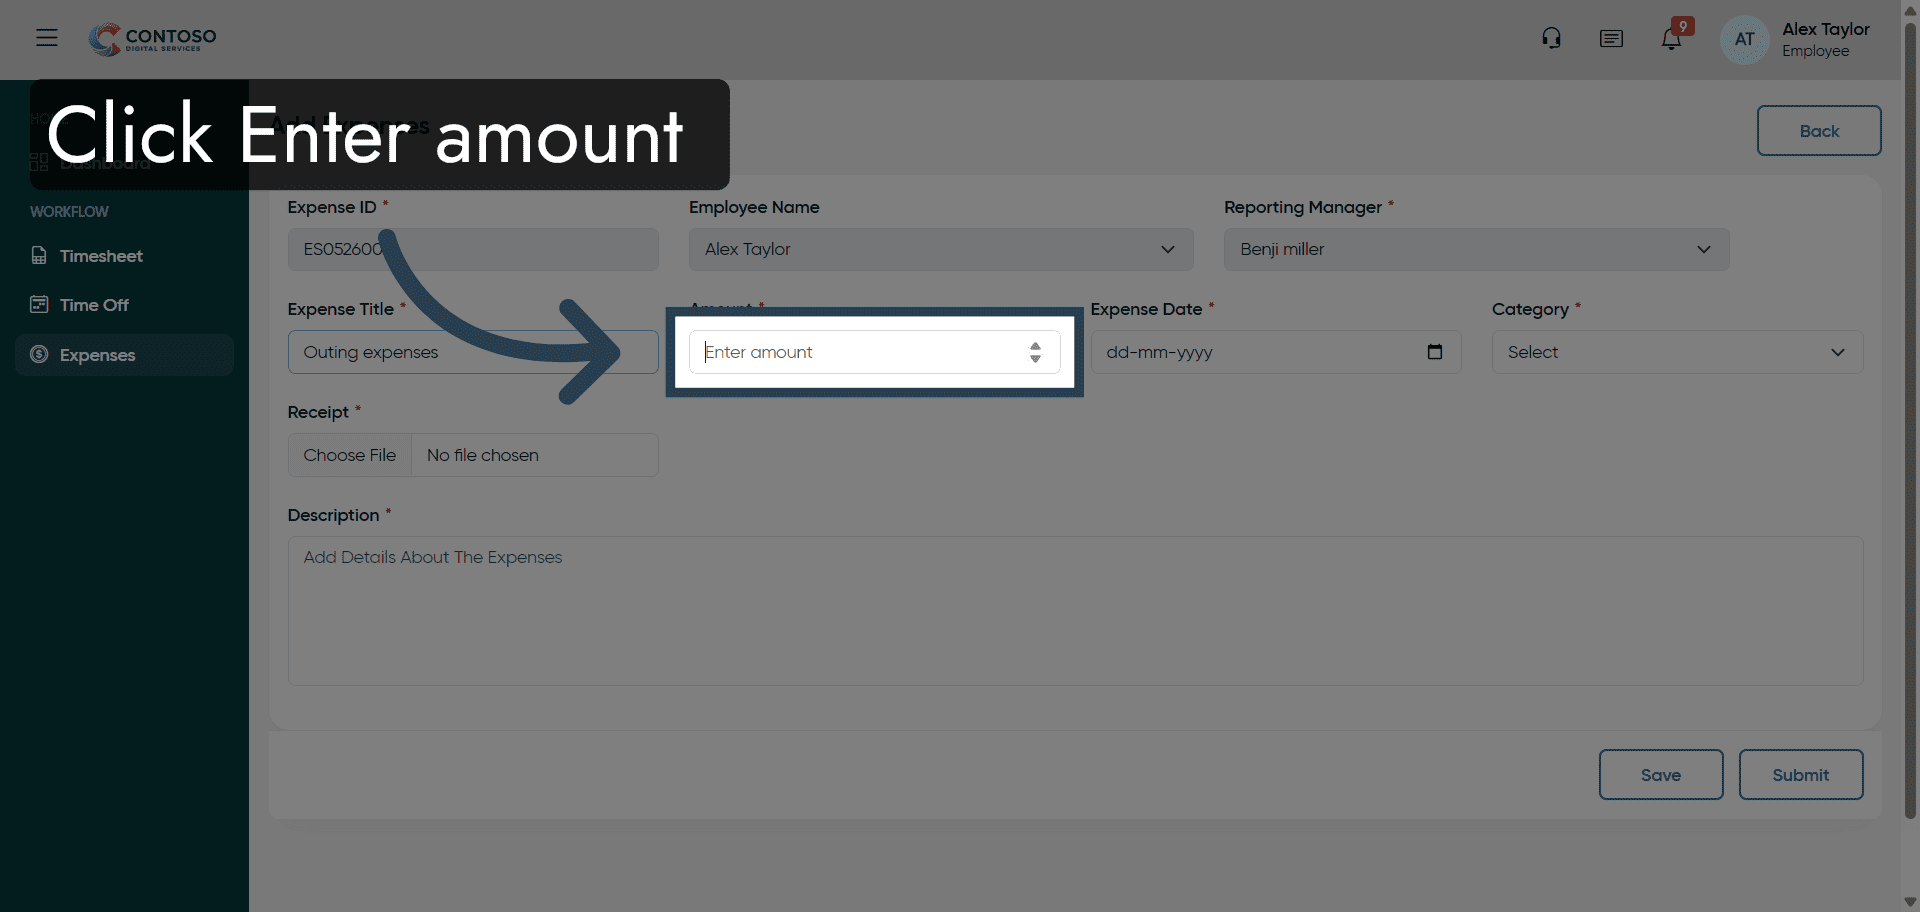
6. Select Amount Field
Click the Enter amount field to input the expense cost.
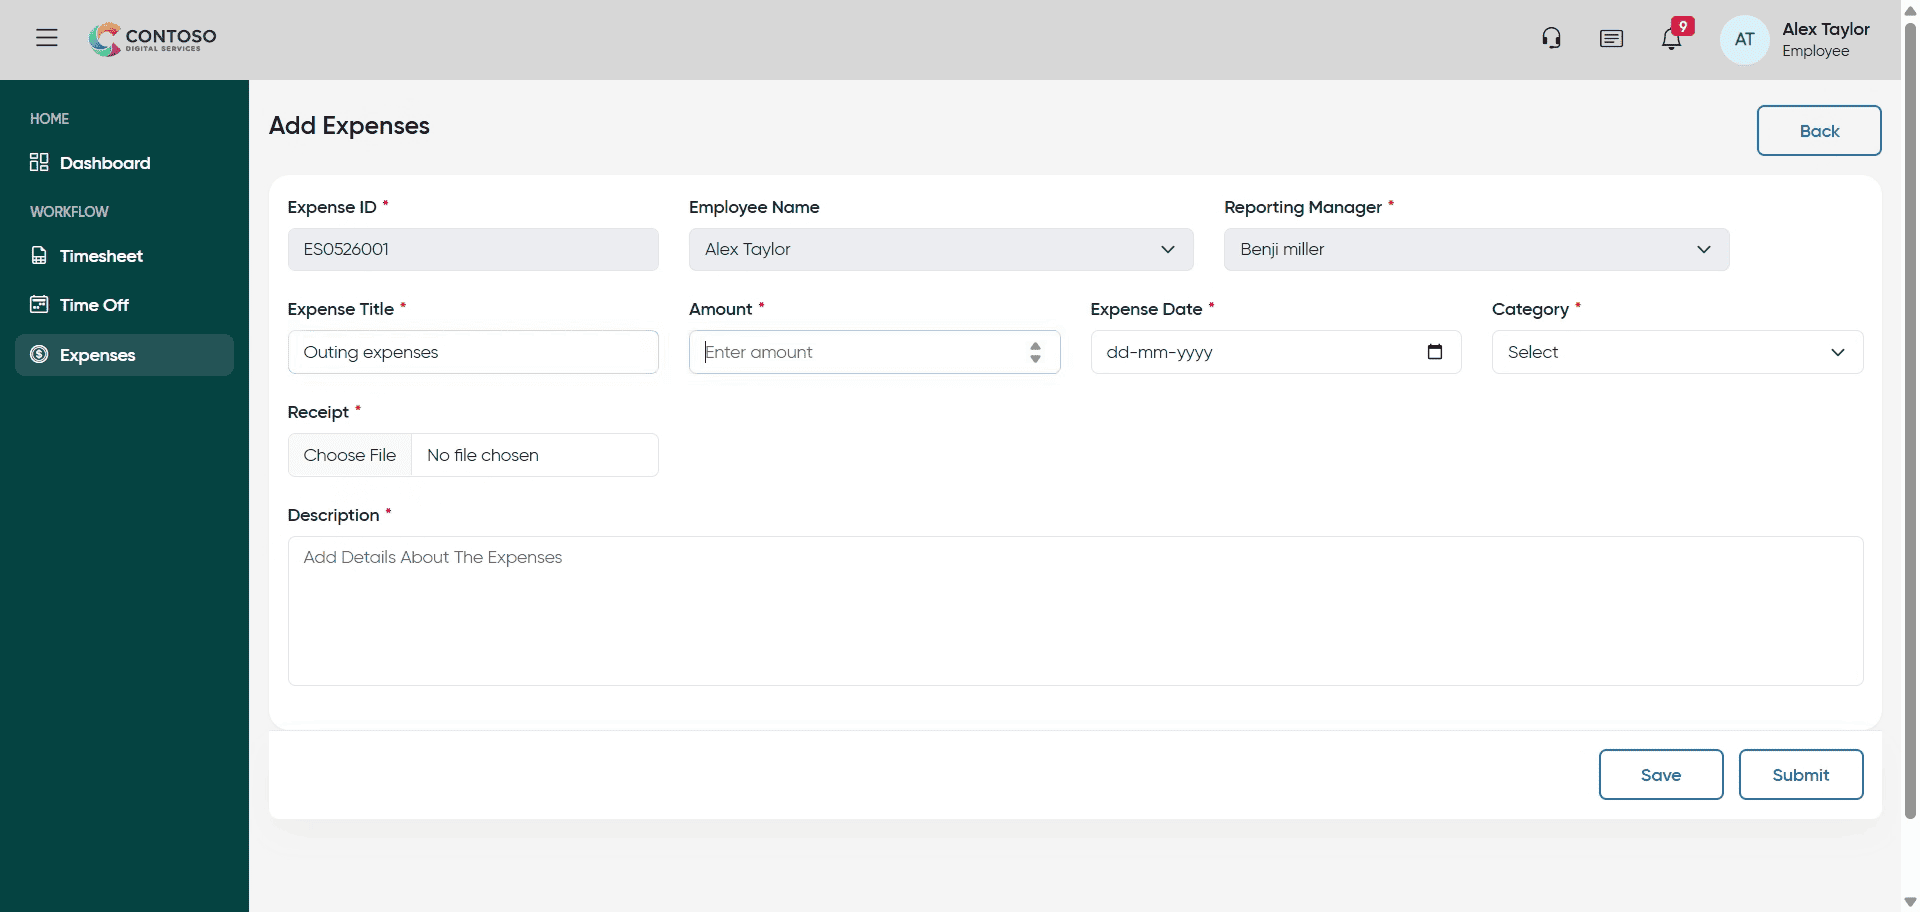
7. Input Expense Amount
Enter the amount of your expense, for example, 400, to record the cost accurately.
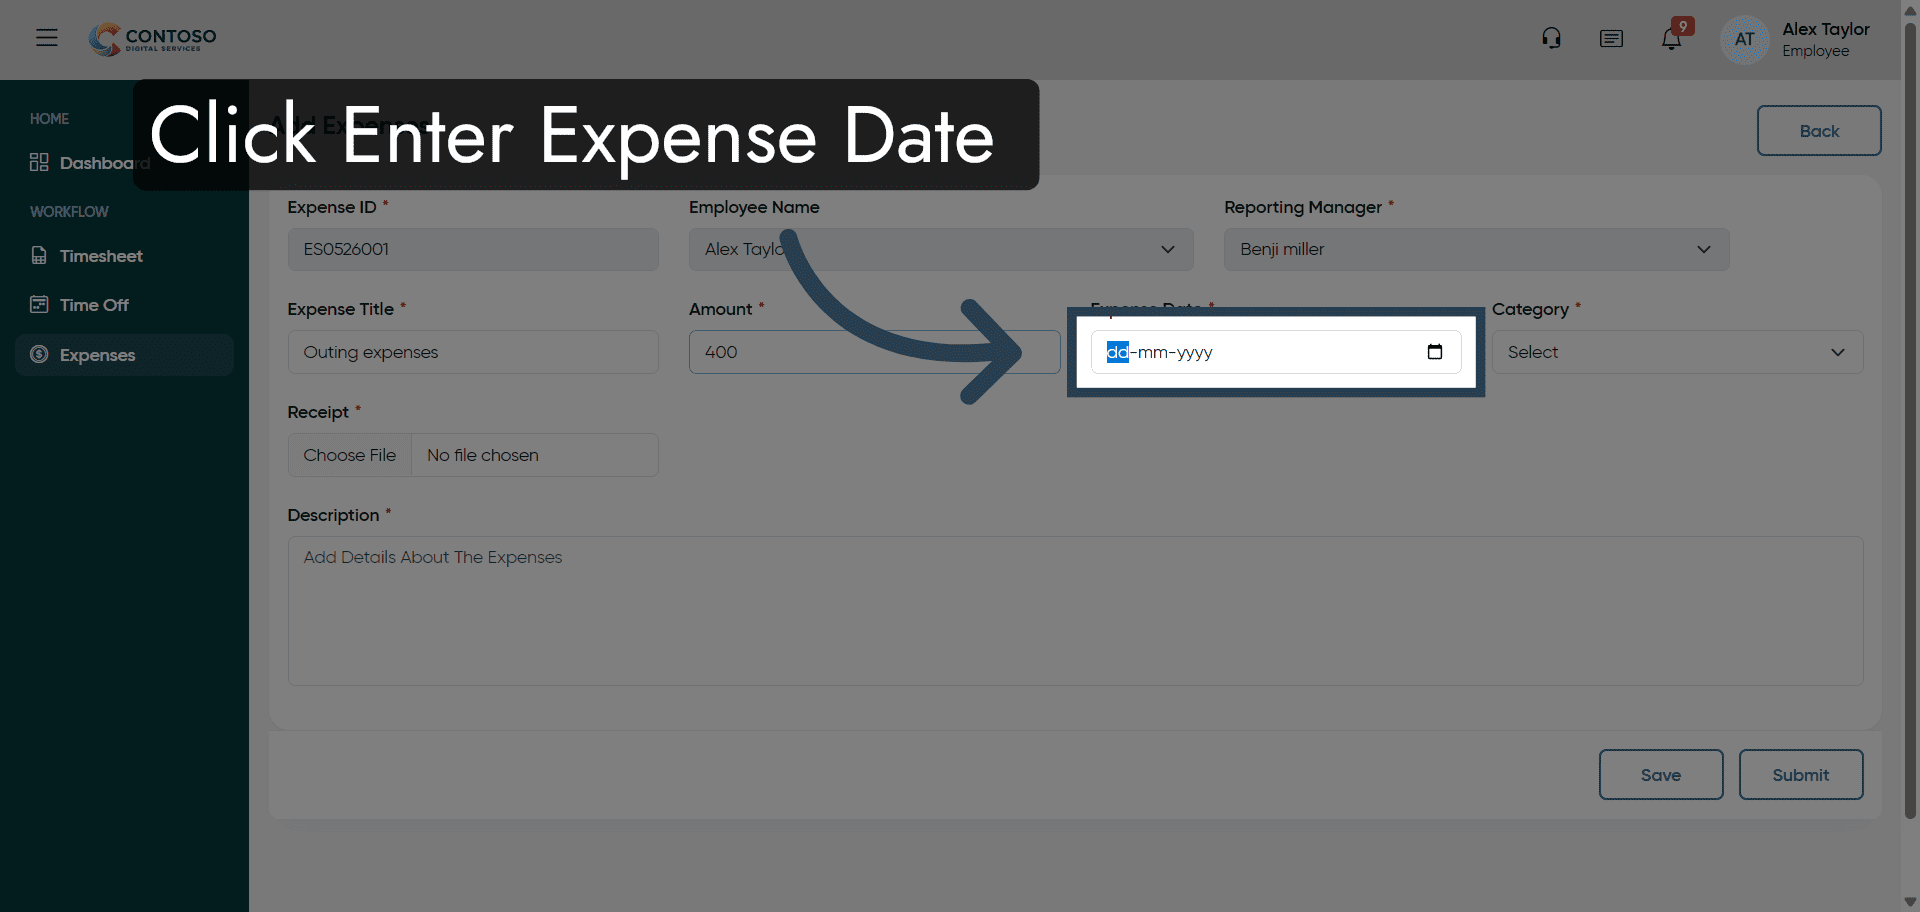
8. Open Expense Date Picker
Click the Enter Expense Date field to select the date of the expense.
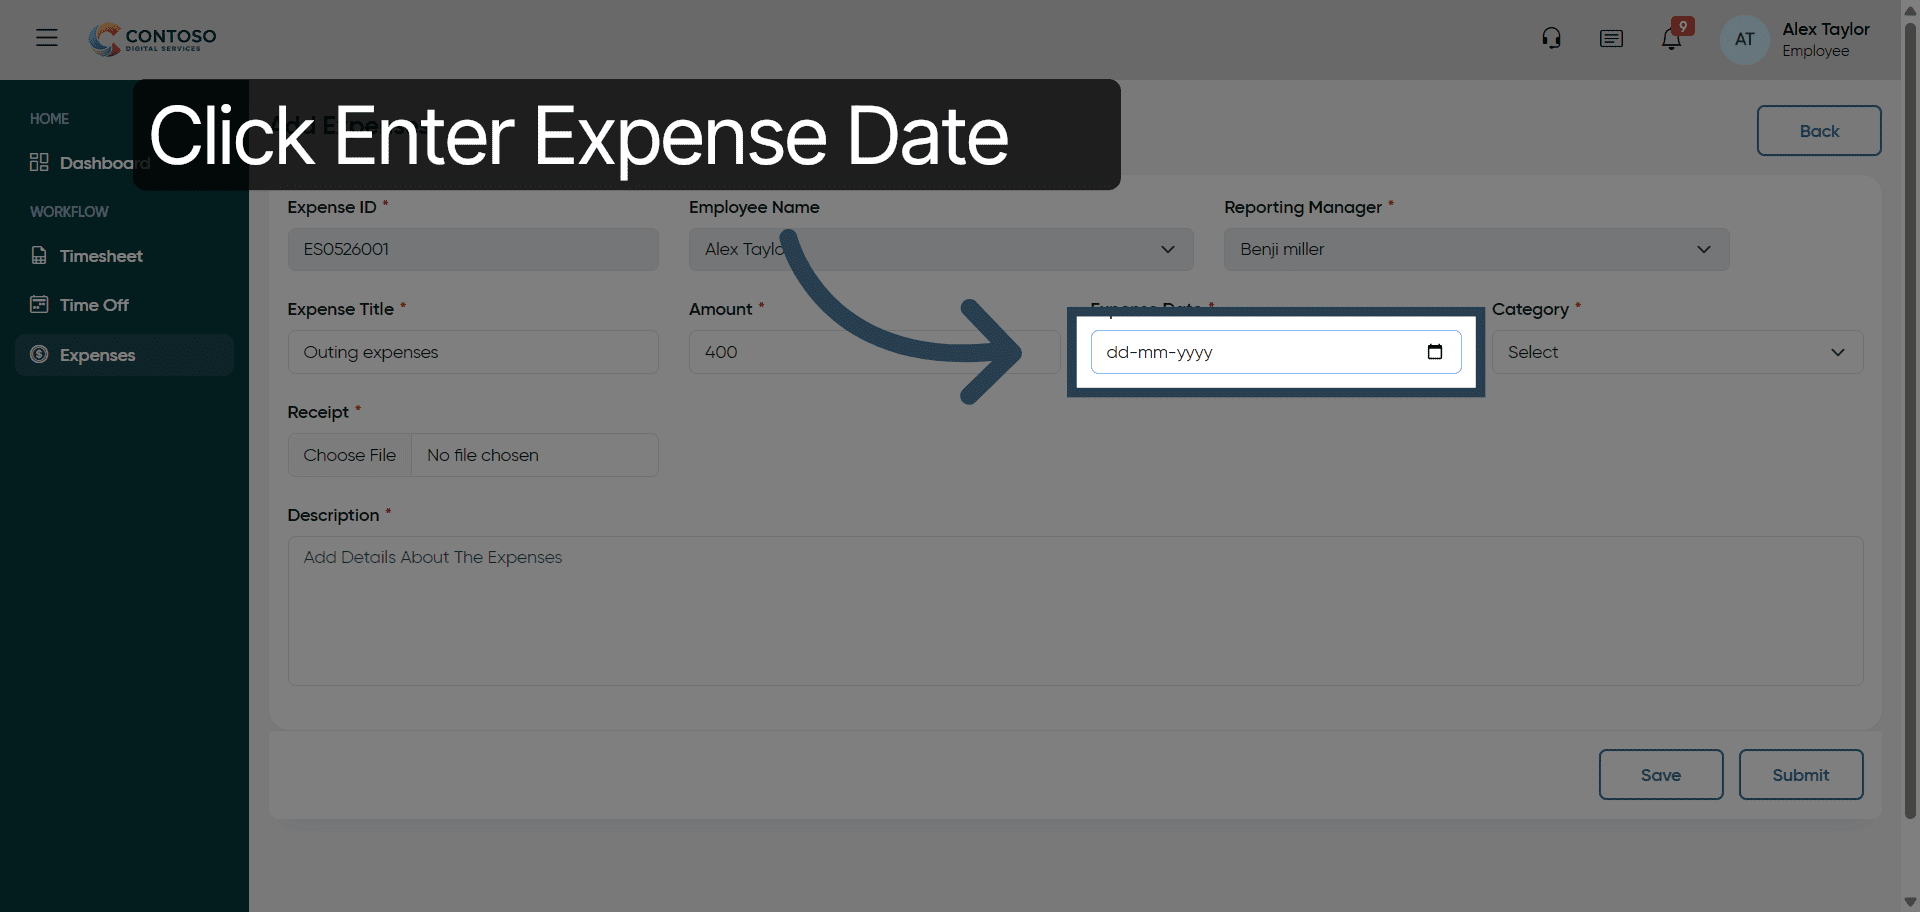
9. Reopen Expense Date Field
Click the Enter Expense Date field again to confirm or adjust the date selection.
10. Specify Expense Date
Enter the date of the expense, such as 2026-03-13, to document when it occurred.

11. Open Expense Category Dropdown
Click the dropdown menu to select the category of your expense, such as Meals, Travel, or Accommodation.
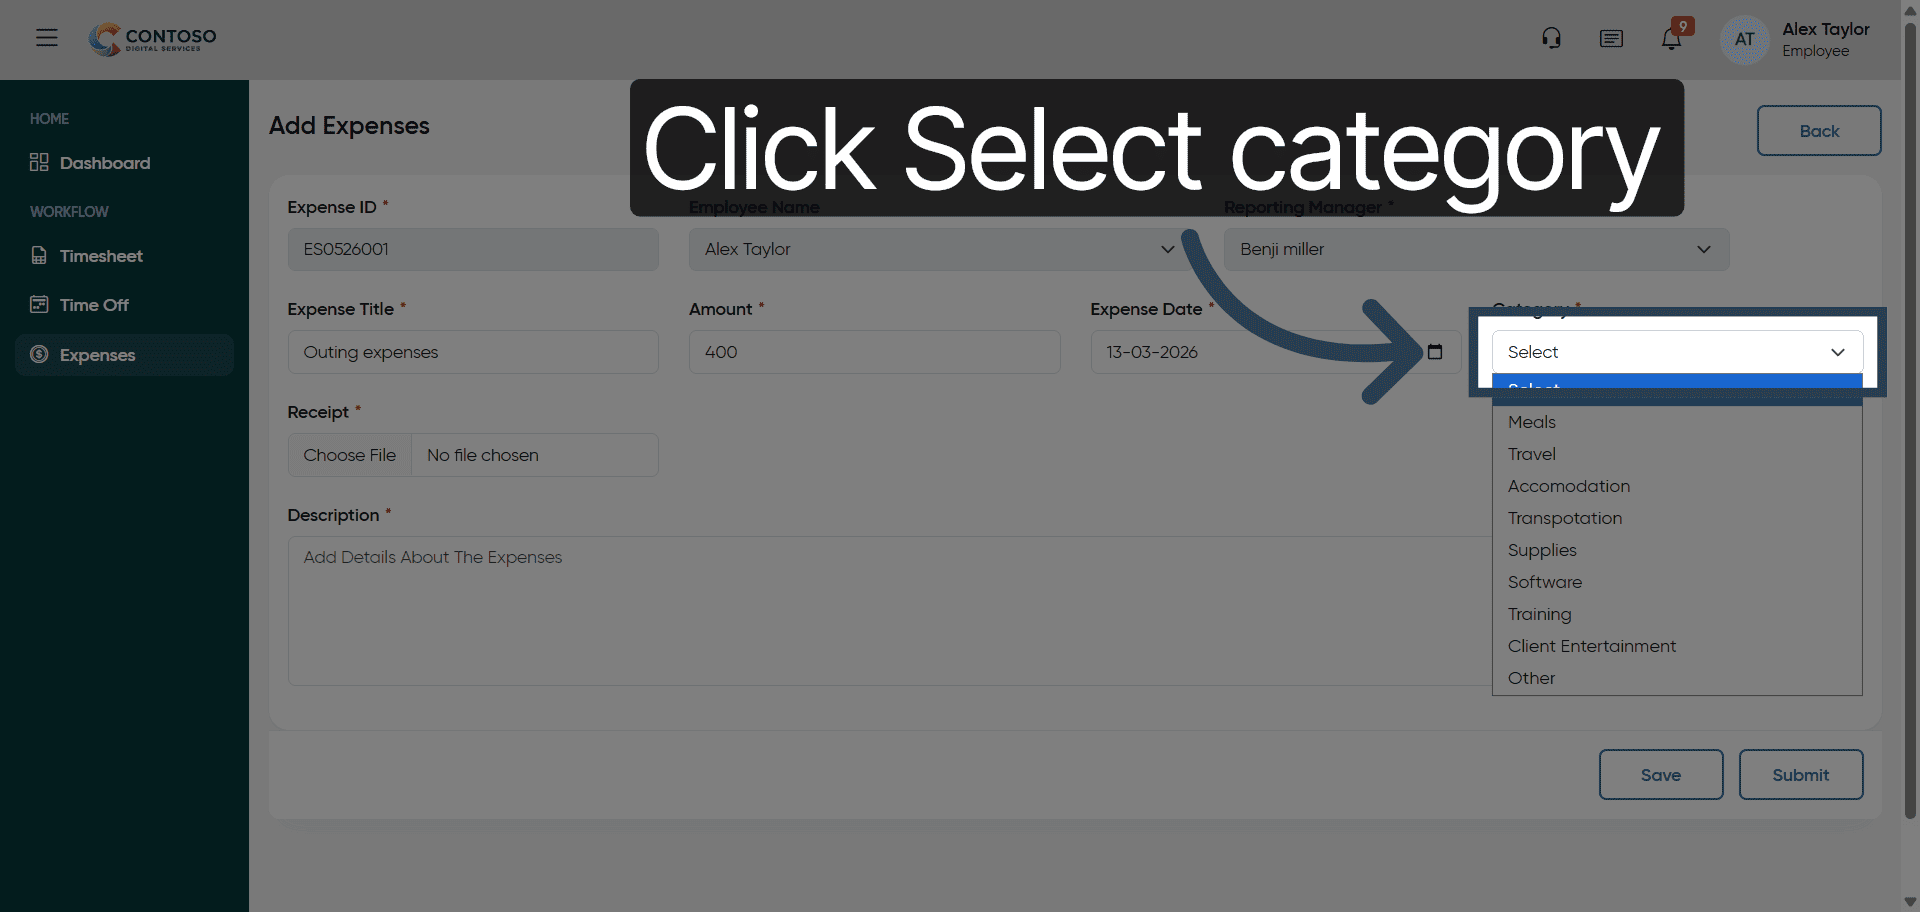
12. Choose Expense Category
Select the appropriate category from the dropdown to classify your expense correctly.

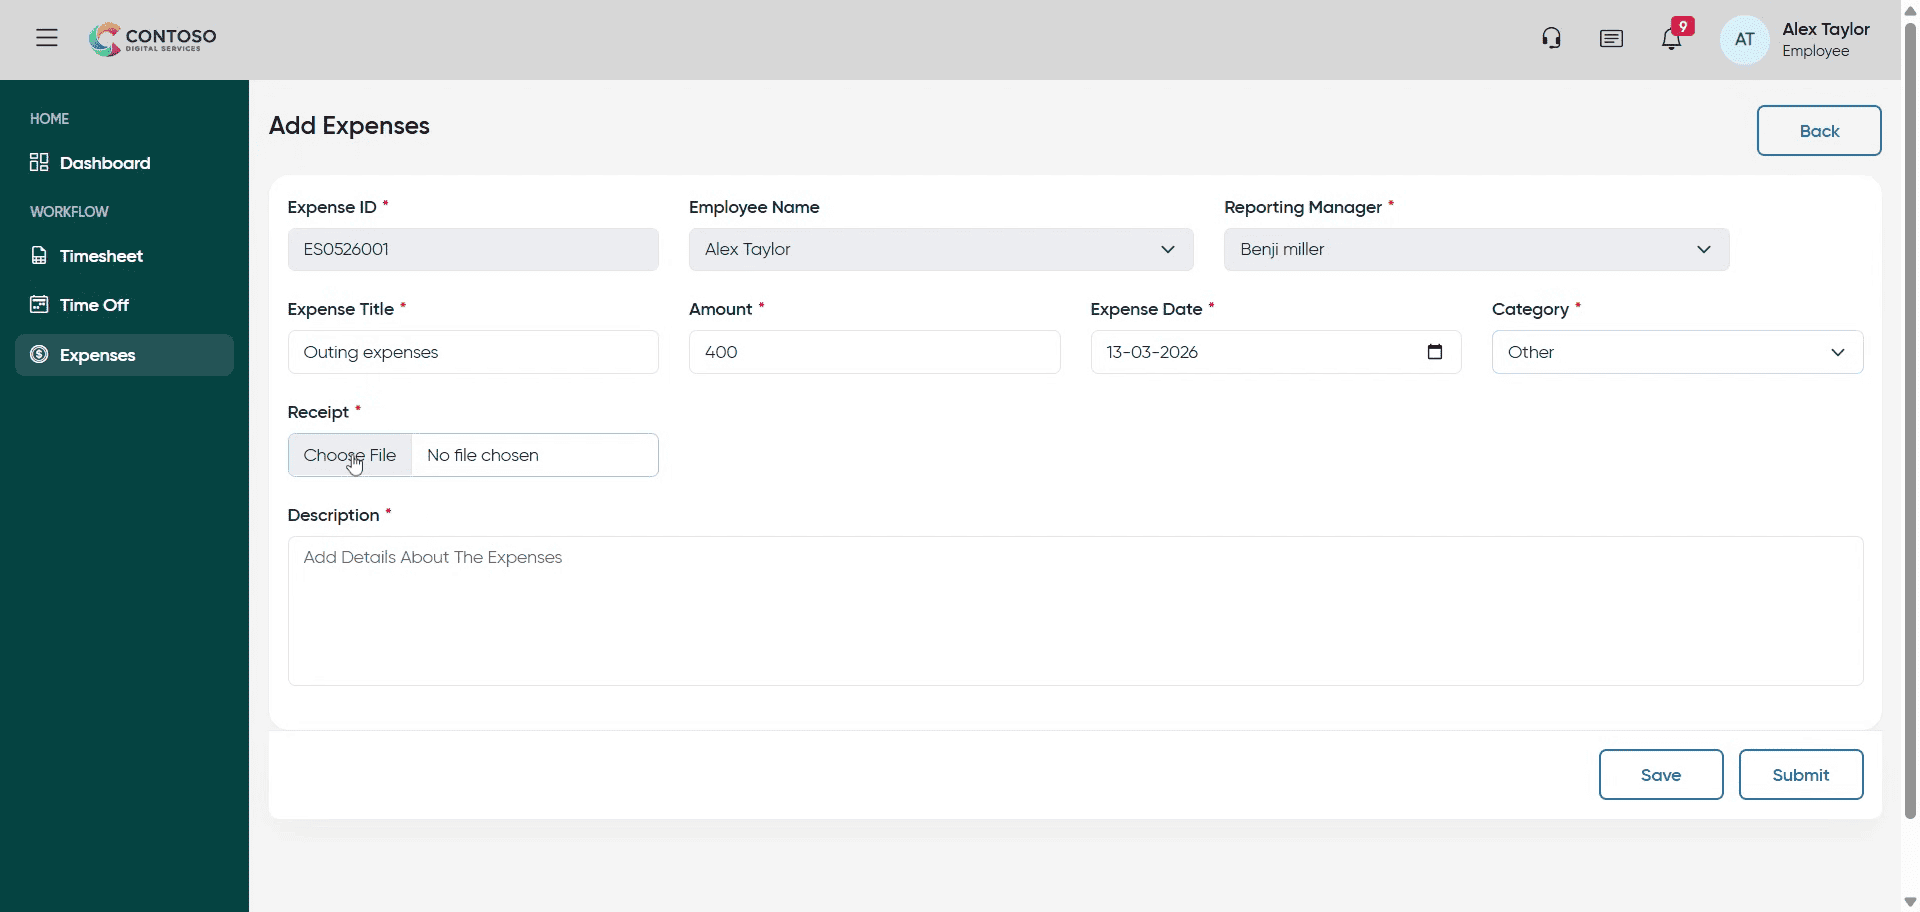
13. Access Receipt Upload
Click the Receipt section to upload supporting documentation for your expense.
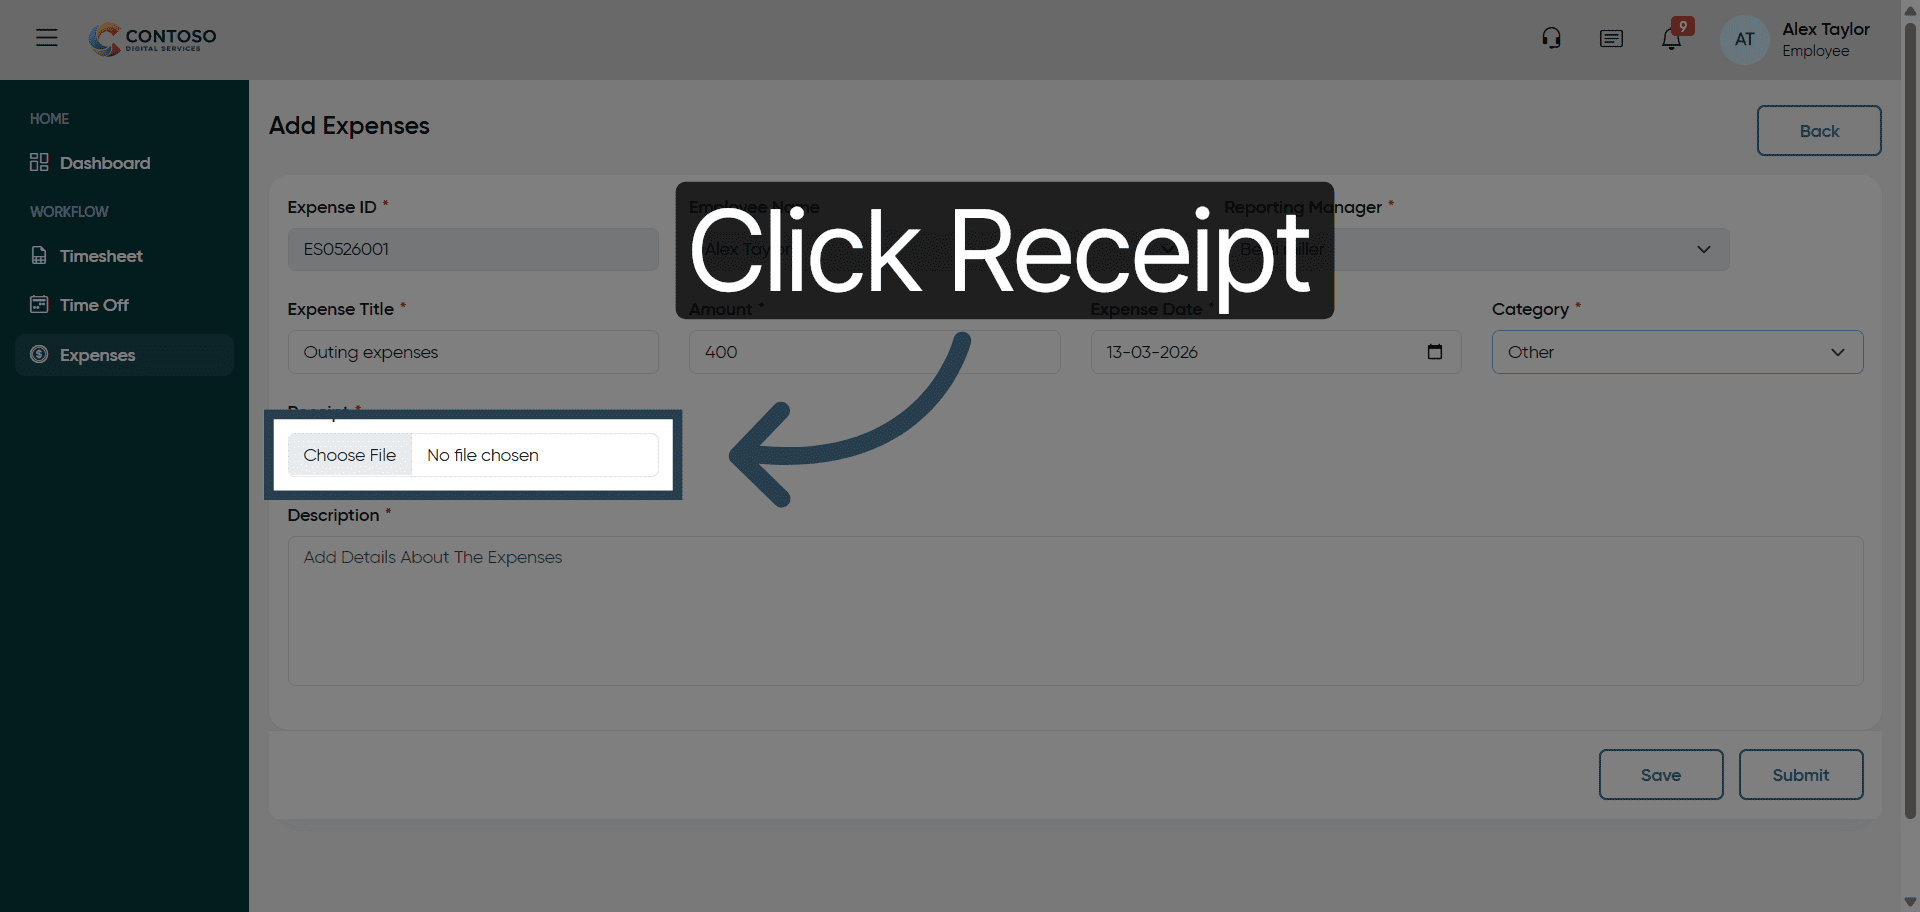
14. Upload Receipt File
Upload your receipt file to provide proof of the expense.
15. Select Description Field
Click the Description field to add additional details about your expense.
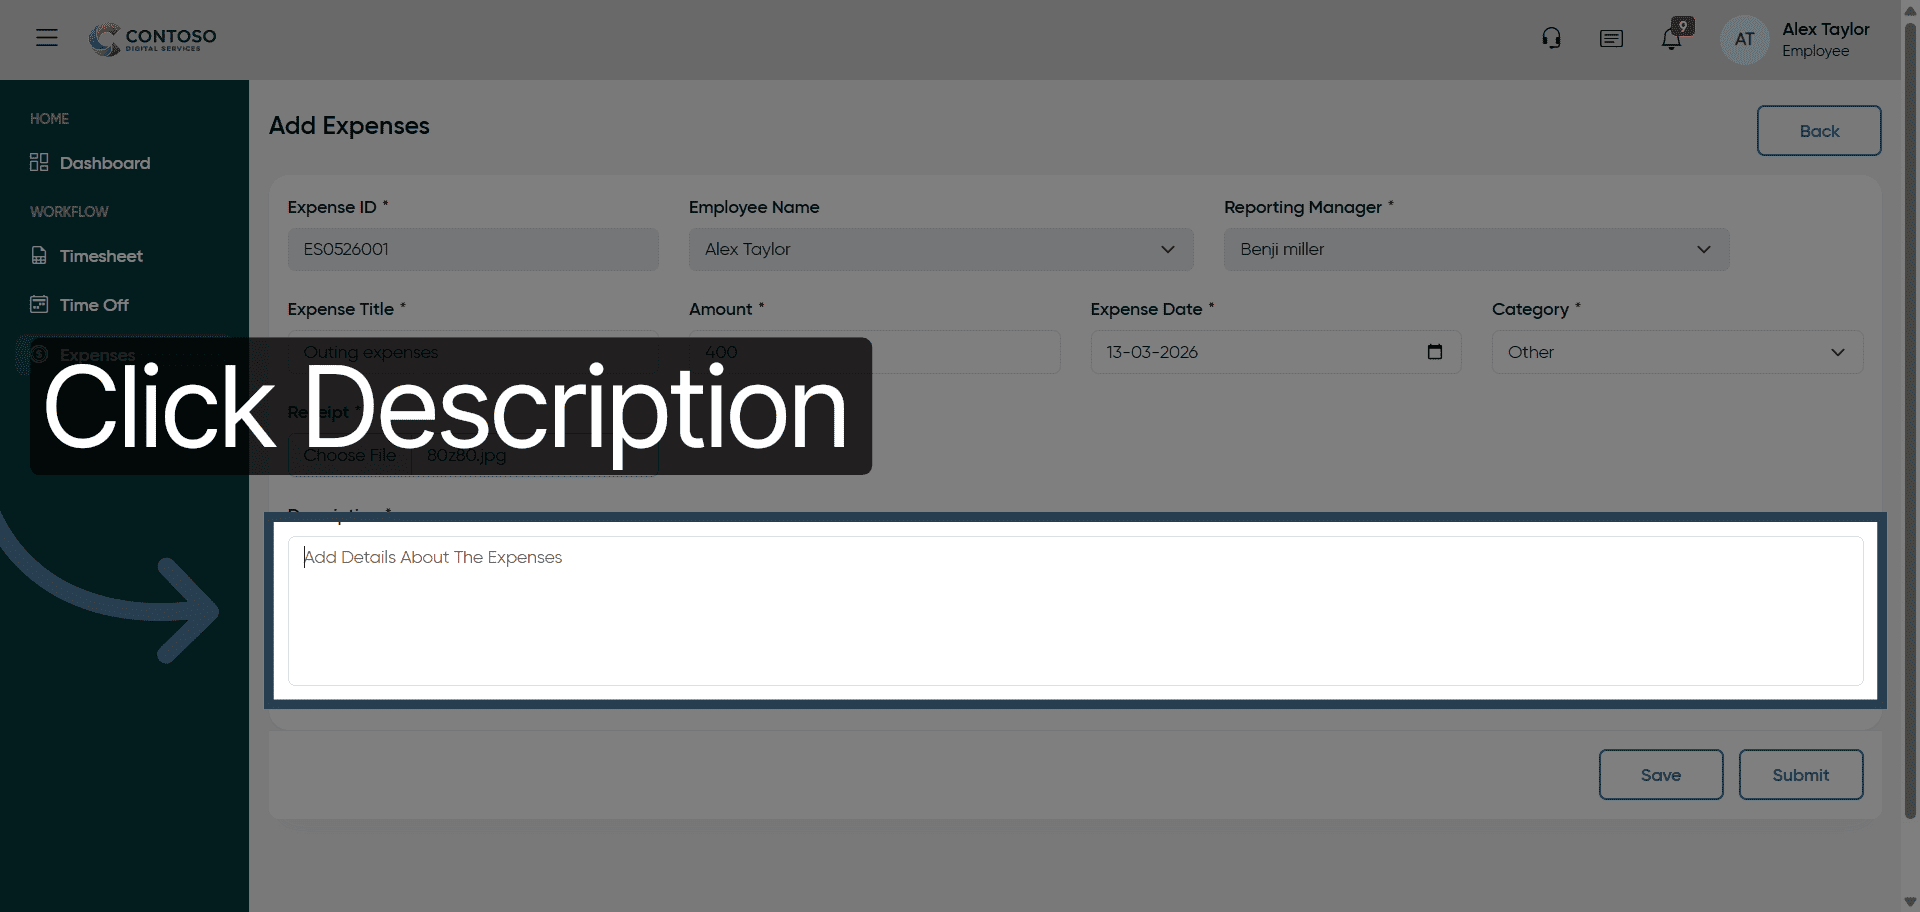
16. Add Expense Description
Enter a description such as The outing expenses from last Friday to clarify the expense context.

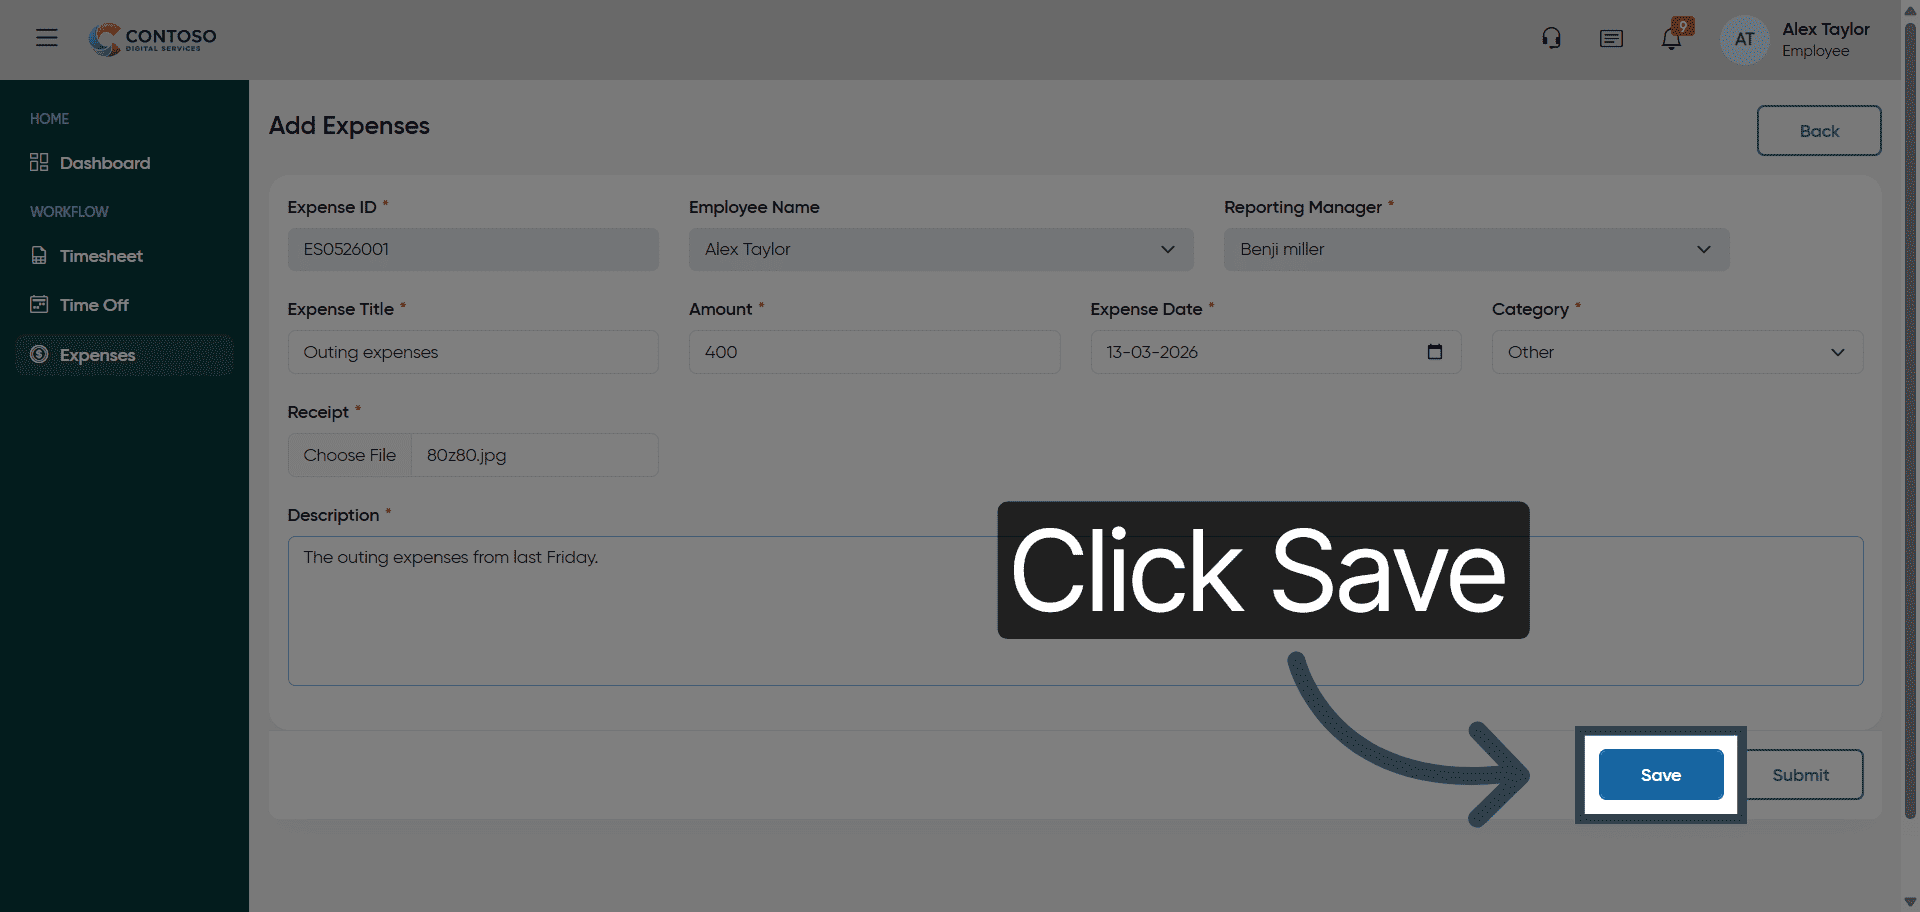
17. Save Expense Entry
Click Save to record your expense entry in the system.
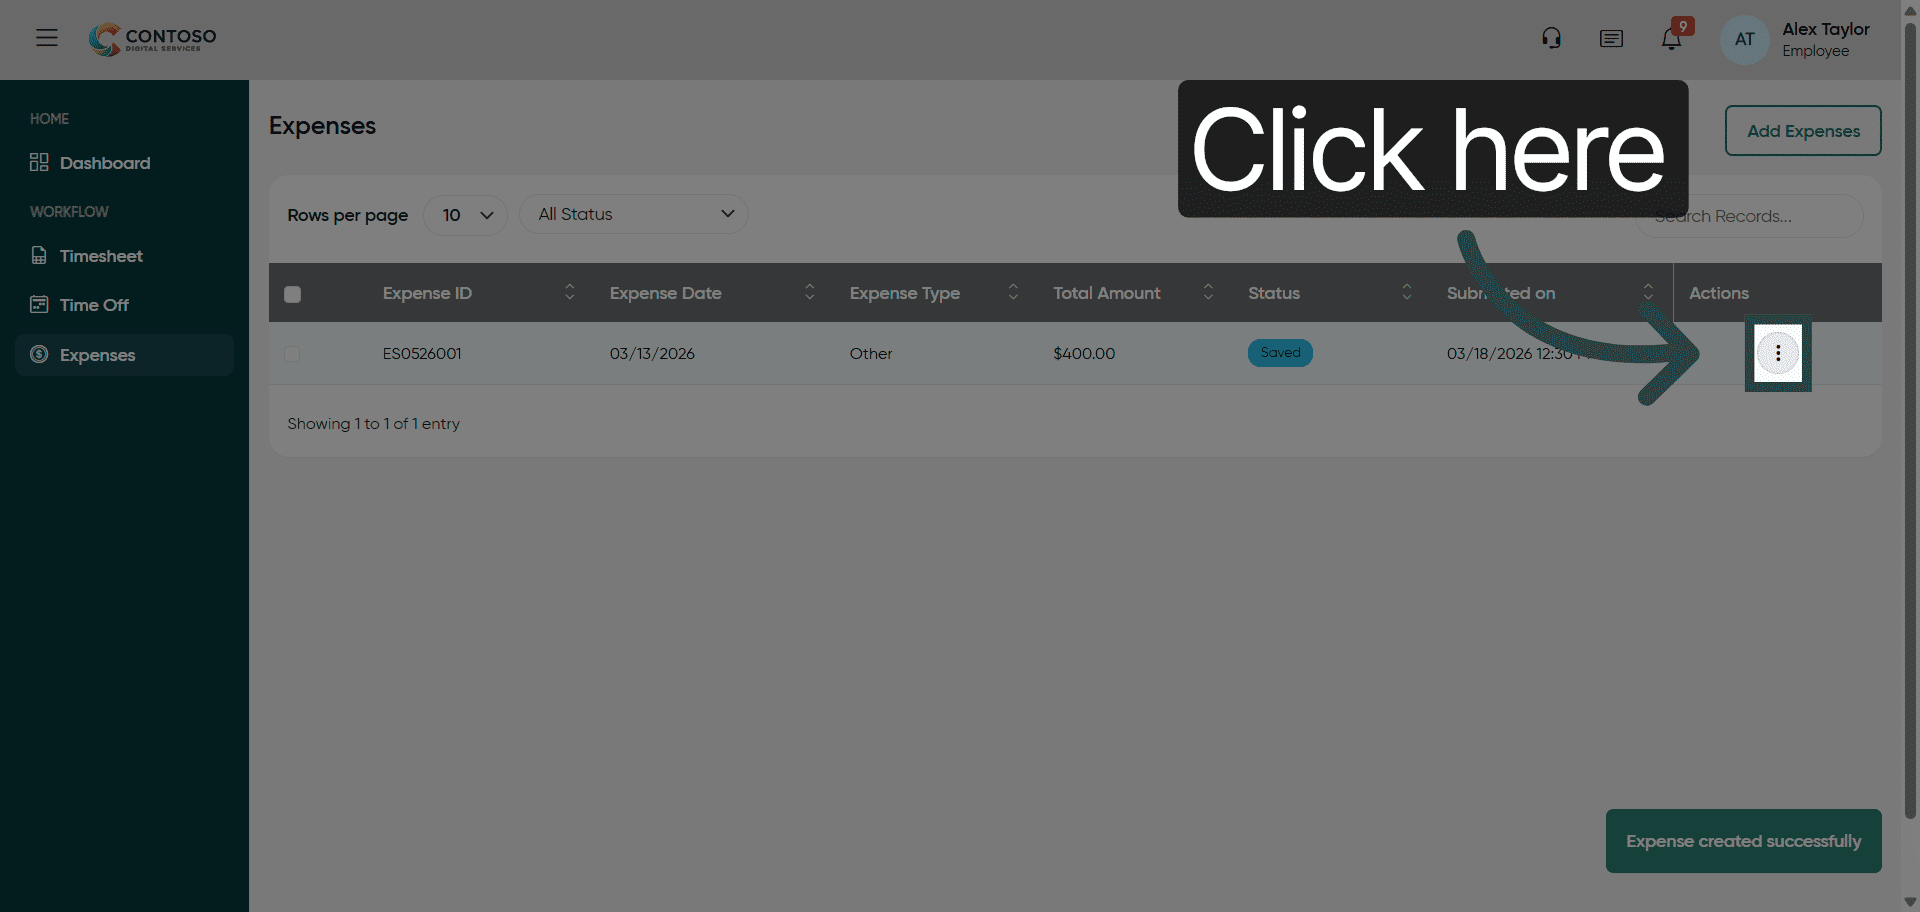
18. Access Expense Options
Click here to view additional options for your expense entry.
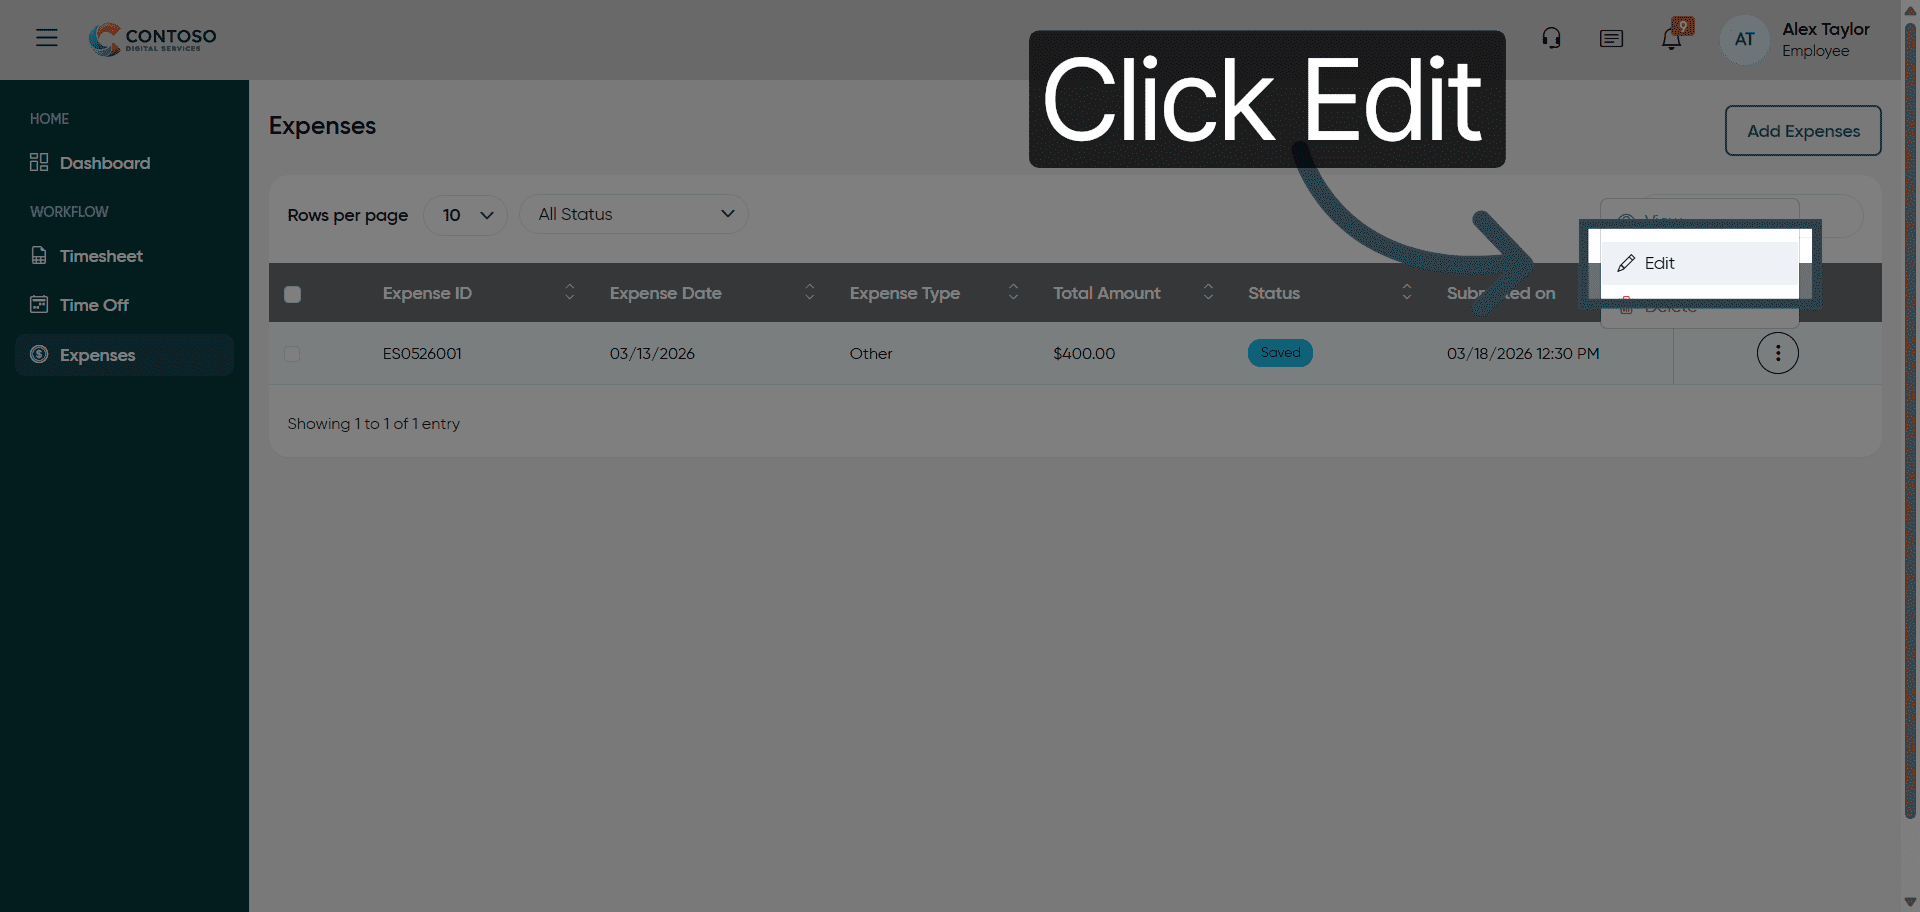
19. Edit Expense Entry
Click Edit to modify details of your existing expense record.
20. Submit Expense Report
Click Submit to finalize and send your expense report for approval.

After completing this training, you will be able to accurately add, edit, and submit expense reports within Office1solution. Practice these steps to ensure efficient and compliant expense management in your role.