
Expense Entries
This training will equip you with the skills to accurately record and manage expense entries within Office1solution.
Go to app.office1solution.com
1. Introduction
You will learn how to add, edit, and delete expenses to maintain precise financial records.
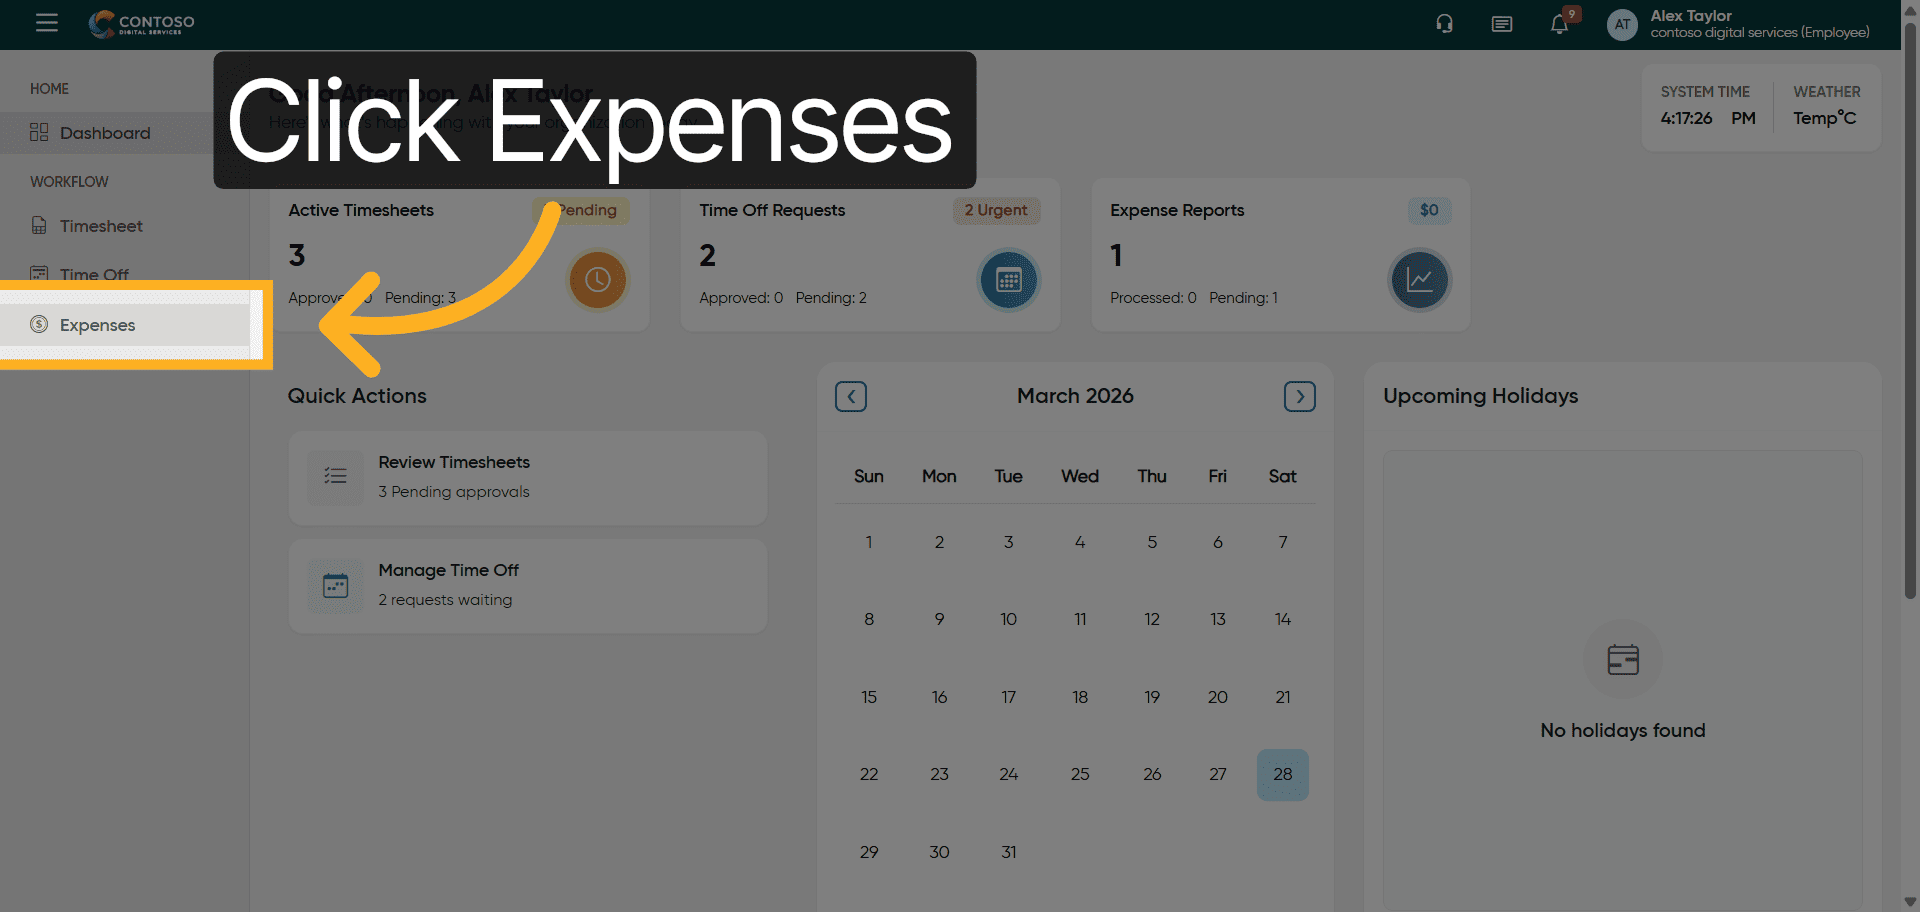
2. Access Expenses Section
Click the Expenses section to view and manage your expense records.
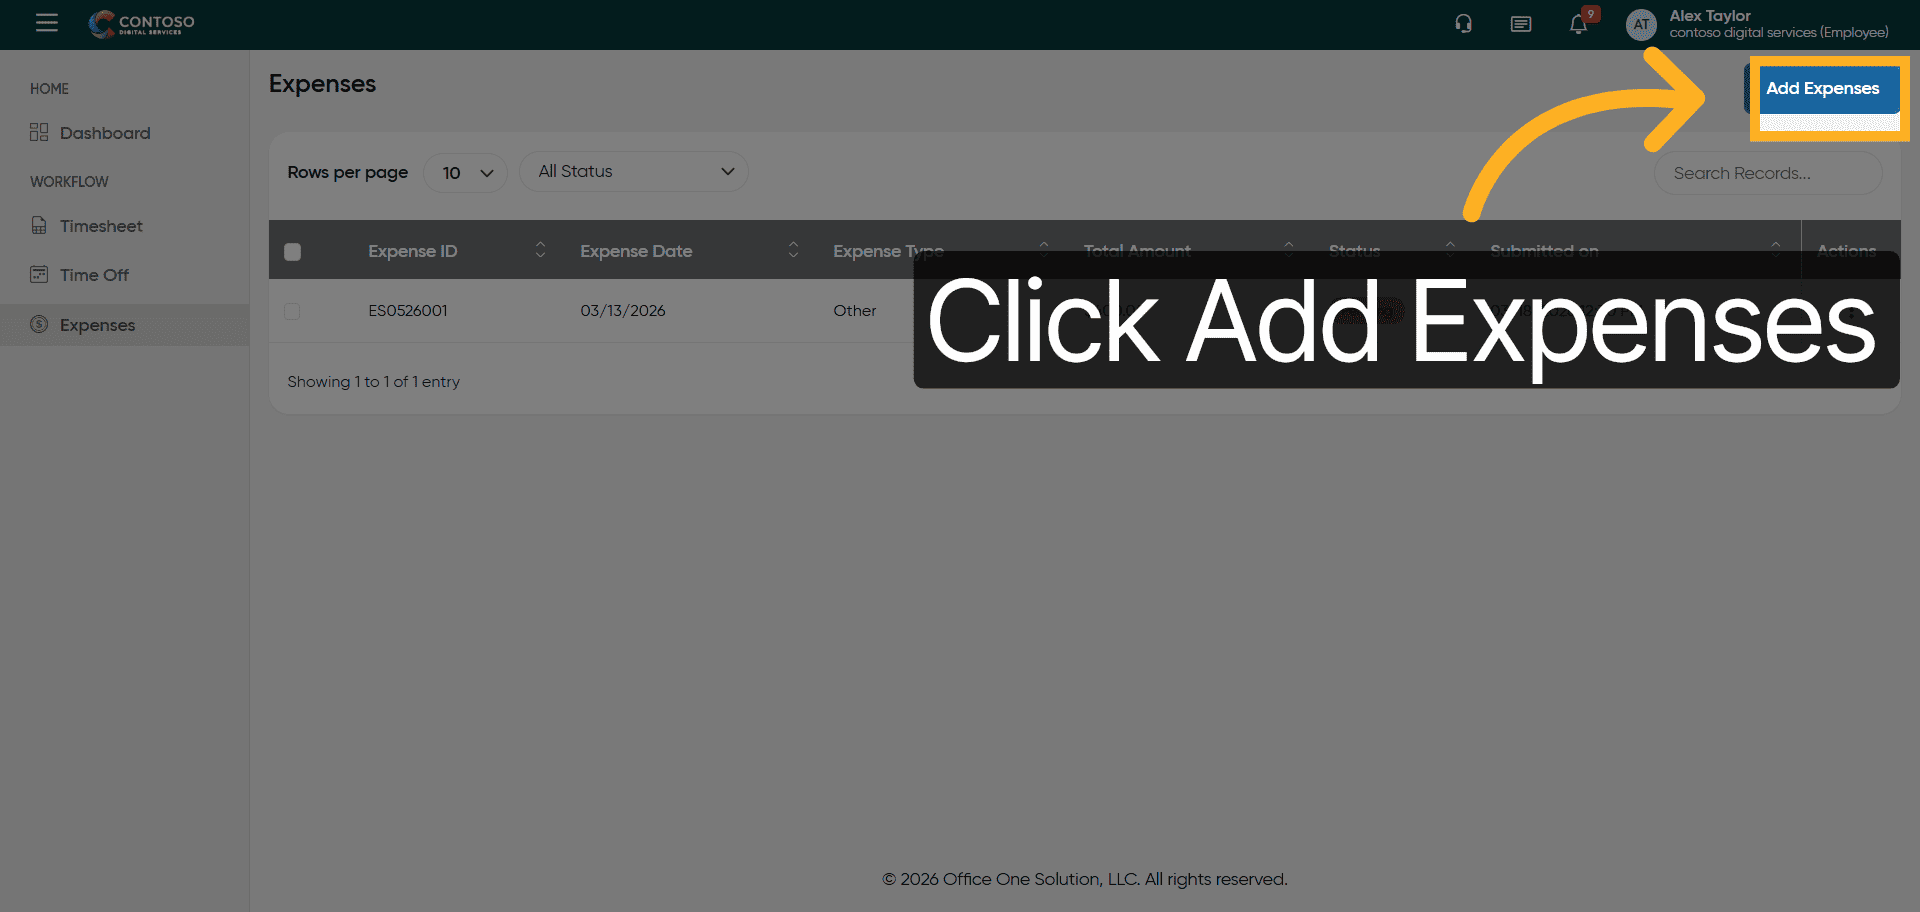
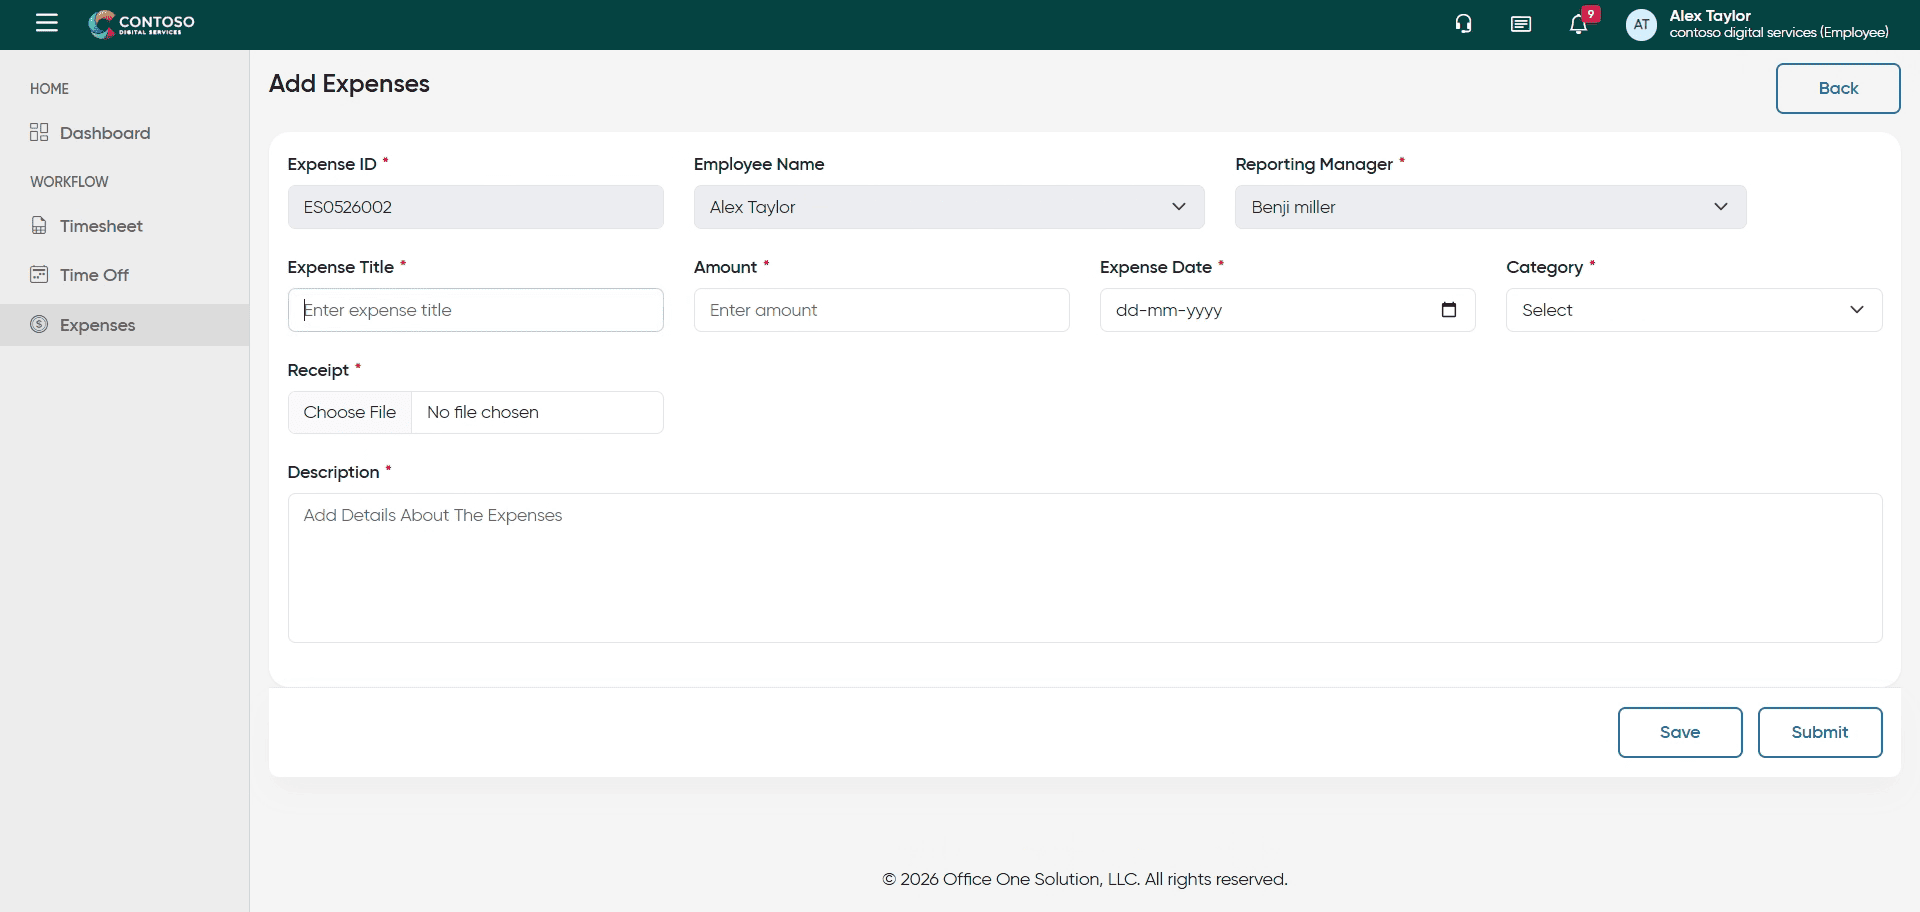
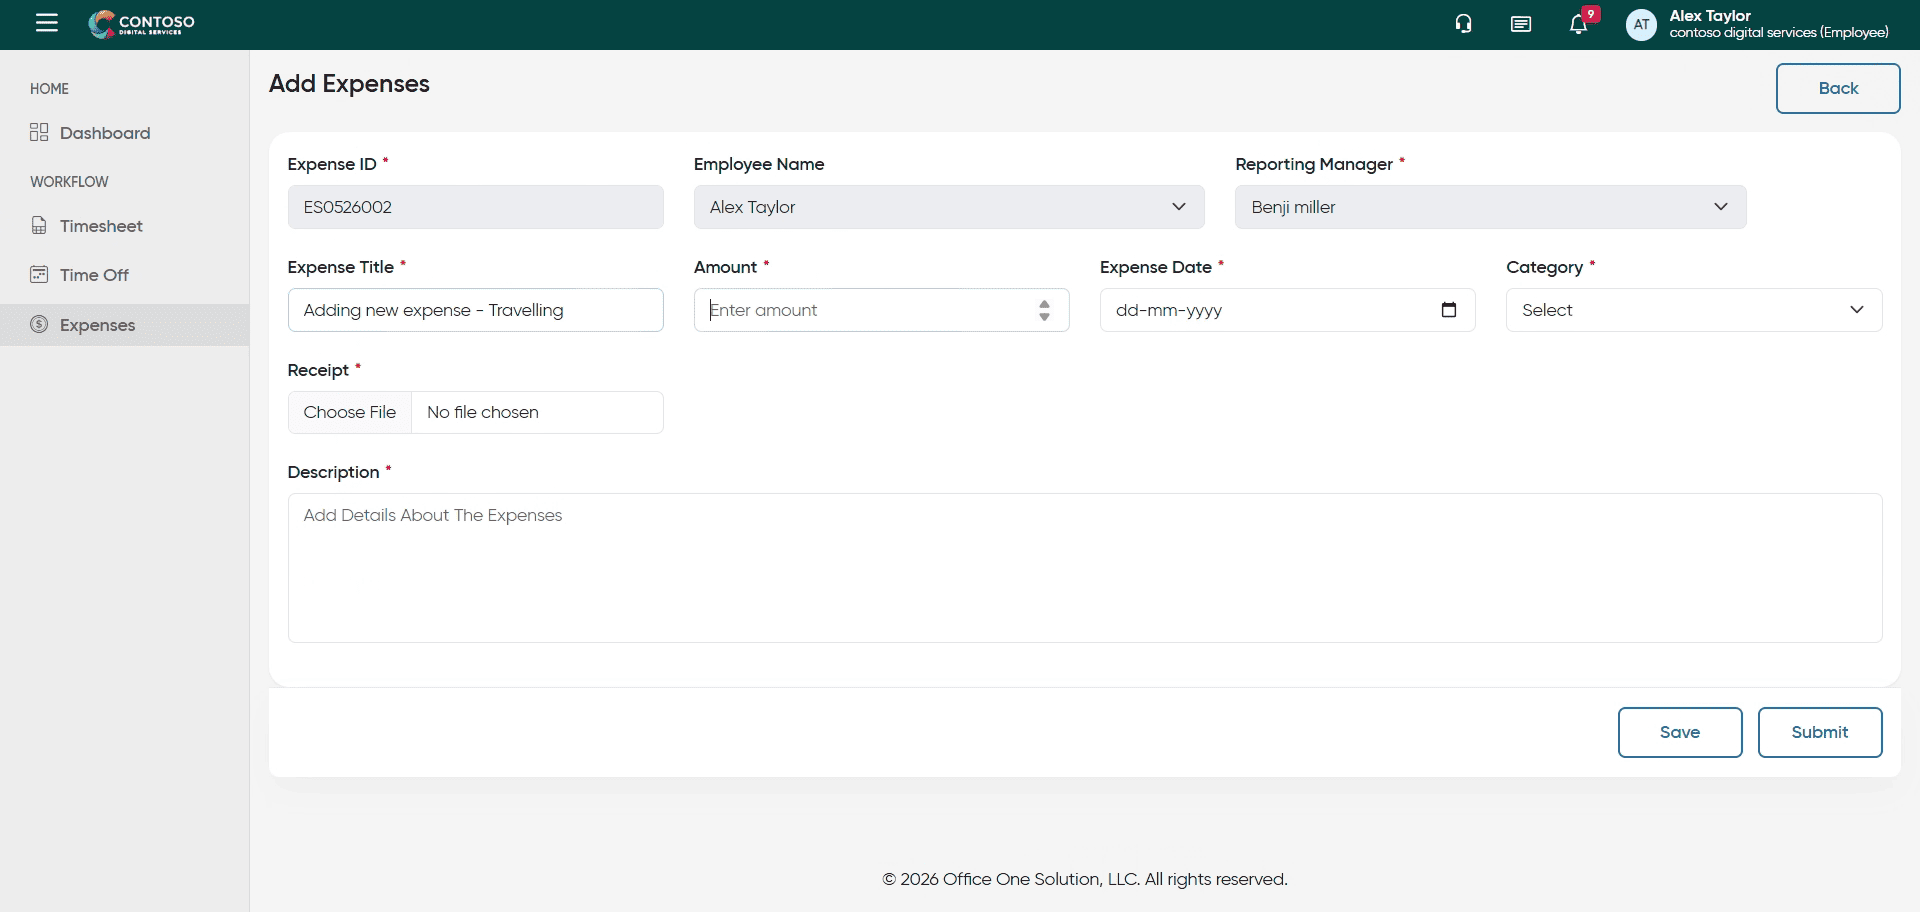
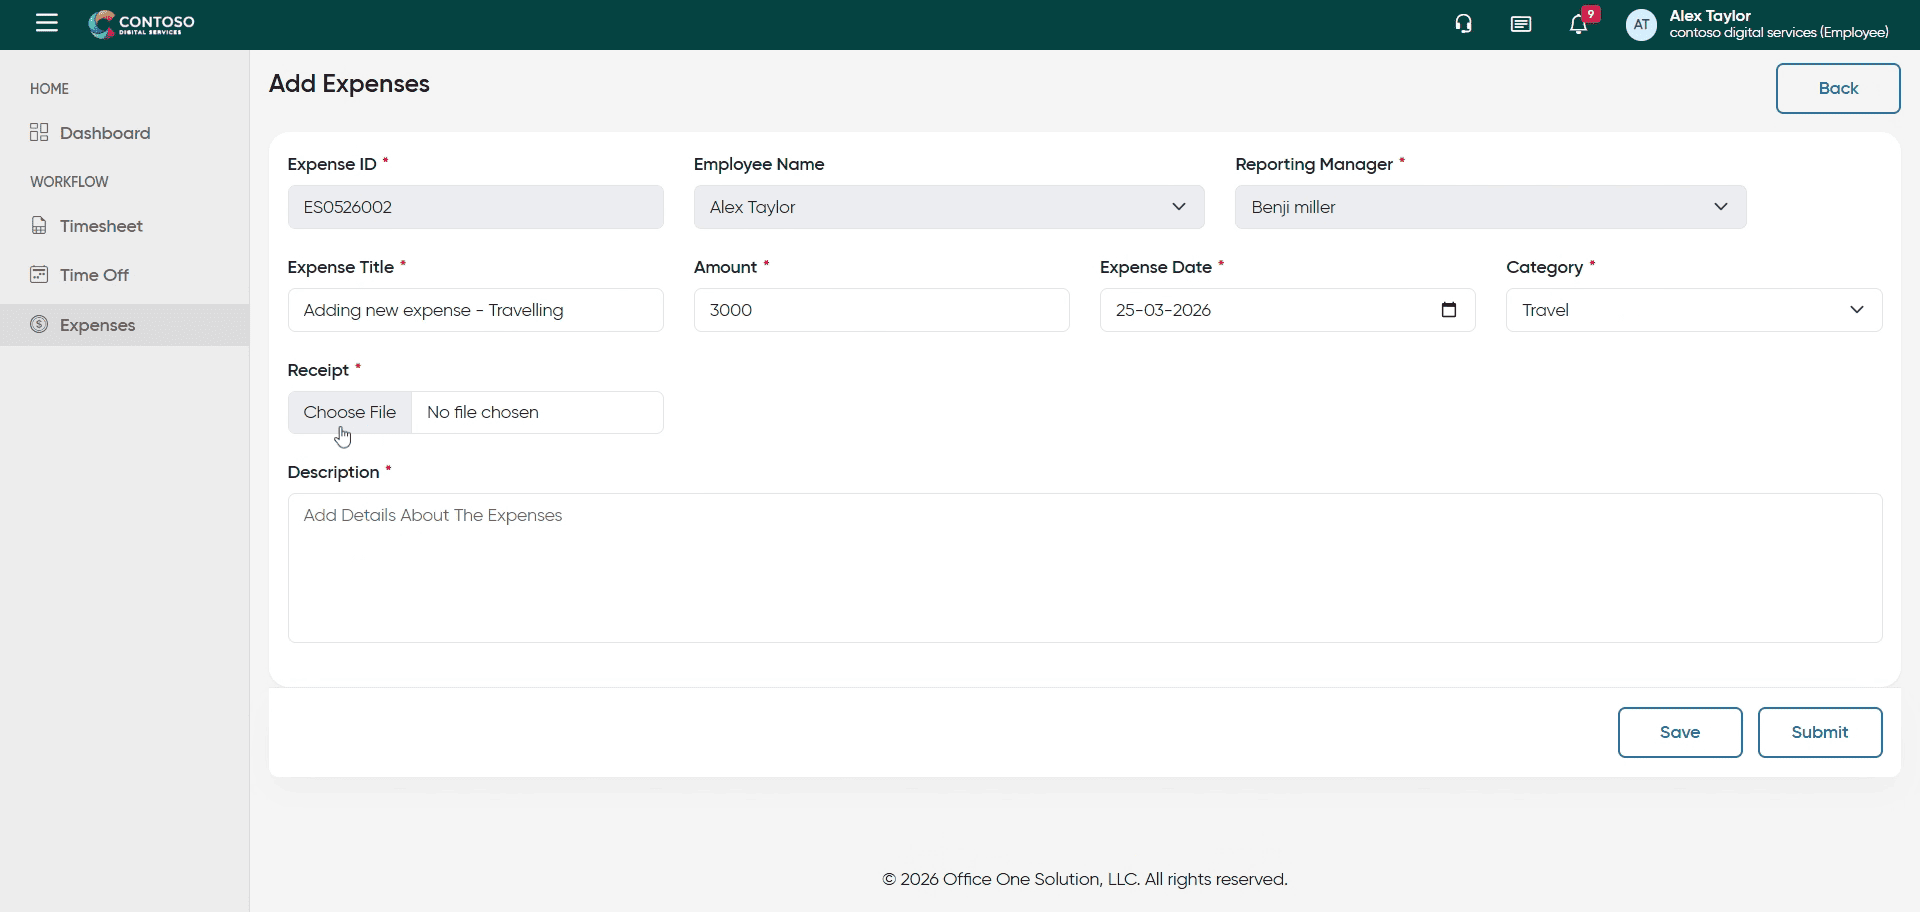
3. Open Add Expenses Form
Click the Add Expenses button to start entering a new expense record.
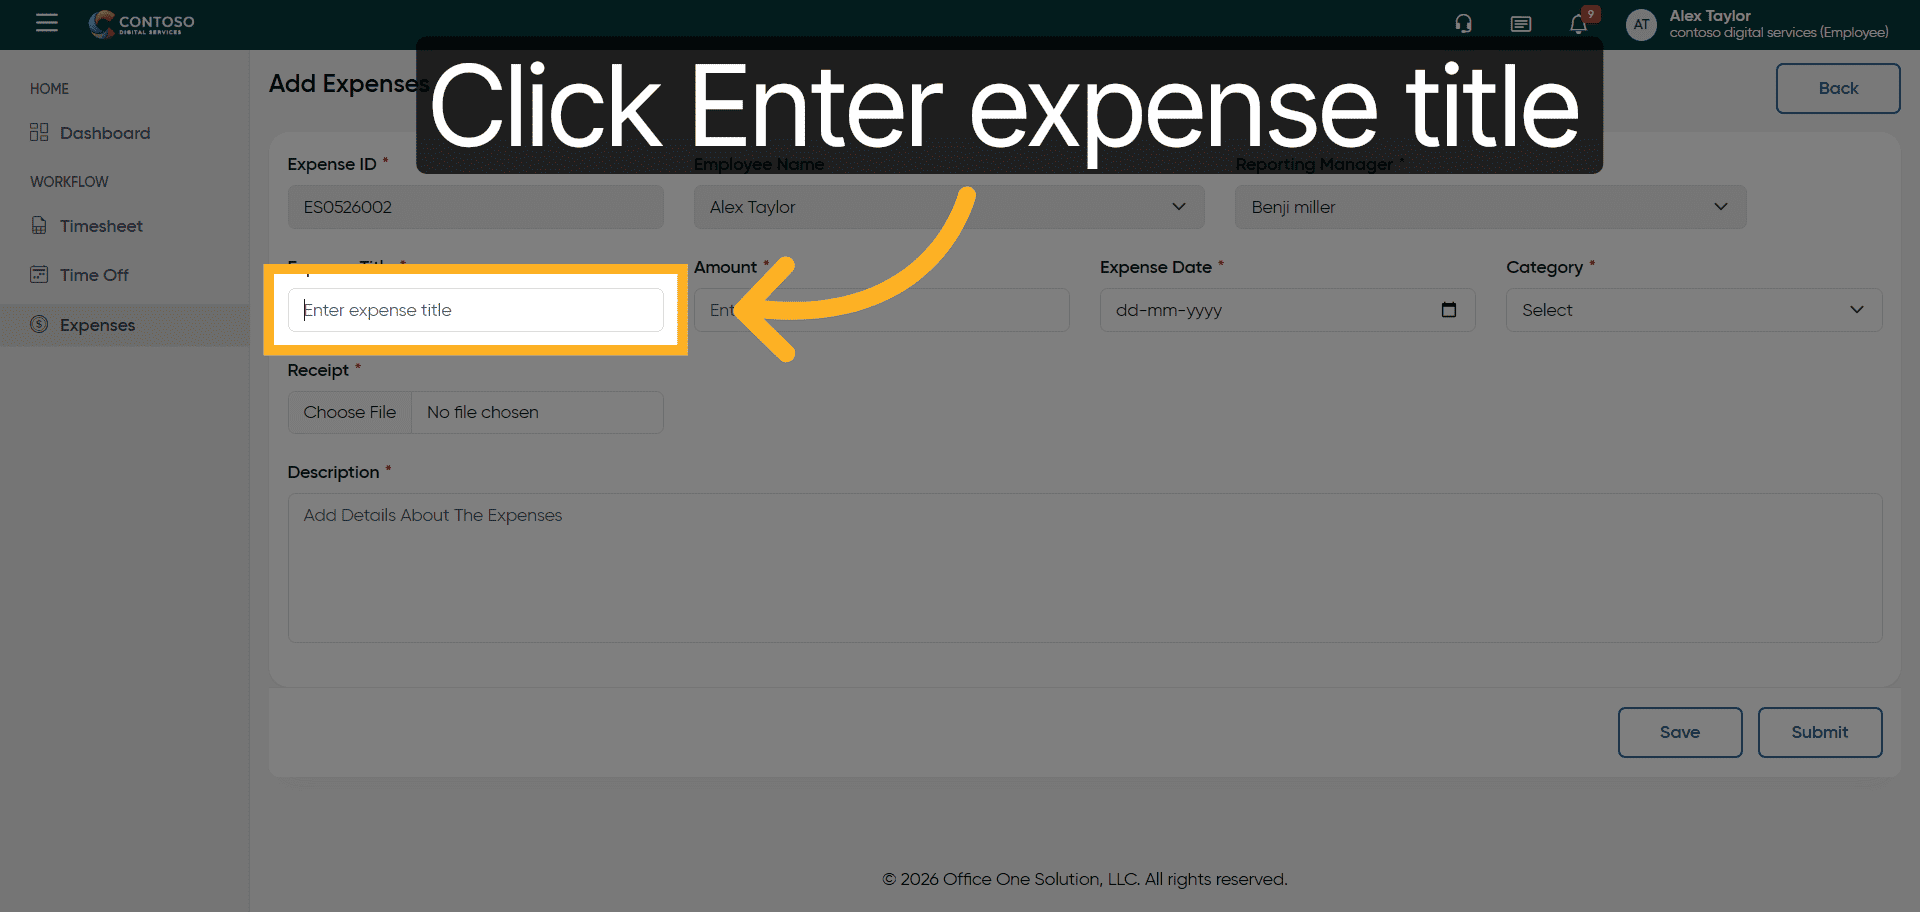
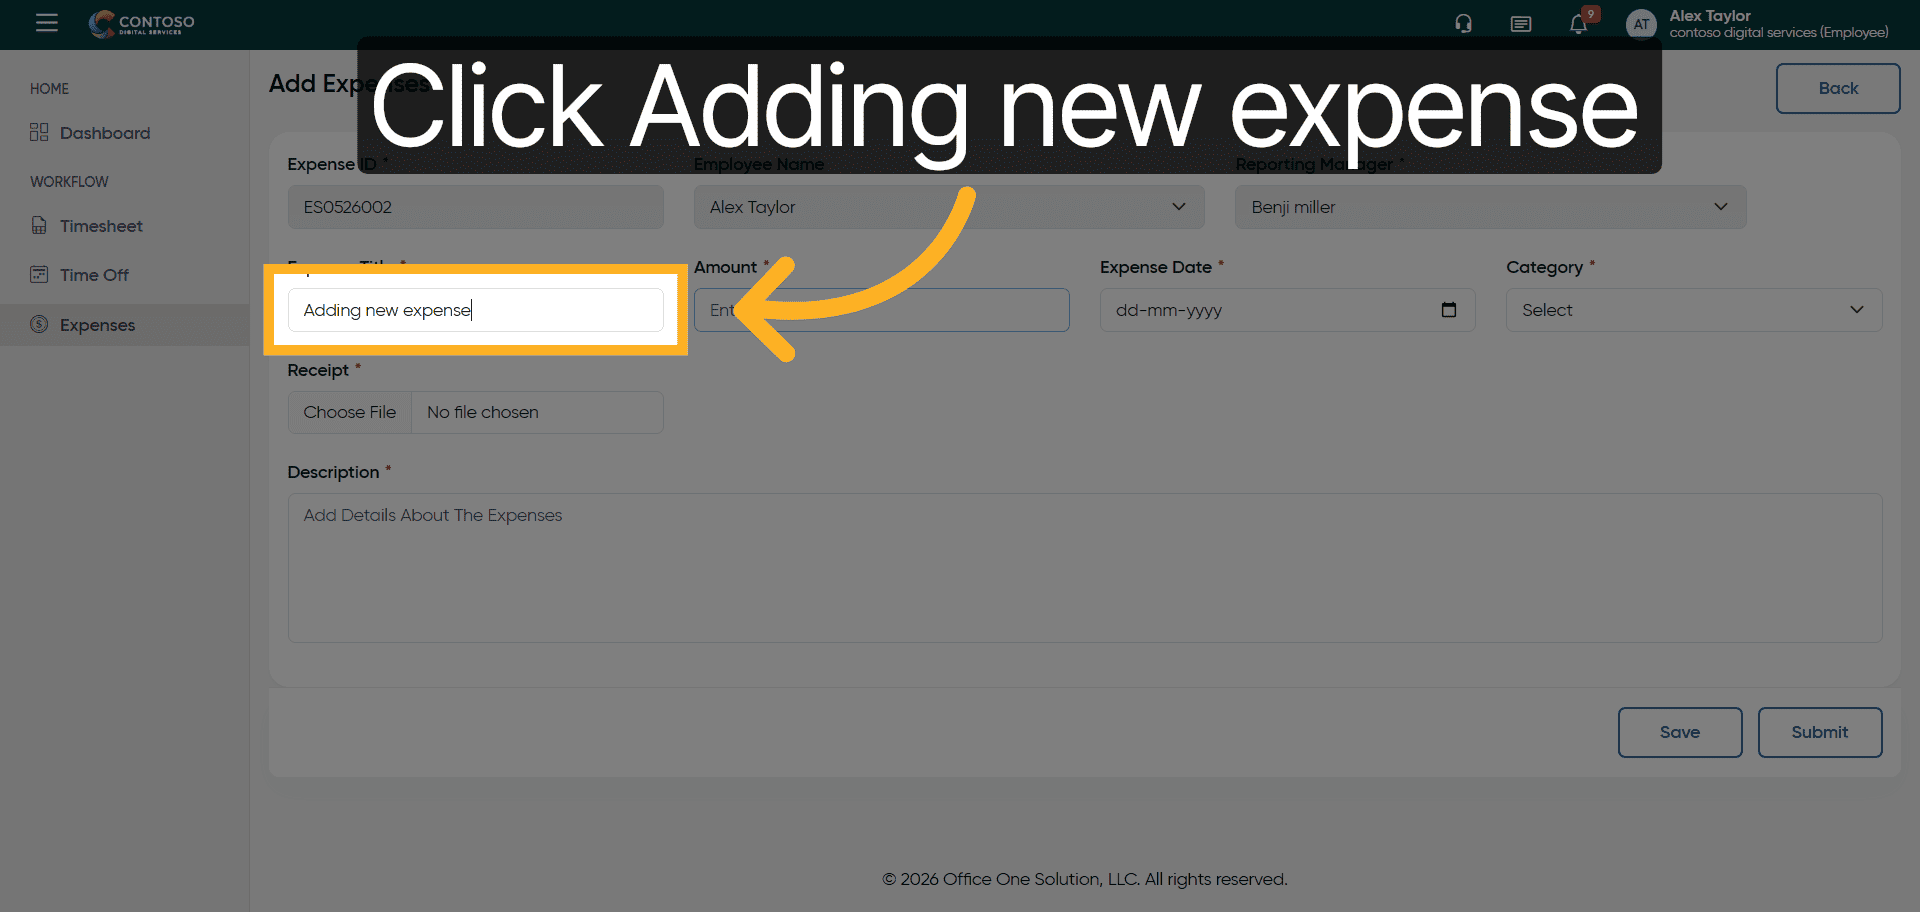
4. Select Expense Title Field
Click the Enter expense title field to specify the name of your expense.
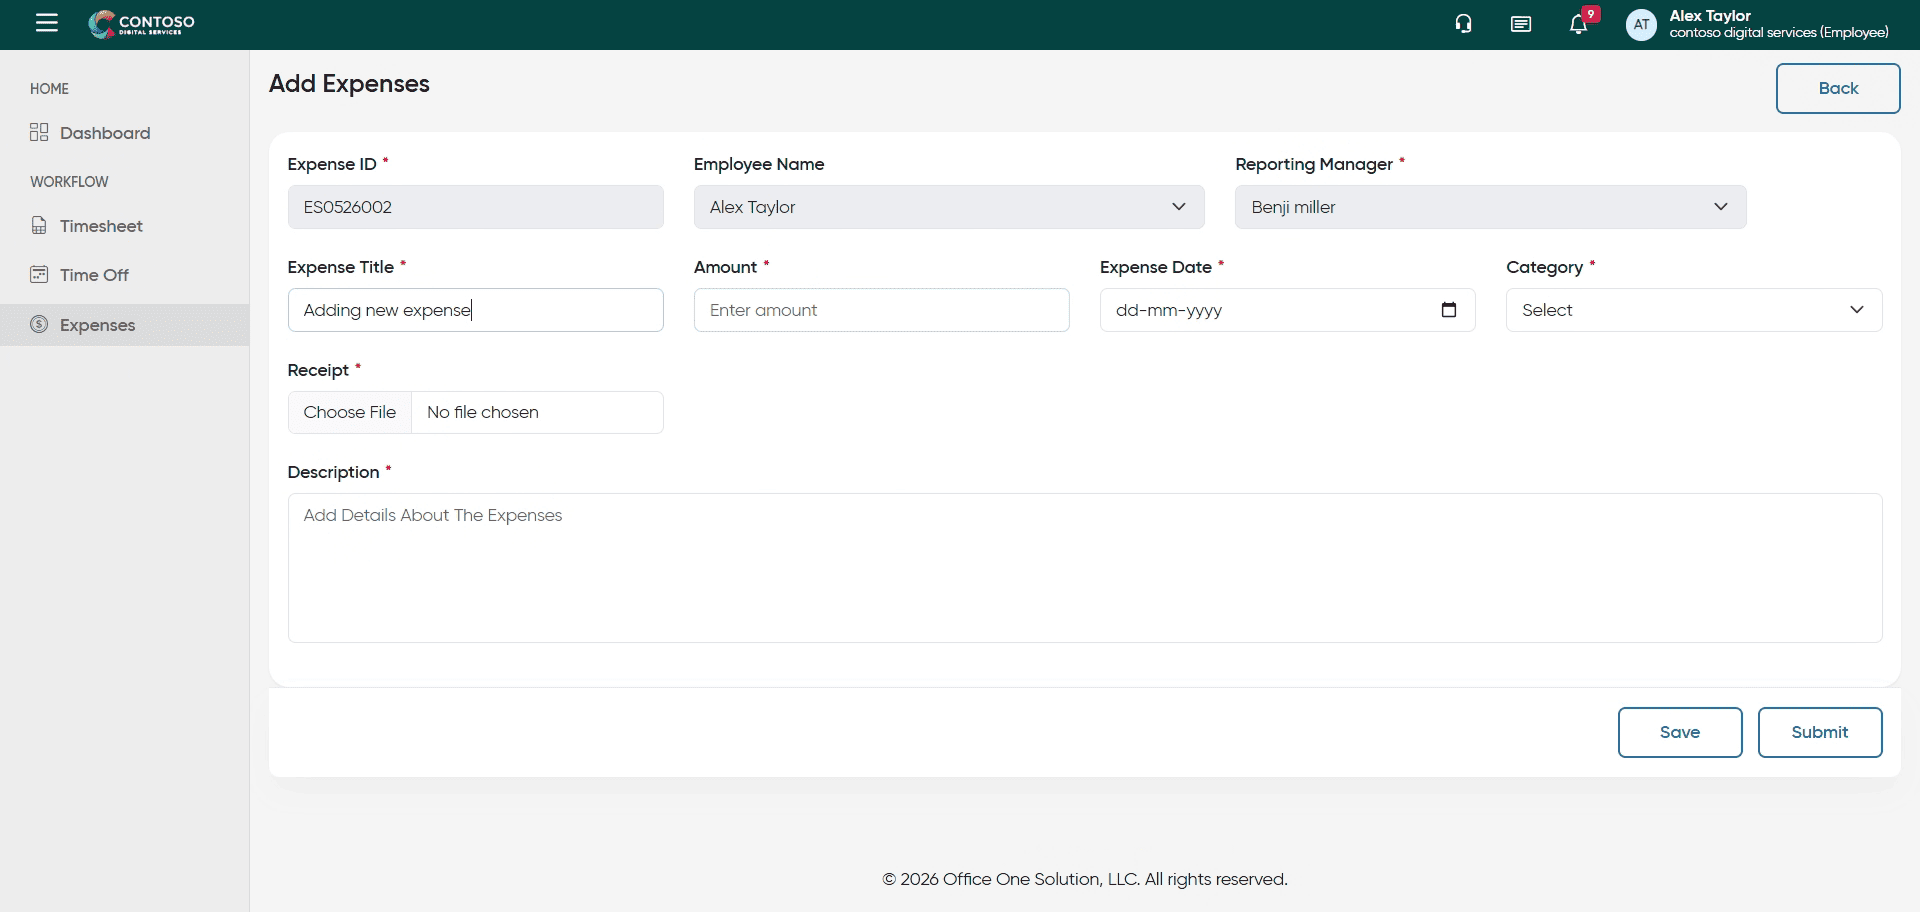
5. Enter Expense Title
Enter the title Adding new expense to describe your expense.
6. Confirm Expense Title
Click the Adding new expense title to confirm your entry.
7. Specify Expense Category
Enter Adding new expense – Travelling to categorize your expense appropriately.
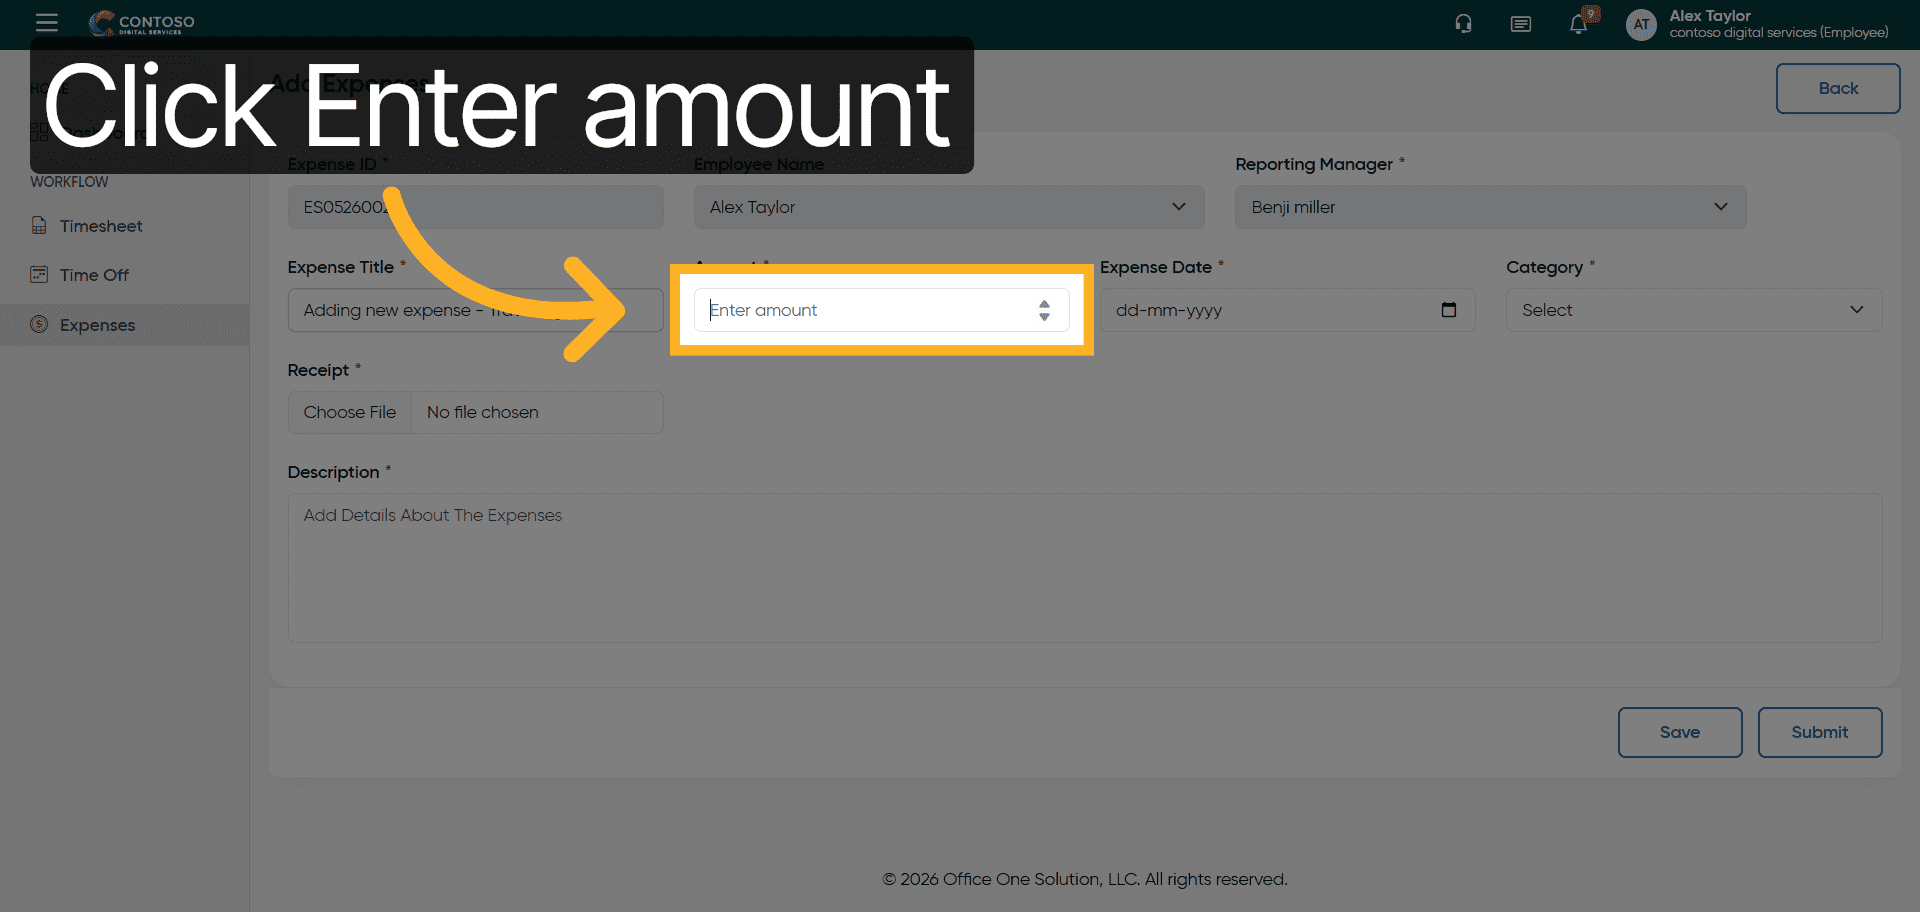
8. Select Amount Field
Click the Enter amount field to input the expense cost.
9. Enter Expense Amount
Enter 3000 as the amount for this expense.
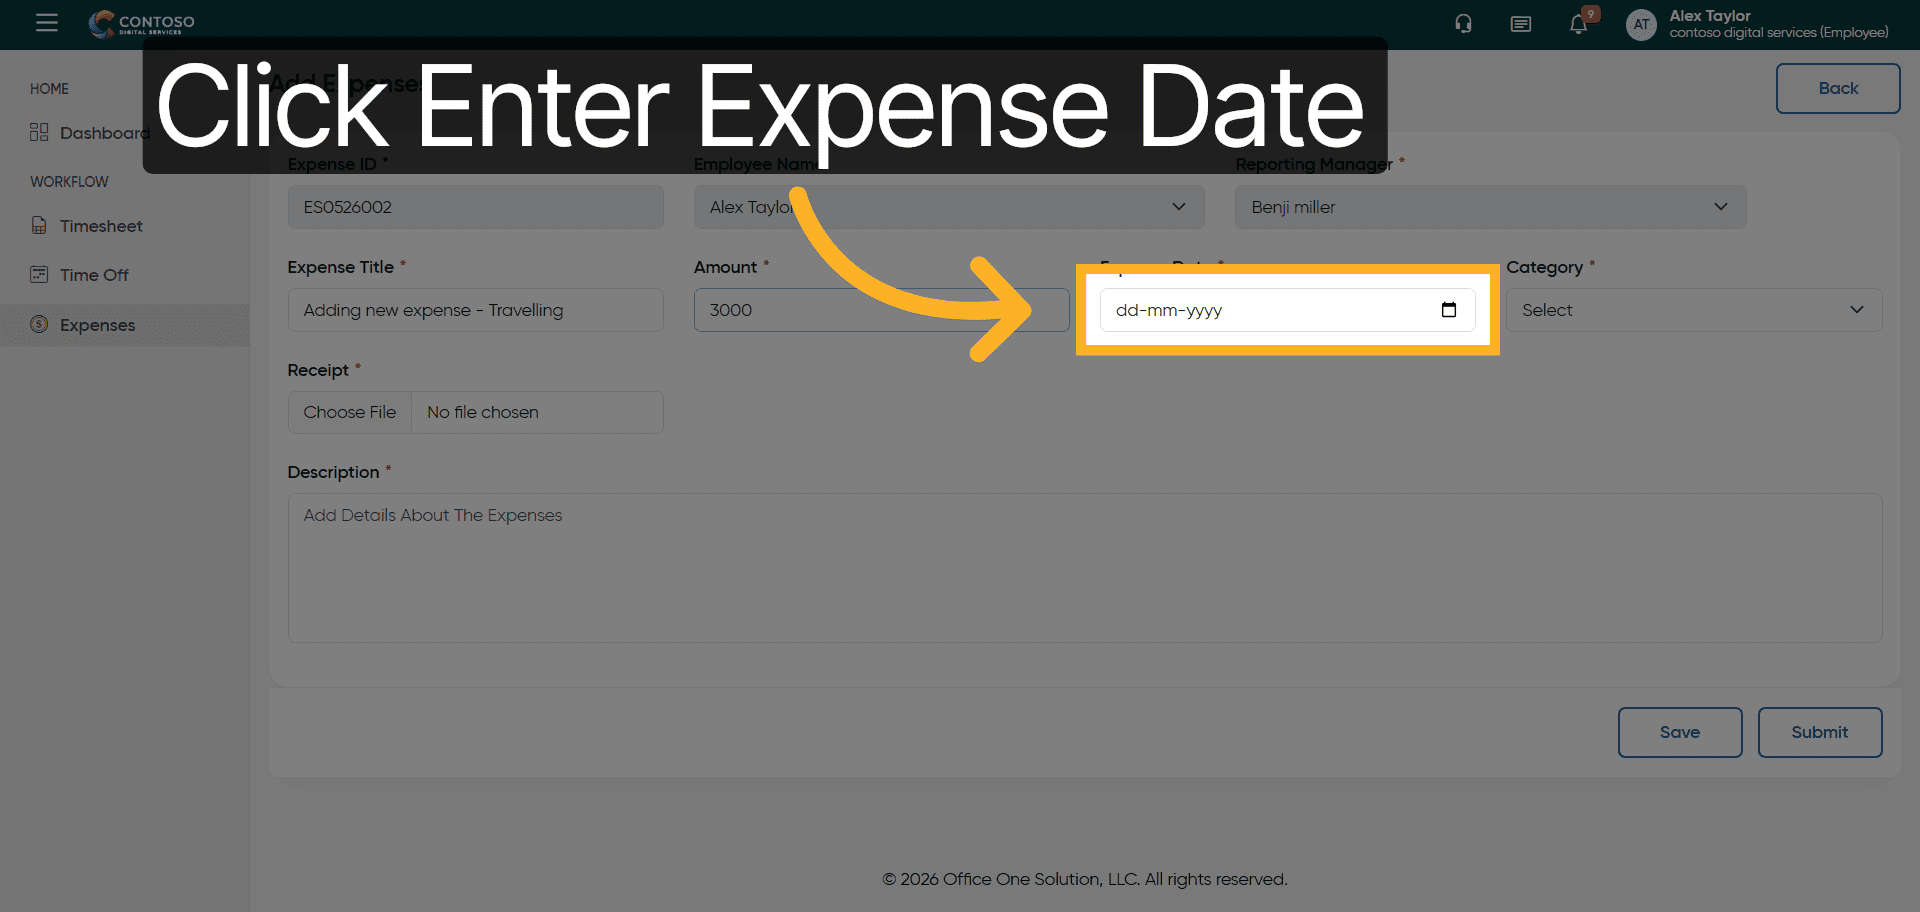
10. Select Expense Date Field
Click the Enter Expense Date field to specify when the expense occurred.
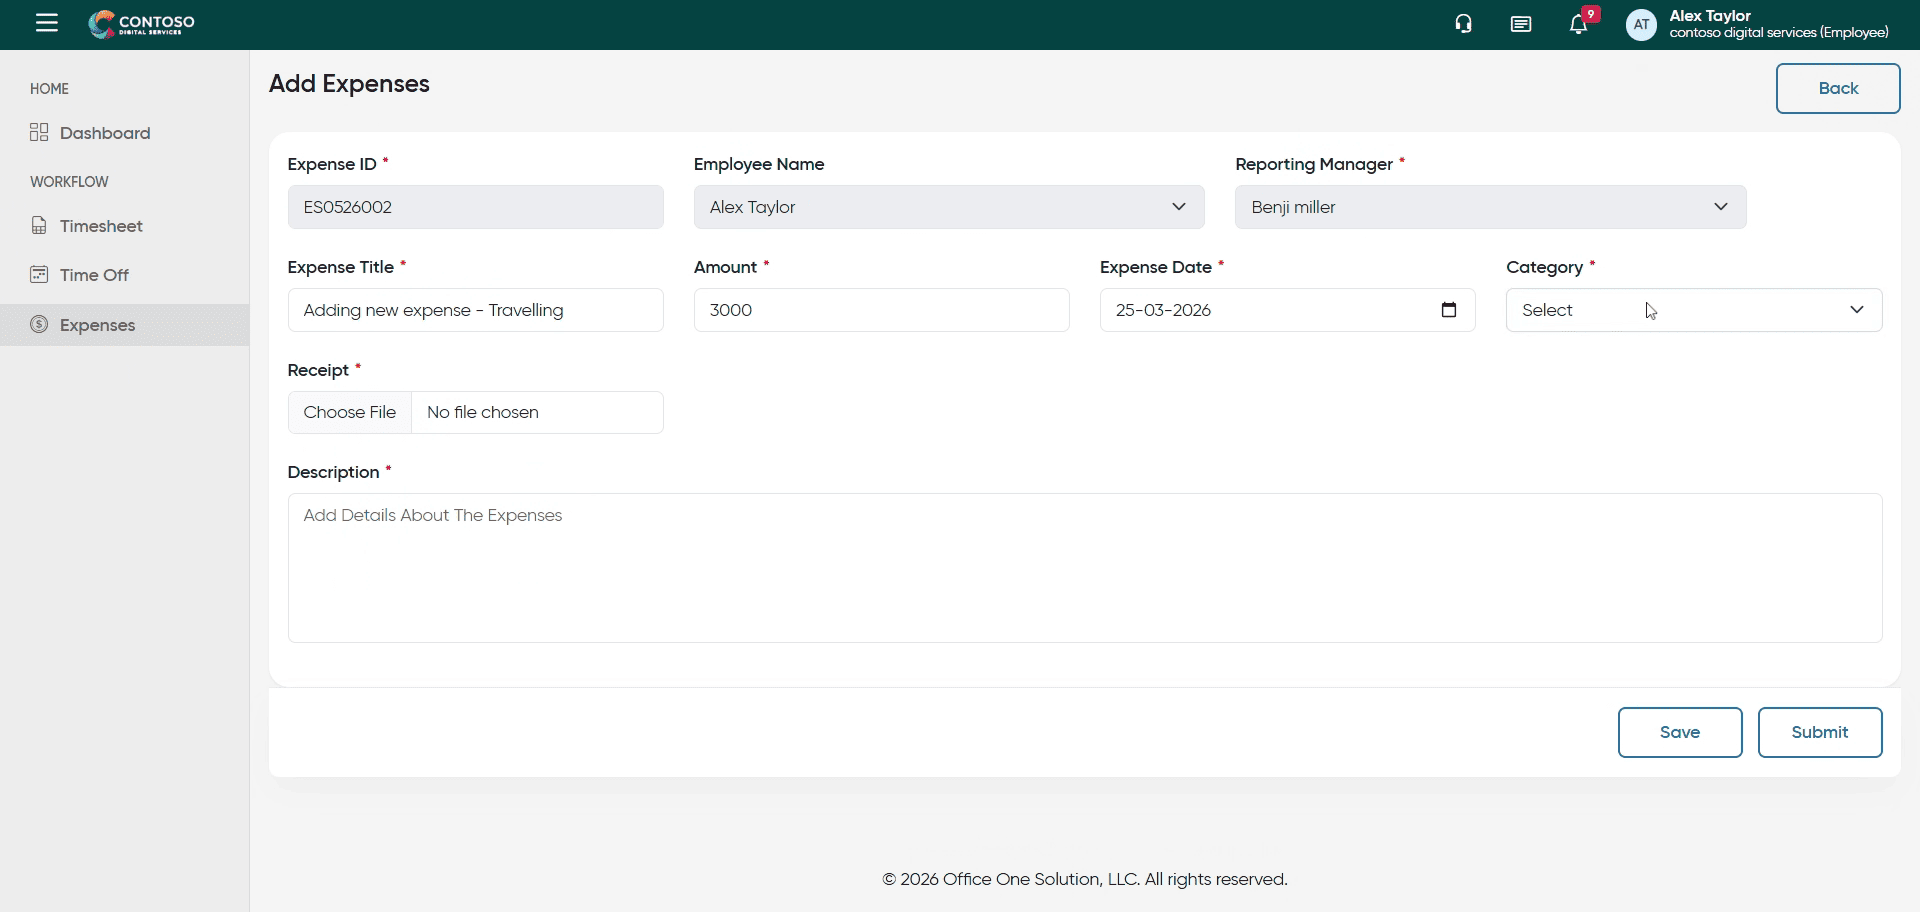
11. Input Expense Date
Enter 2026-03-25 as the date of the expense.

12. Open Category Dropdown
Click the category dropdown to select the type of expense such as Meals, Travel, or Accommodation.

13. Choose Expense Category
Select the appropriate expense category from the dropdown options.
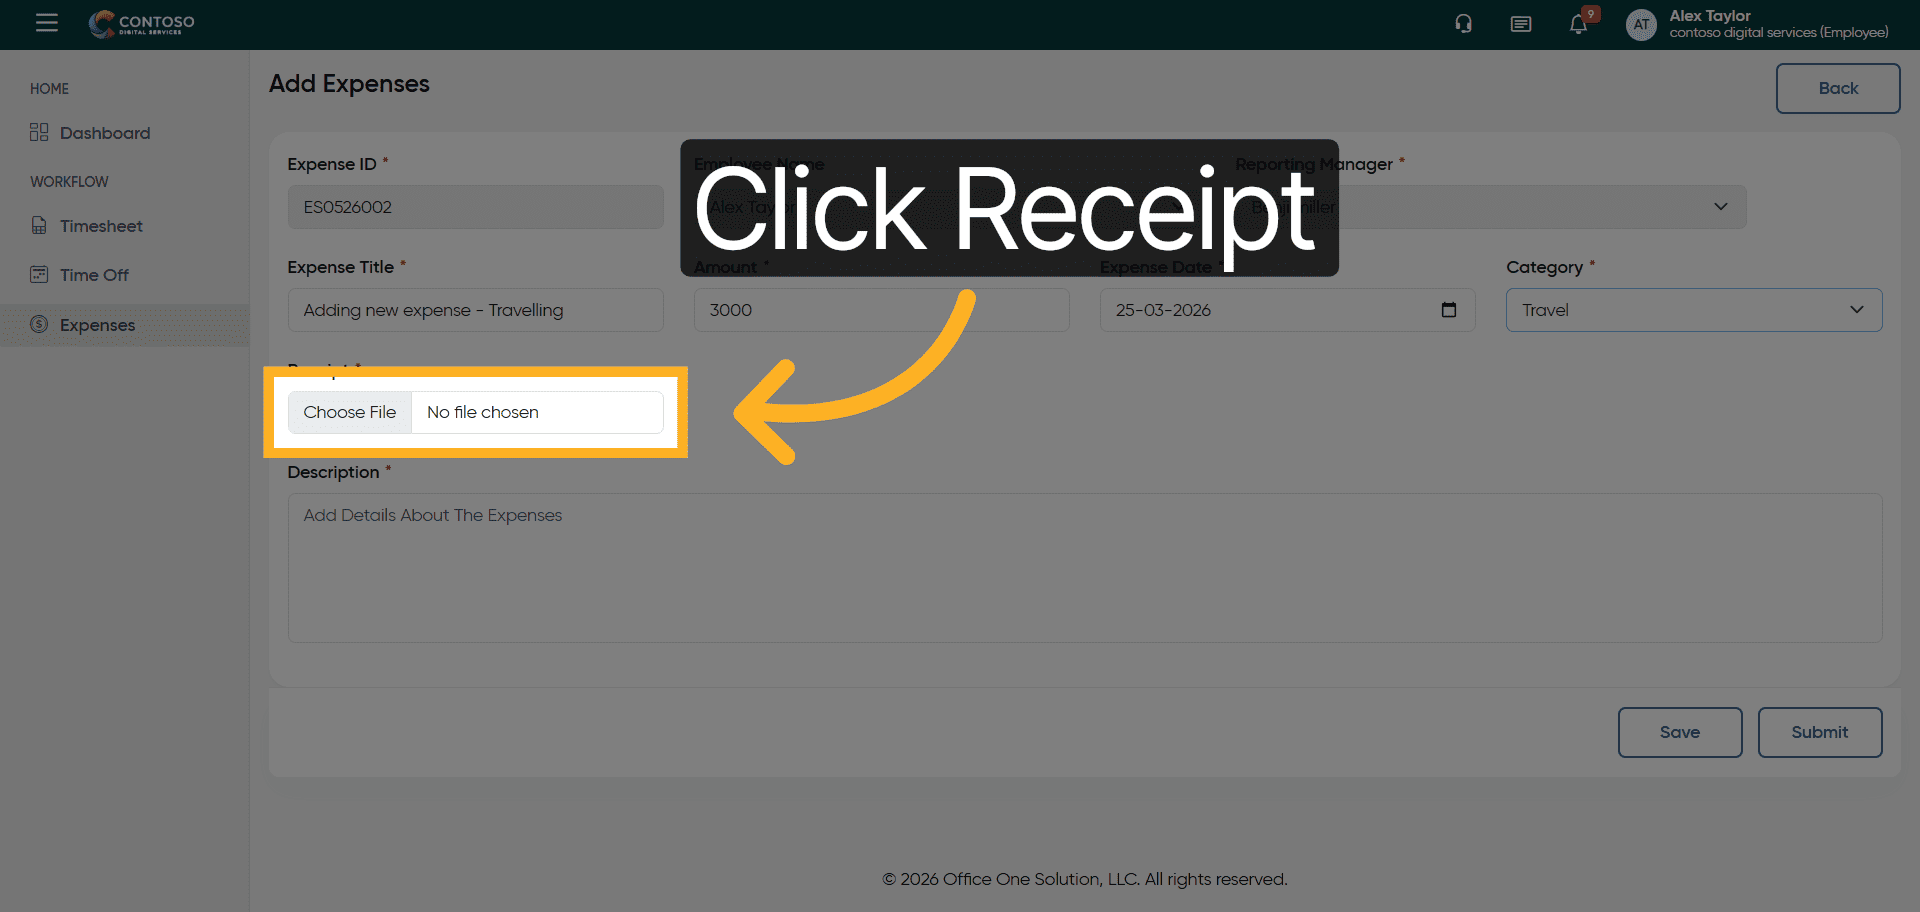
14. Access Receipt Upload
Click the Receipt field to upload supporting documents for your expense.
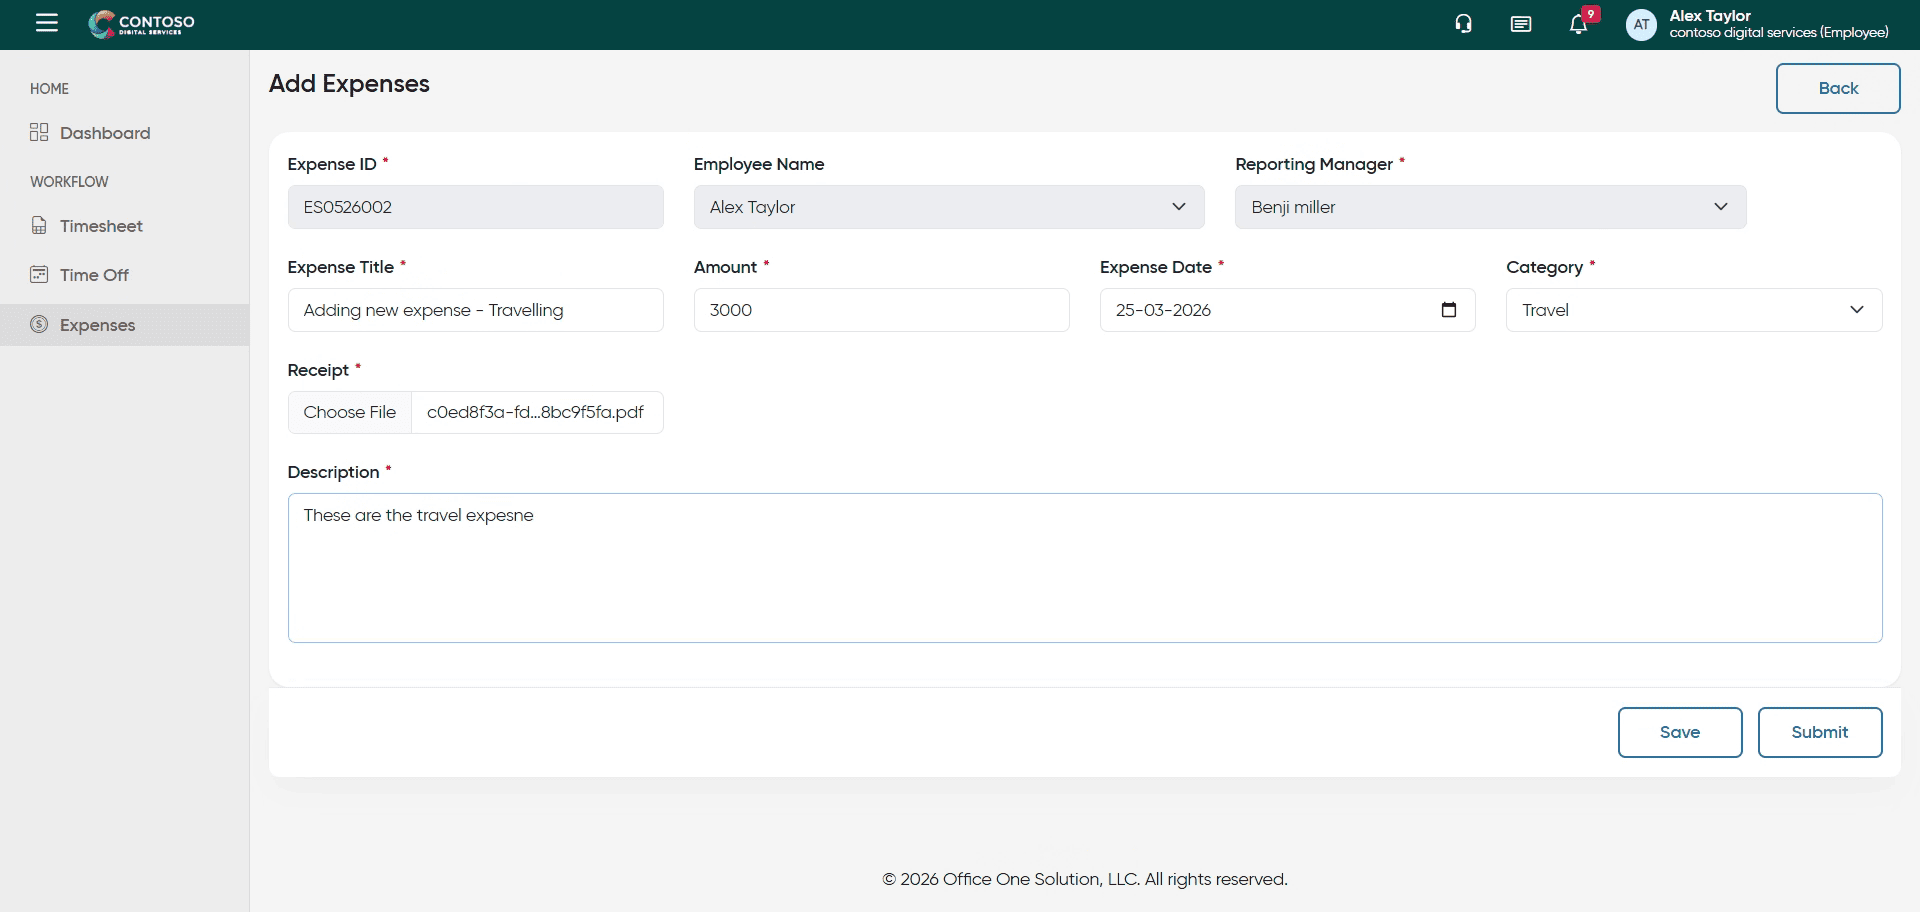
15. Upload Receipt Document
Upload the receipt file from your computer to validate the expense.
16. Select Description Field
Click the Description field to add details about your expense.

17. Enter Expense Description
Enter These are the travel expenses from last trip to provide context for the expense.
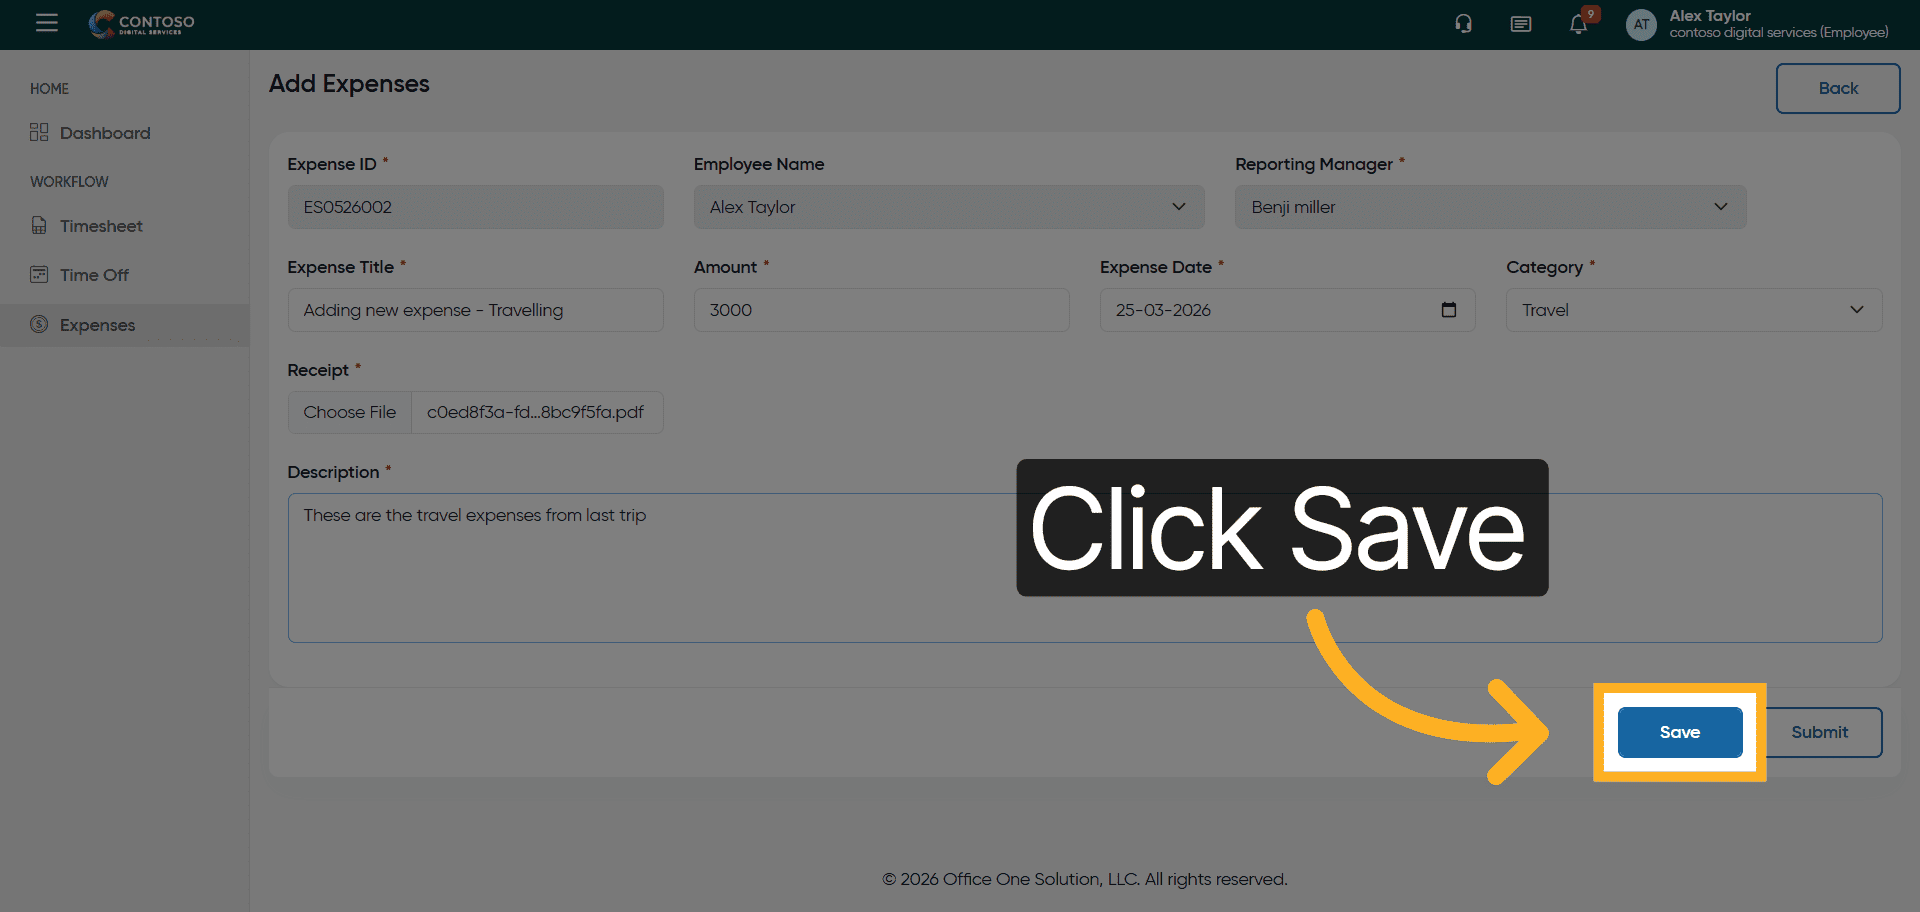
18. Save Expense Entry
Click the Save button to record the new expense in the system.
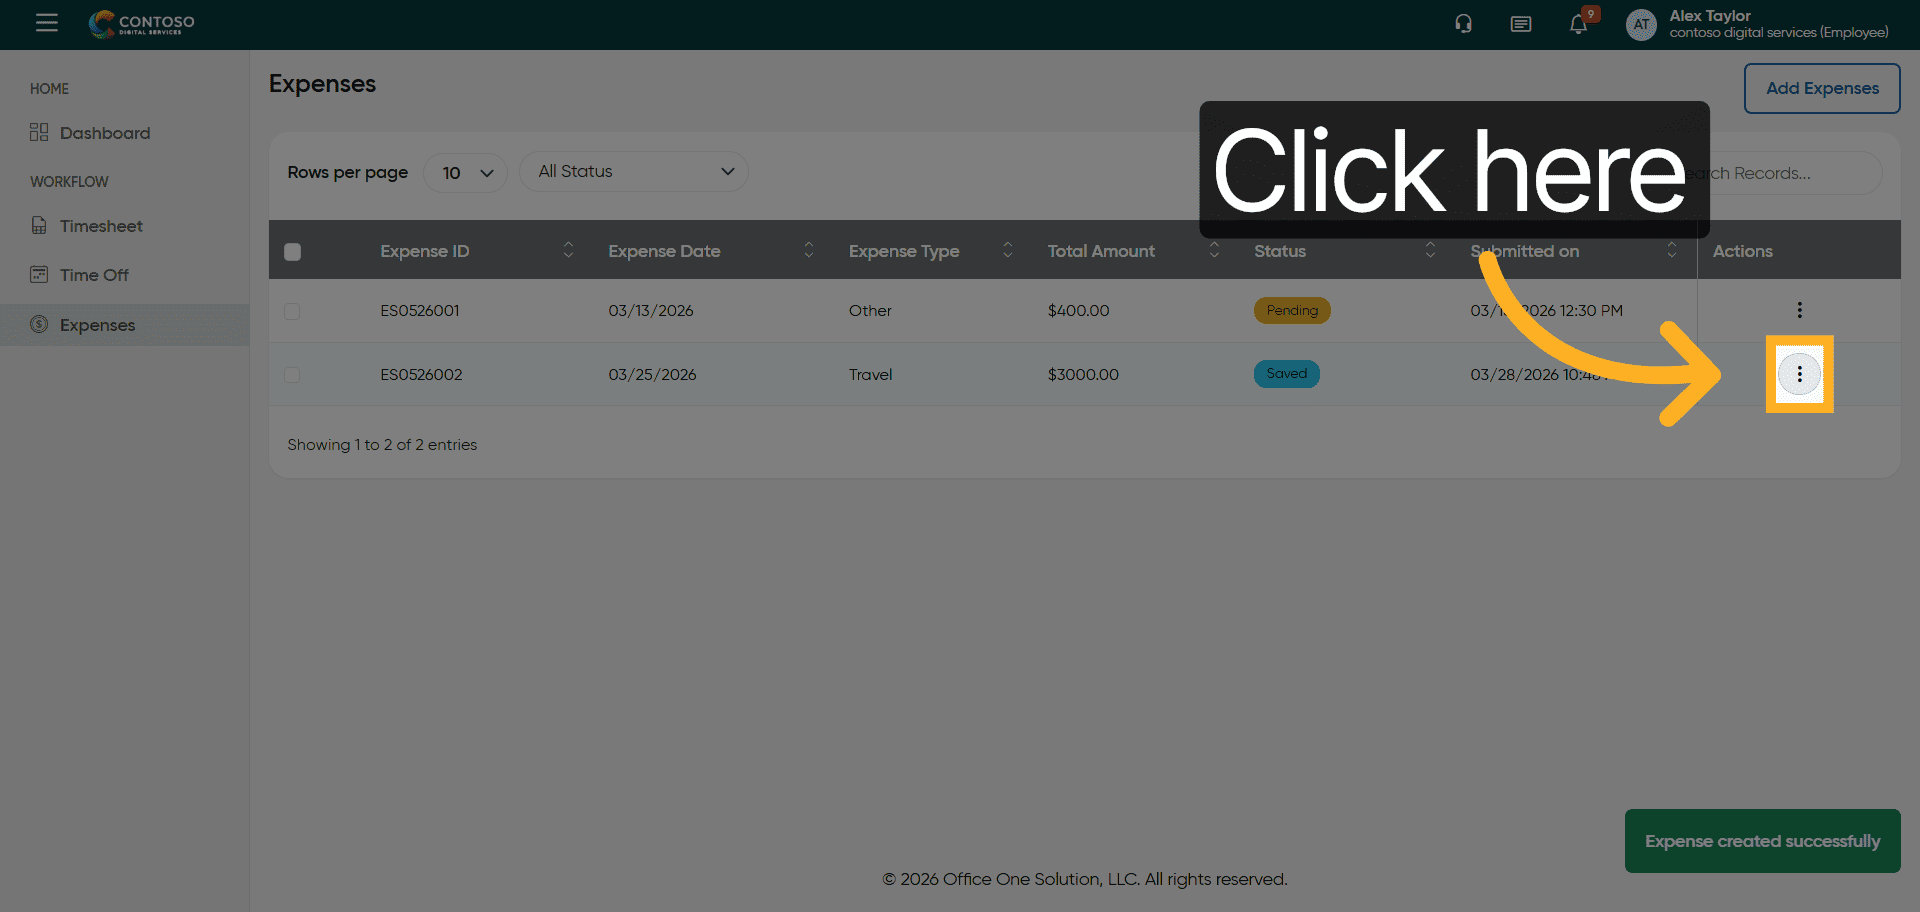
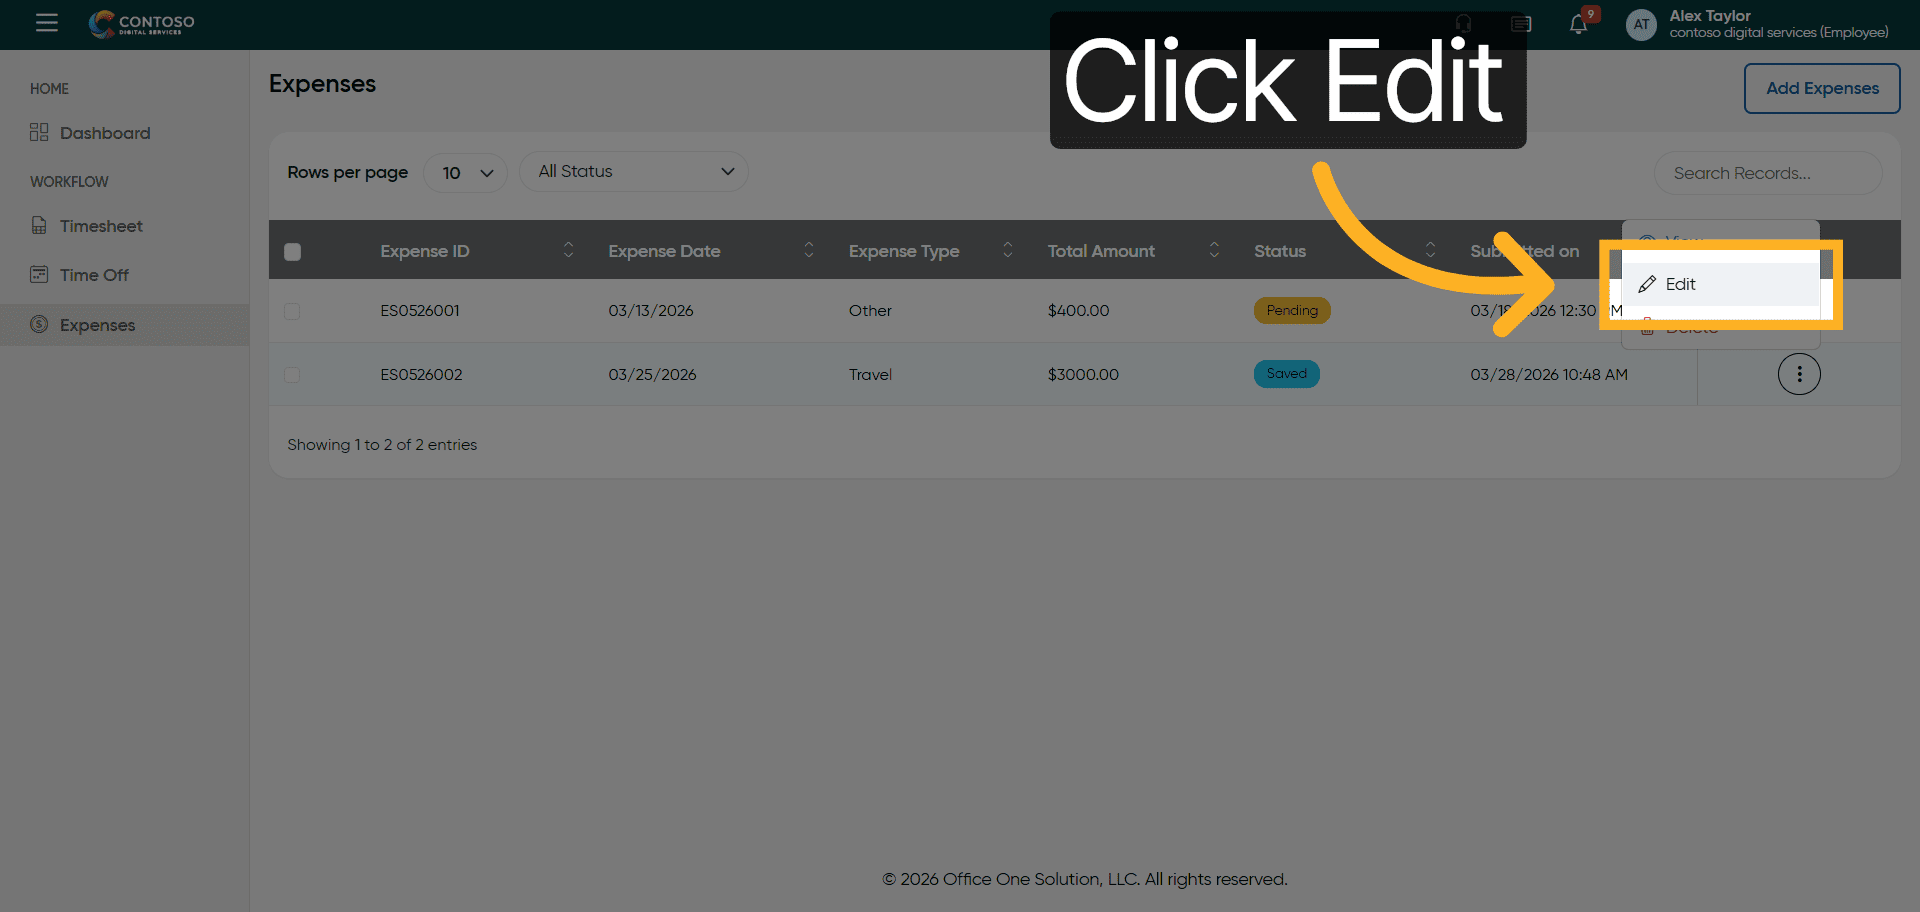
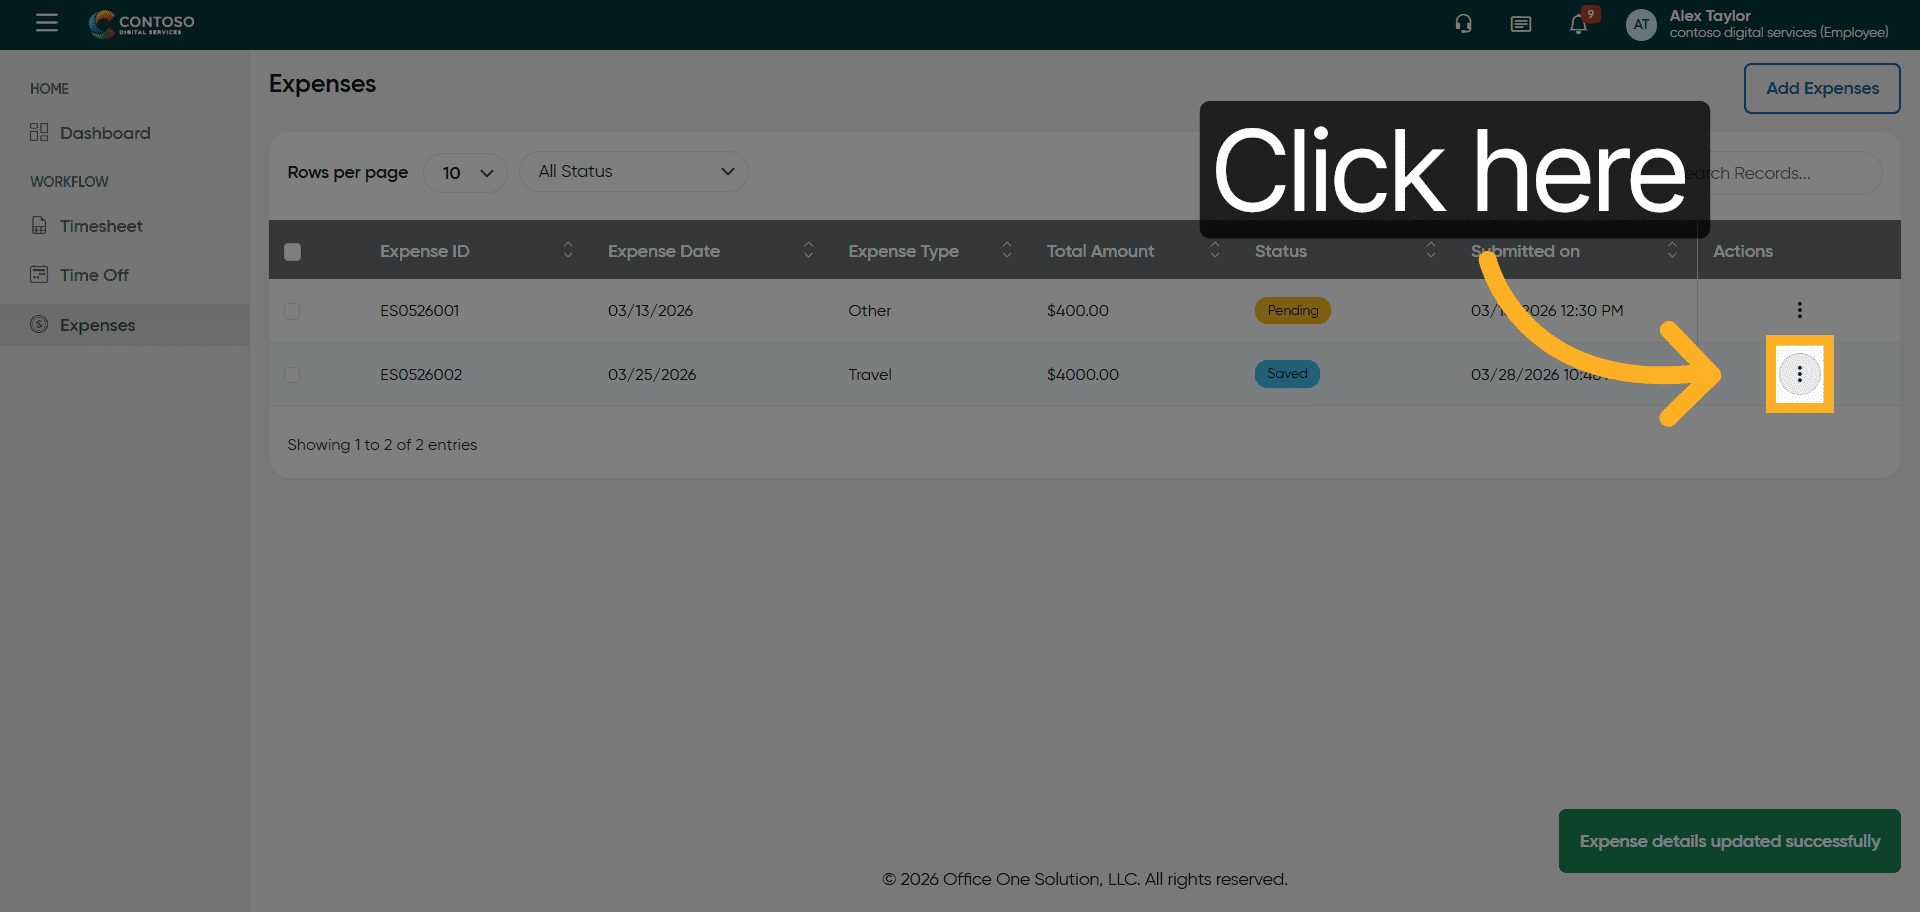
19. Access Expense Options
Click here to view additional options for the expense entry.
20. Open Edit Expense
Click the Edit button to modify the existing expense details.
21. Select Amount Field
Click the amount field showing 3000.00 to update the expense value.

22. Update Expense Amount
Enter 4000 as the revised amount for the expense.

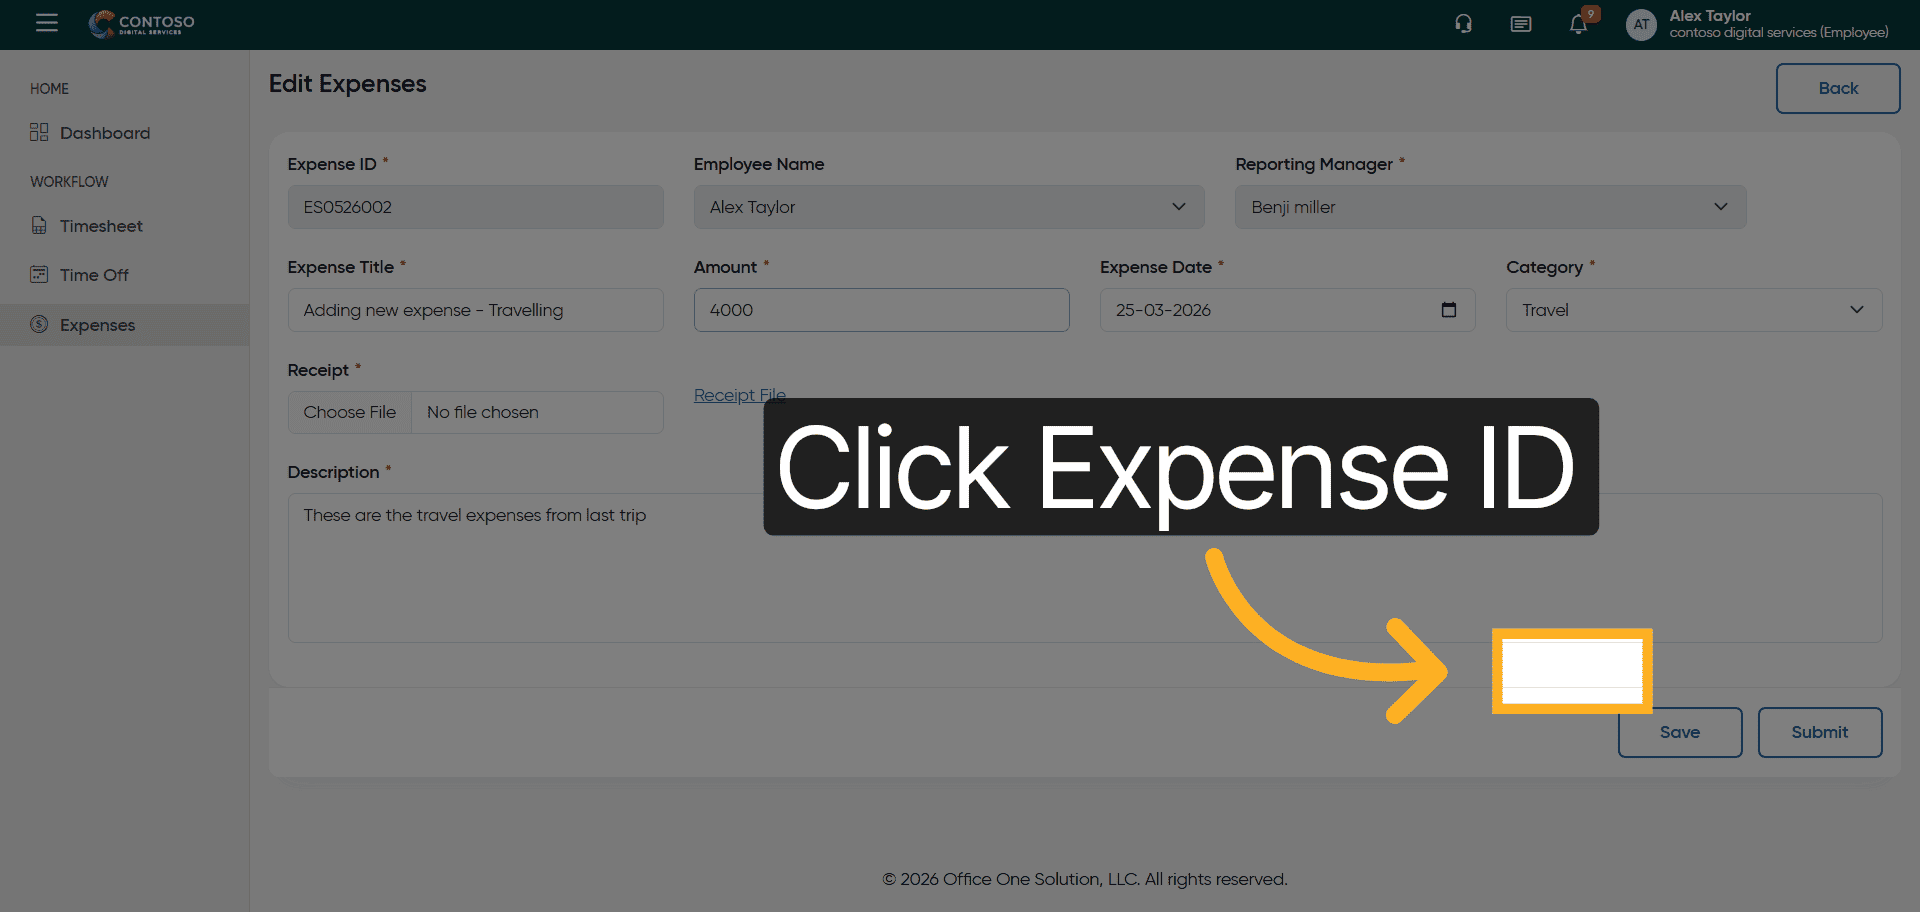
23. Open Expense ID Dropdown
Click the Expense ID dropdown to view related employee information.
24. Select Description Field
Click the Description field to update the expense details.
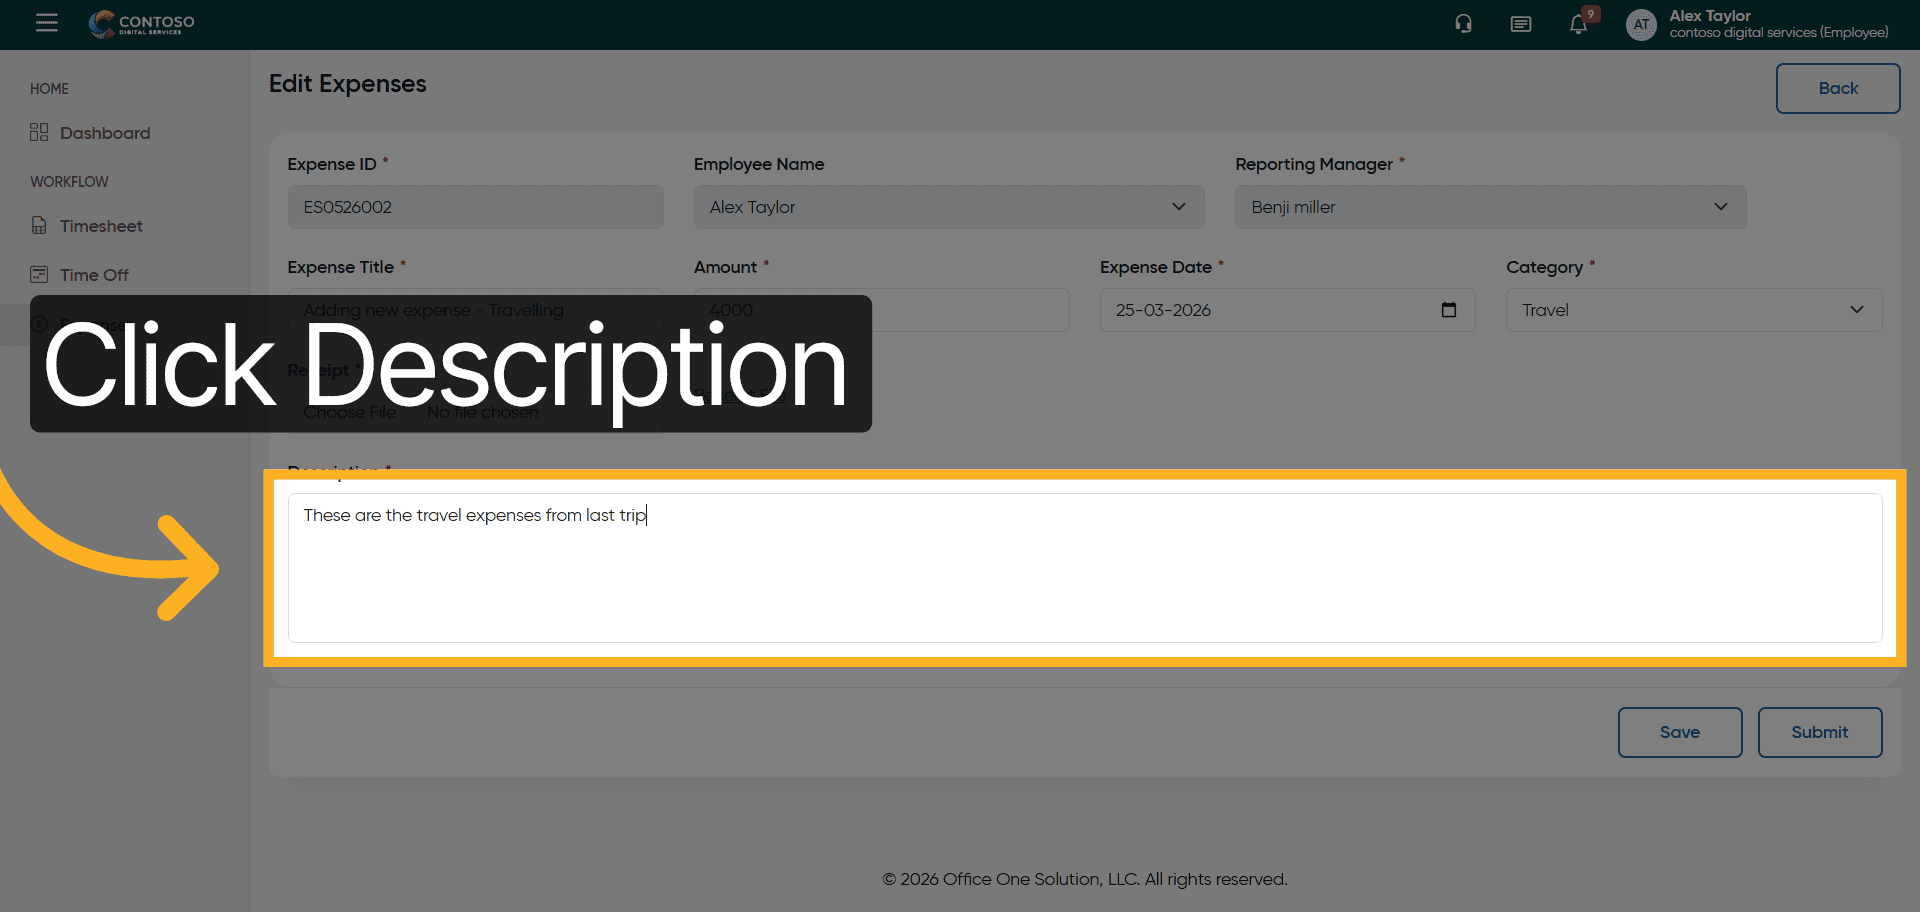
25. Modify Expense Description
Enter These are the travel expenses from last trip. updated. to reflect changes.
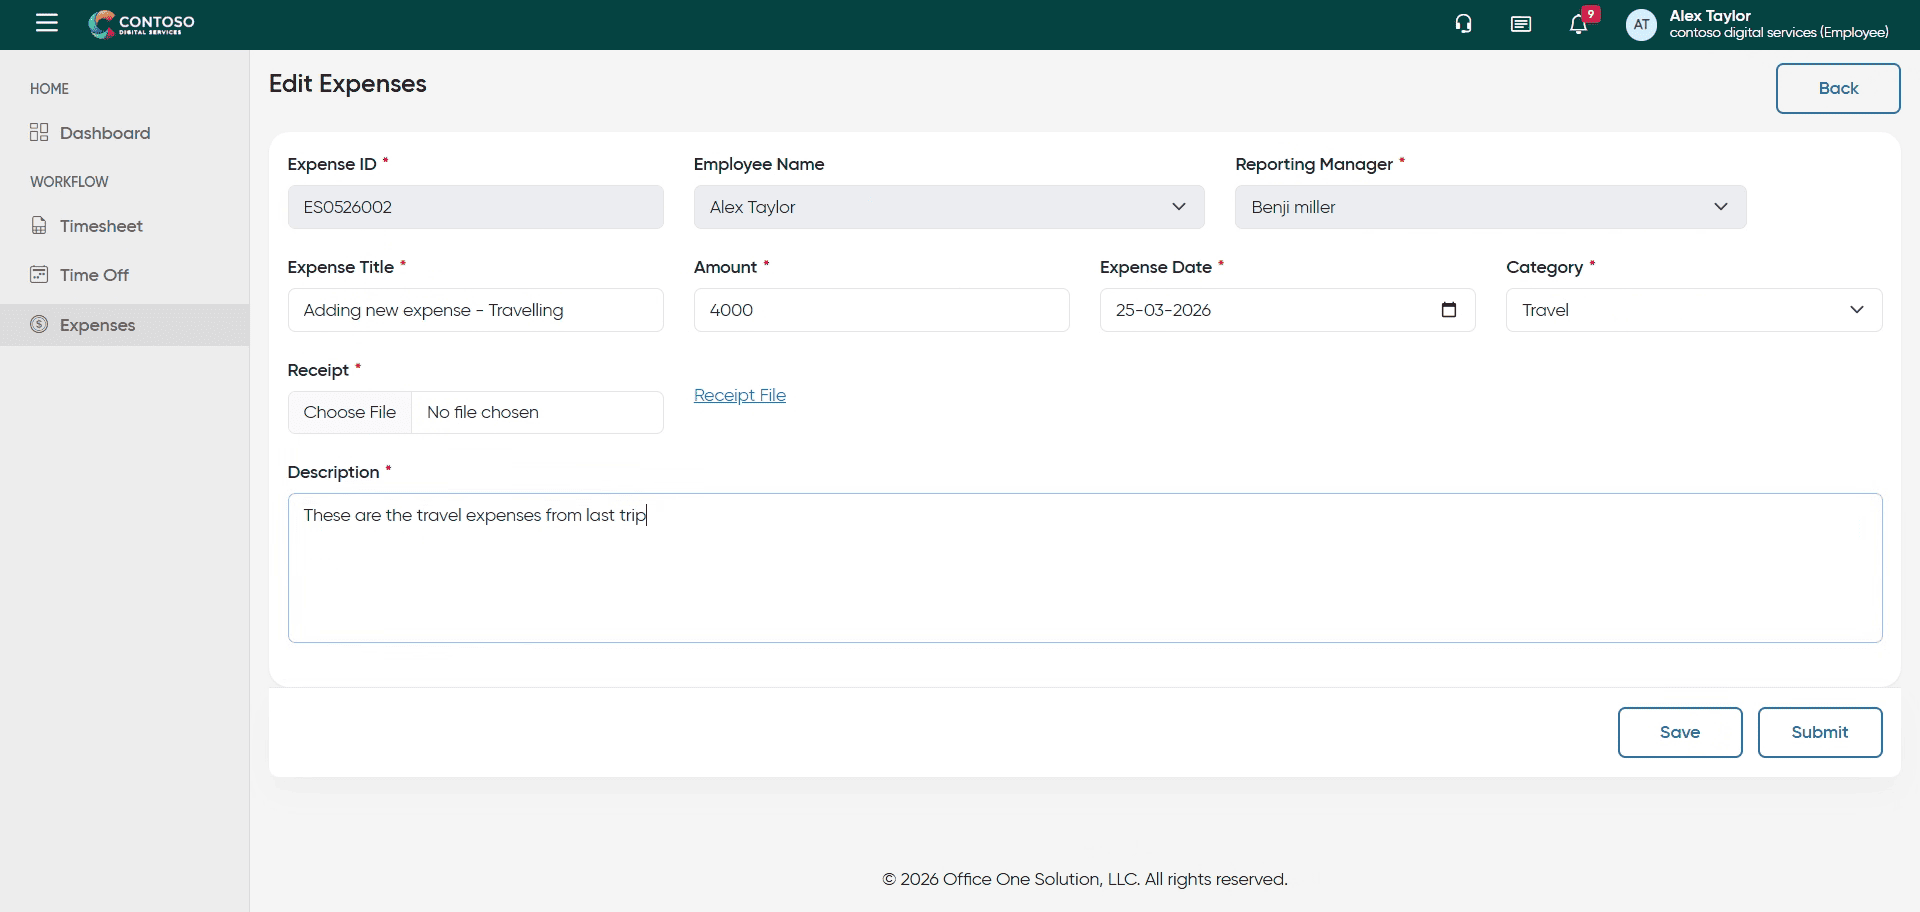
26. Save Updated Expense
Click the Save button to apply your changes to the expense record.

27. Access Expense Options
Click here to access further options for managing the expense.
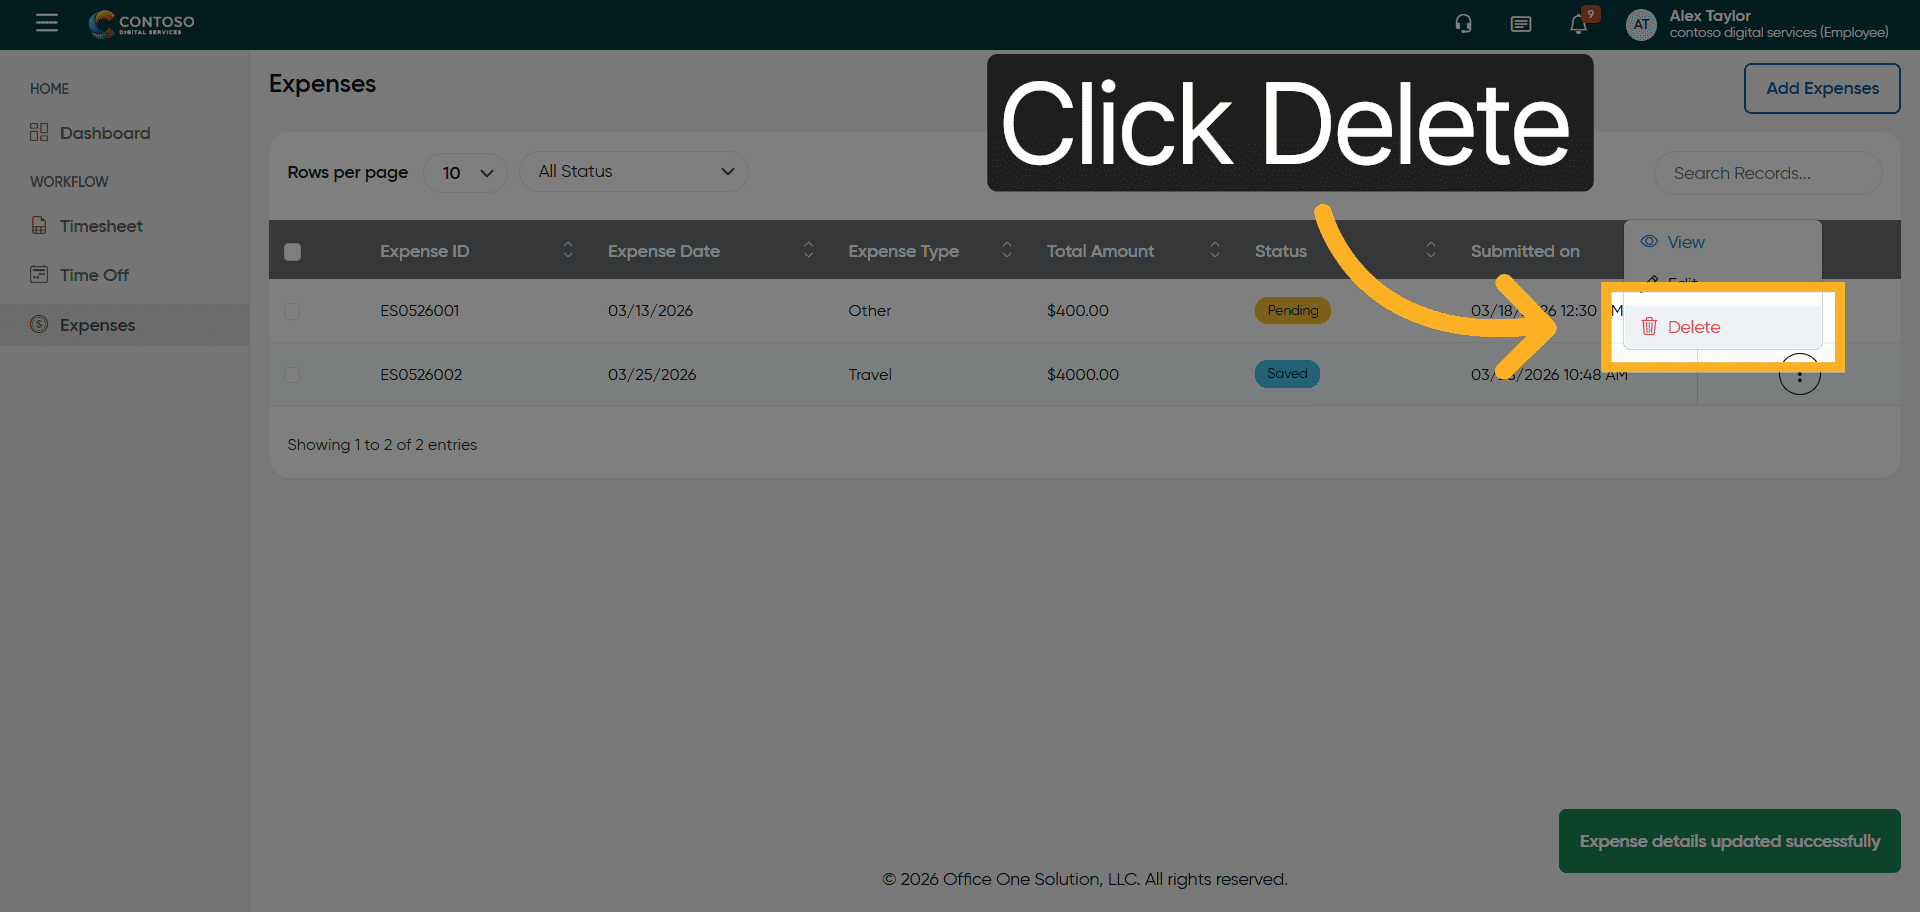
28. Delete Expense Entry
Click the Delete button to remove the expense from the system.
29. Confirm Deletion
Click Yes to confirm and permanently delete the expense entry.

30. Open Add Expenses Form
Click the Add Expenses button to begin entering a new expense record.

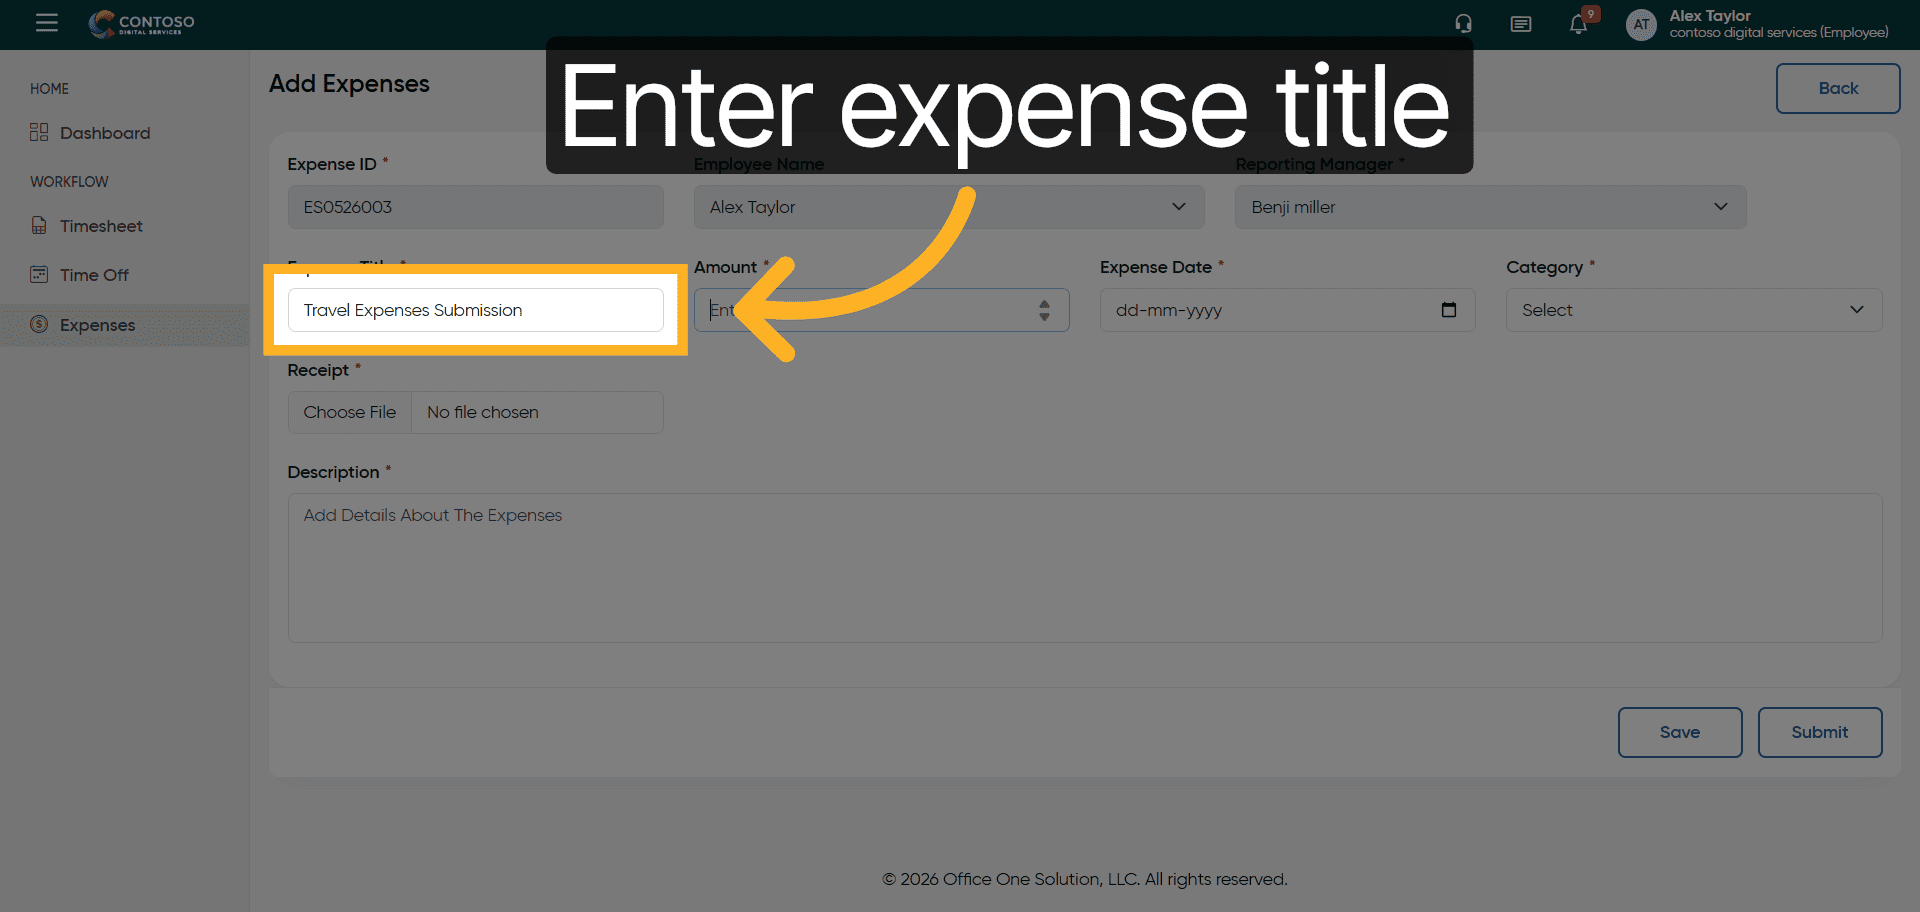
31. Select Expense Title Field
Click the Enter expense title field to specify the expense name.

32. Enter Partial Expense Title
Enter Trave as the beginning of your expense title.

33. Complete Expense Title
Enter Travel Expenses Submission to fully describe your expense.
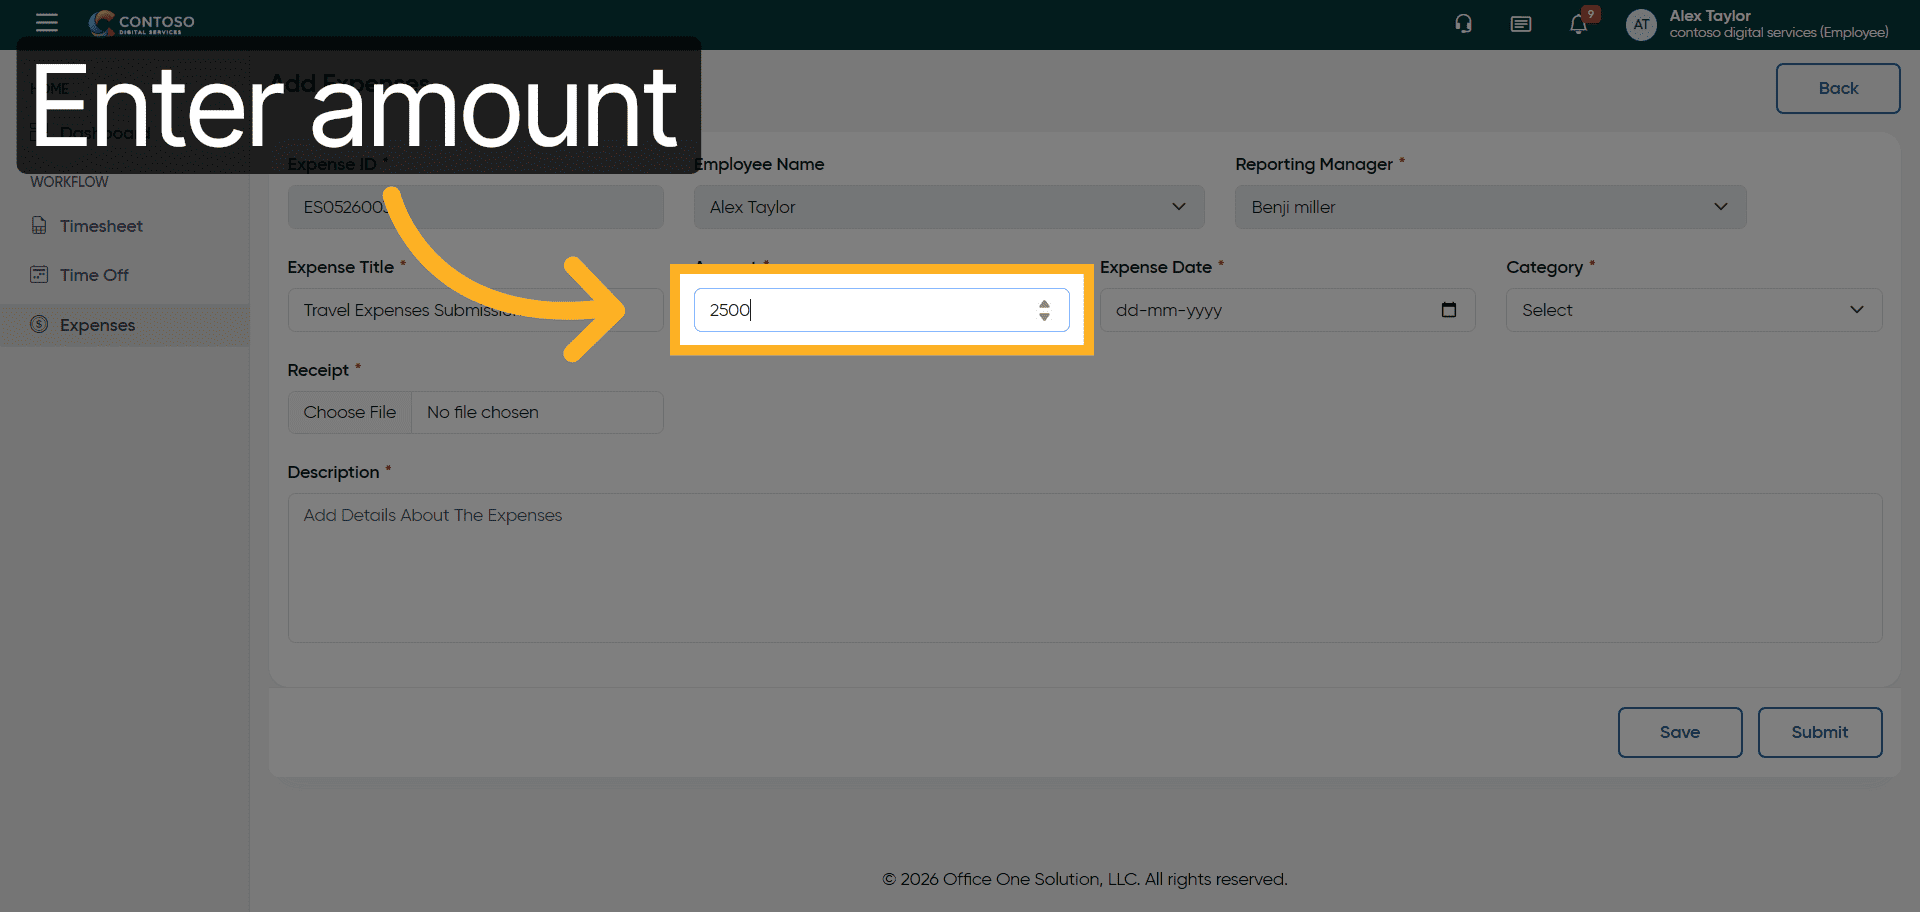
34. Enter Expense Amount
Enter 2500 as the amount for this expense submission.
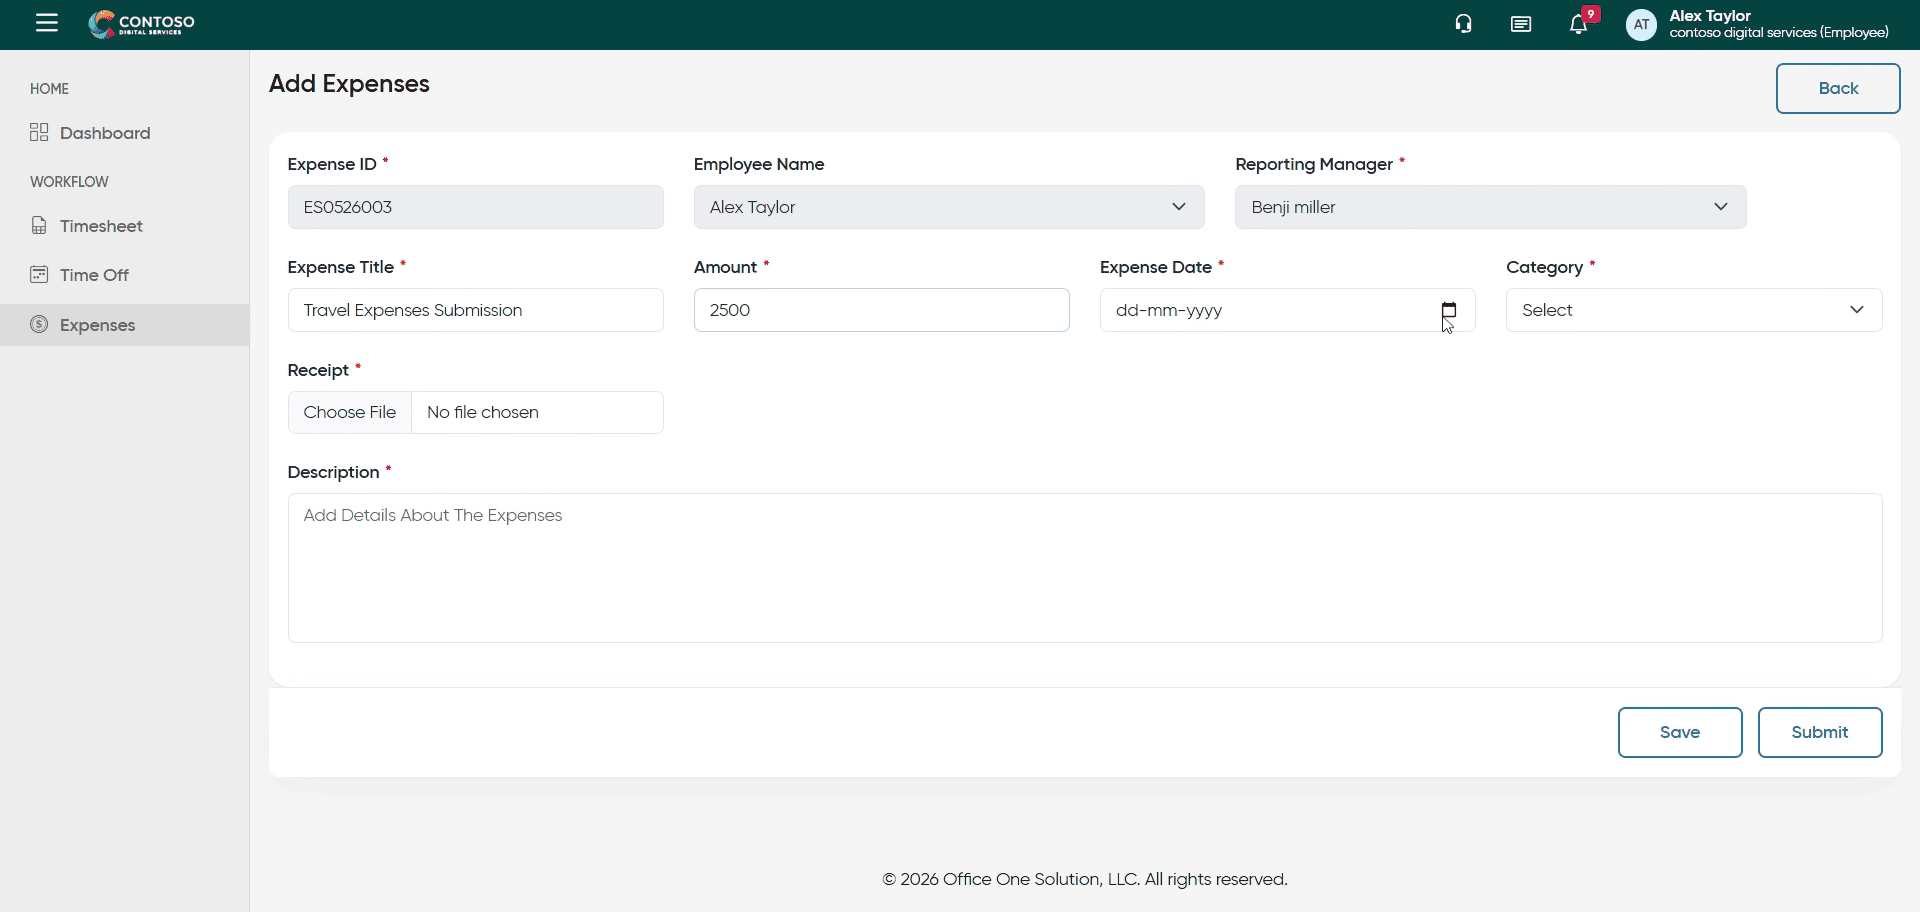
35. Select Expense Date Field
Click the Enter Expense Date field to specify the date of the expense.

36. Input Expense Date
Enter 2026-03-24 as the date for this expense.
37. Open Category Dropdown
Click the category dropdown to select the expense type such as Meals, Travel, or Accommodation.
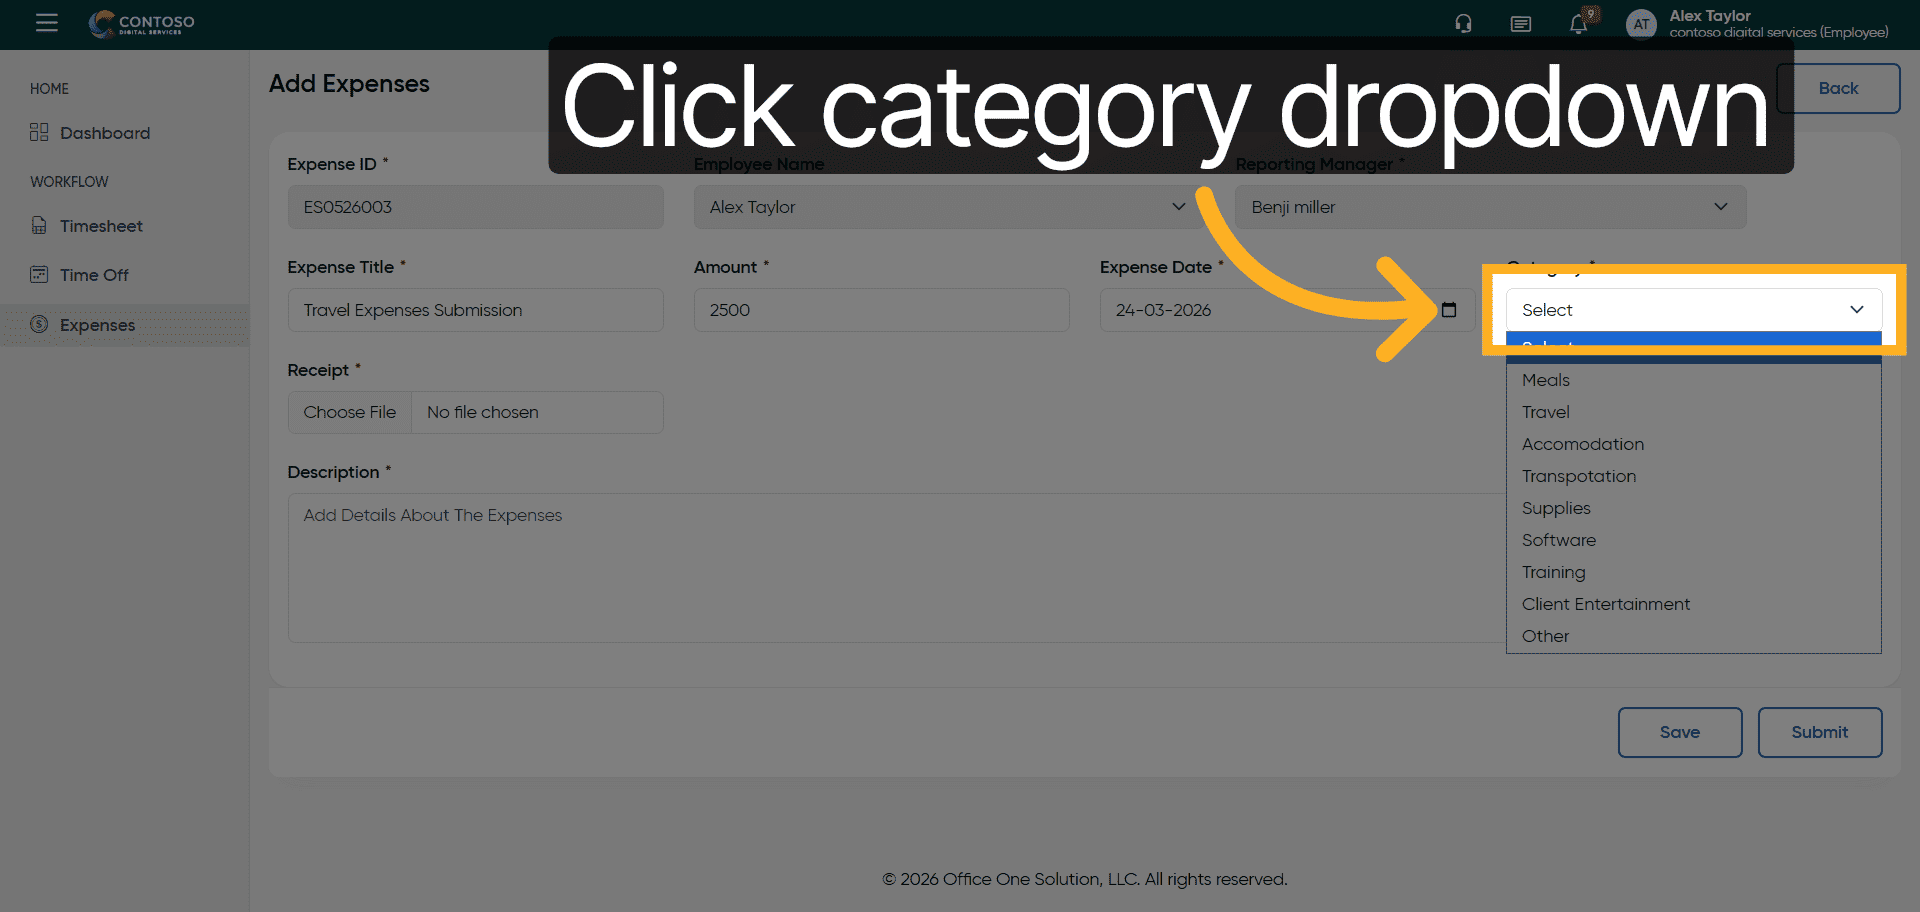
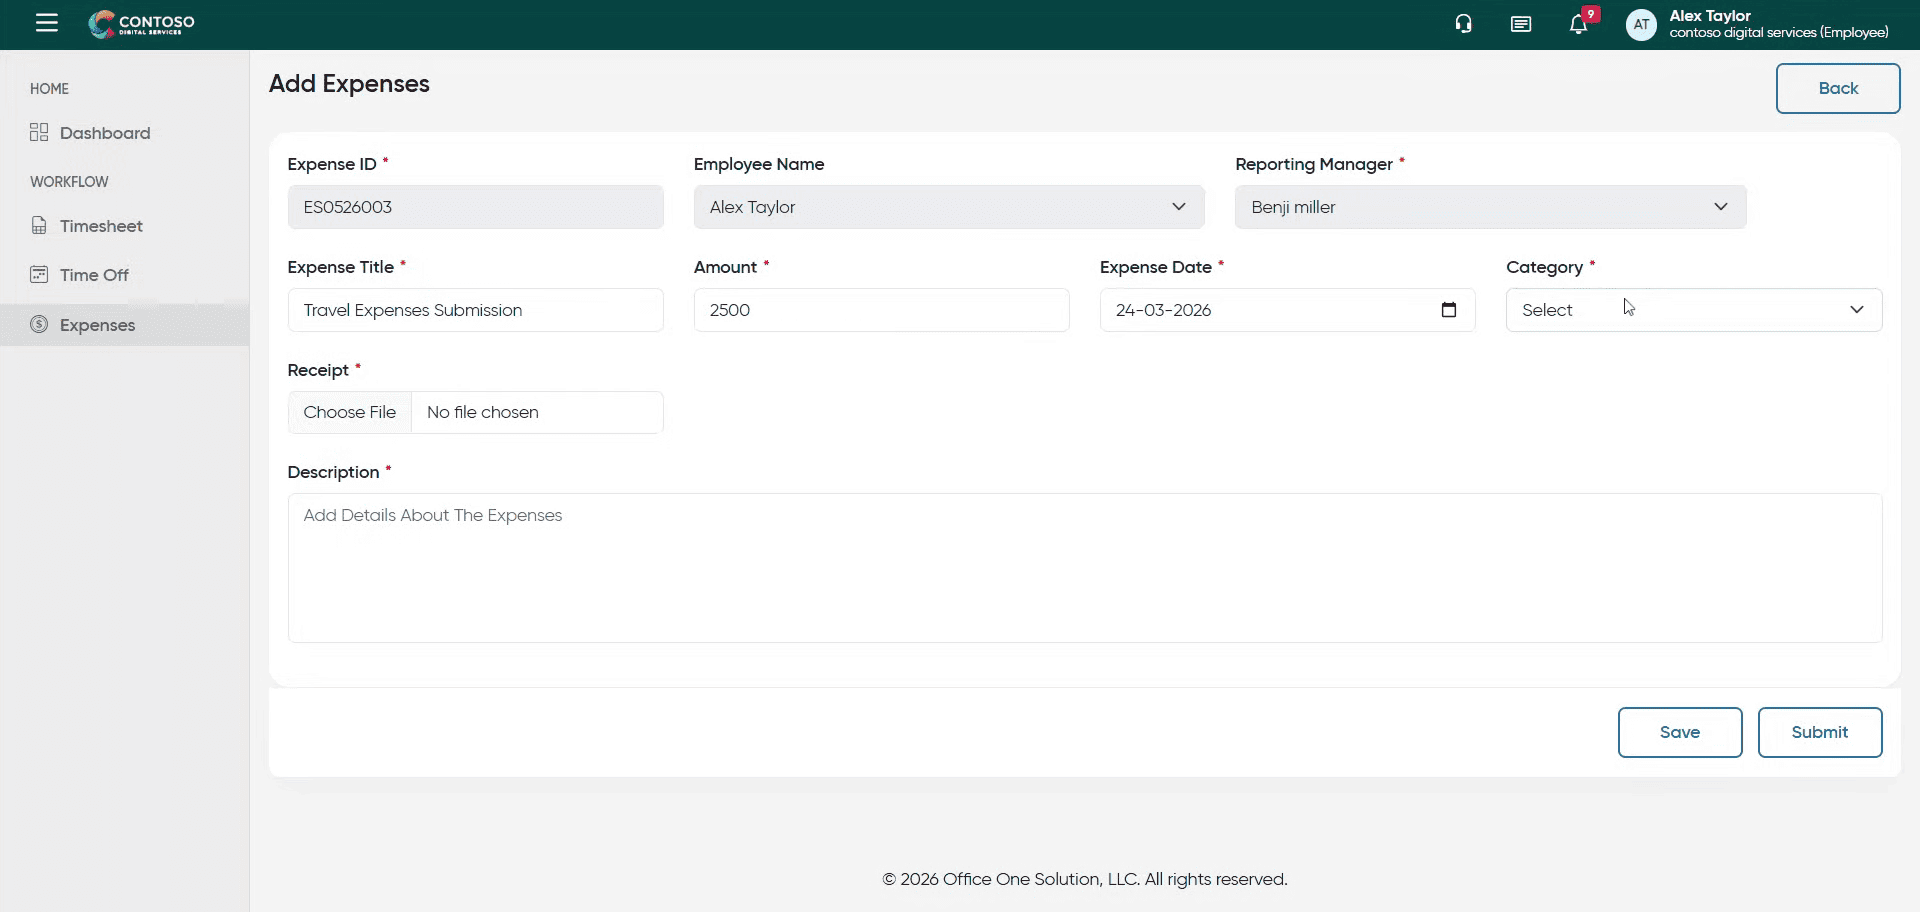
38. Choose Expense Category
Select the appropriate category for your expense from the dropdown list.
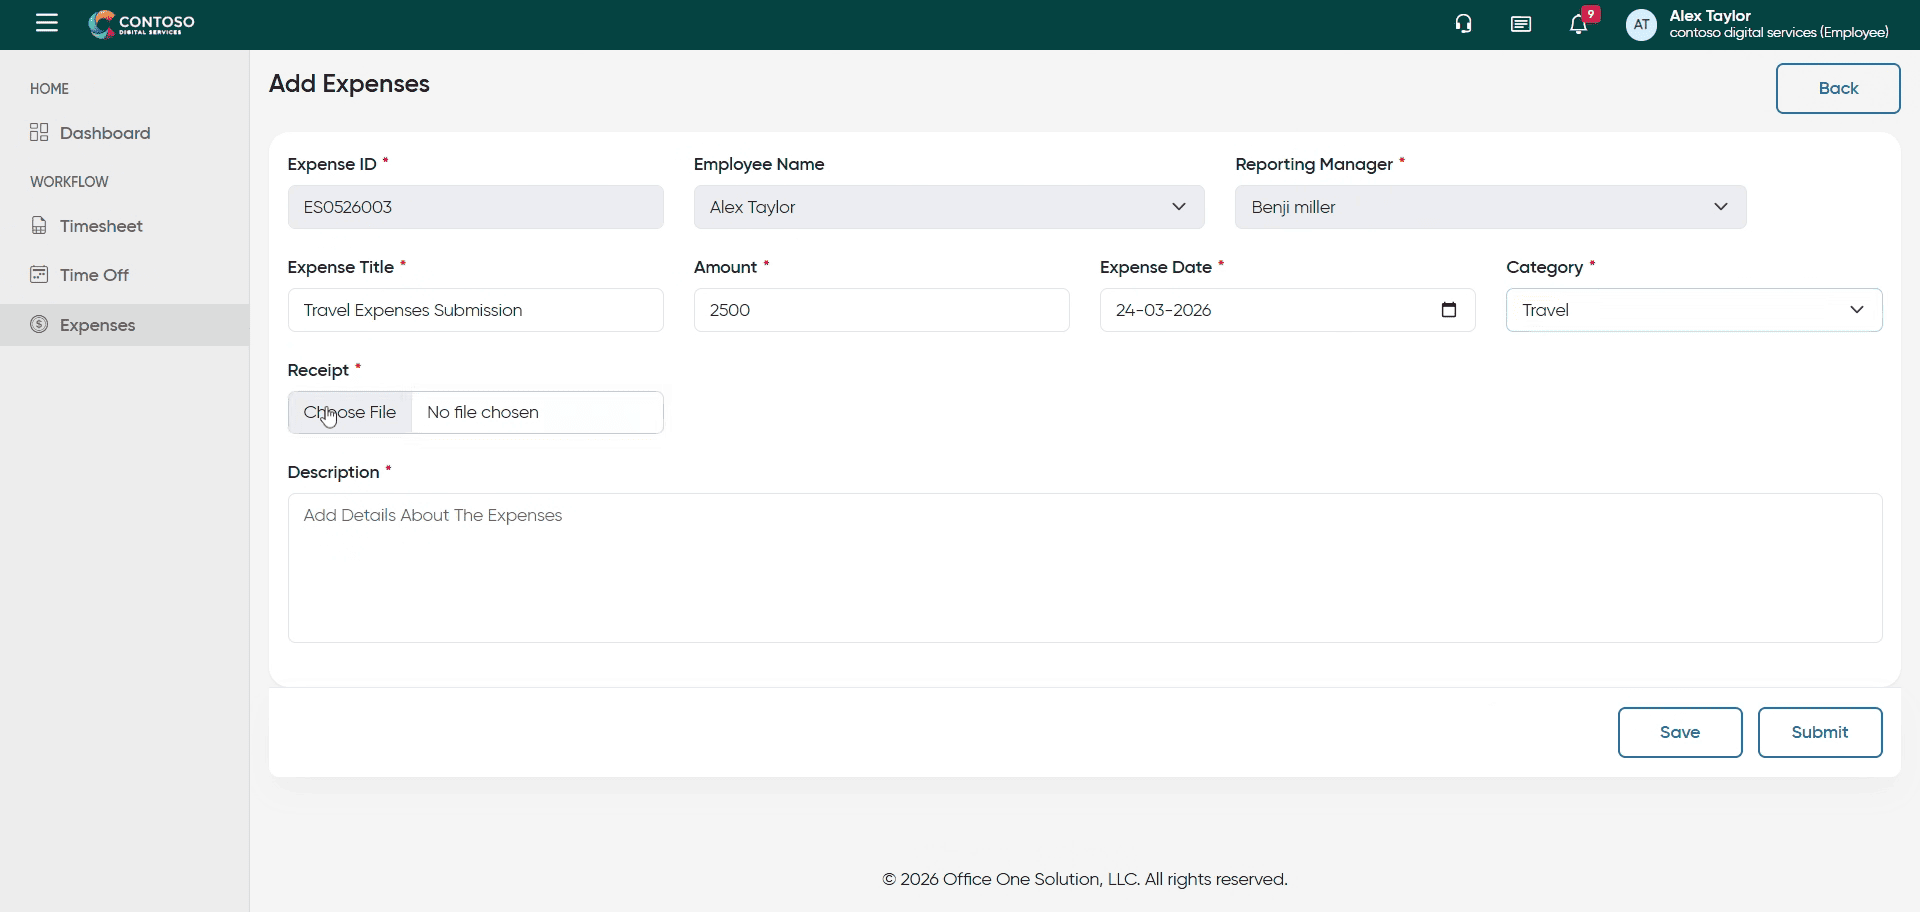
39. Access Receipt Upload
Click the Receipt field to upload a supporting document for the expense.

40. Upload Receipt Document
Upload the receipt file from your device to validate the expense submission.
41. Select Description Field
Click the Description field to add details about the expense.

42. Enter Expense Description
Enter These are the travel expenses from last trip. to provide context for the submission.

Jump to this step in video#dss-body
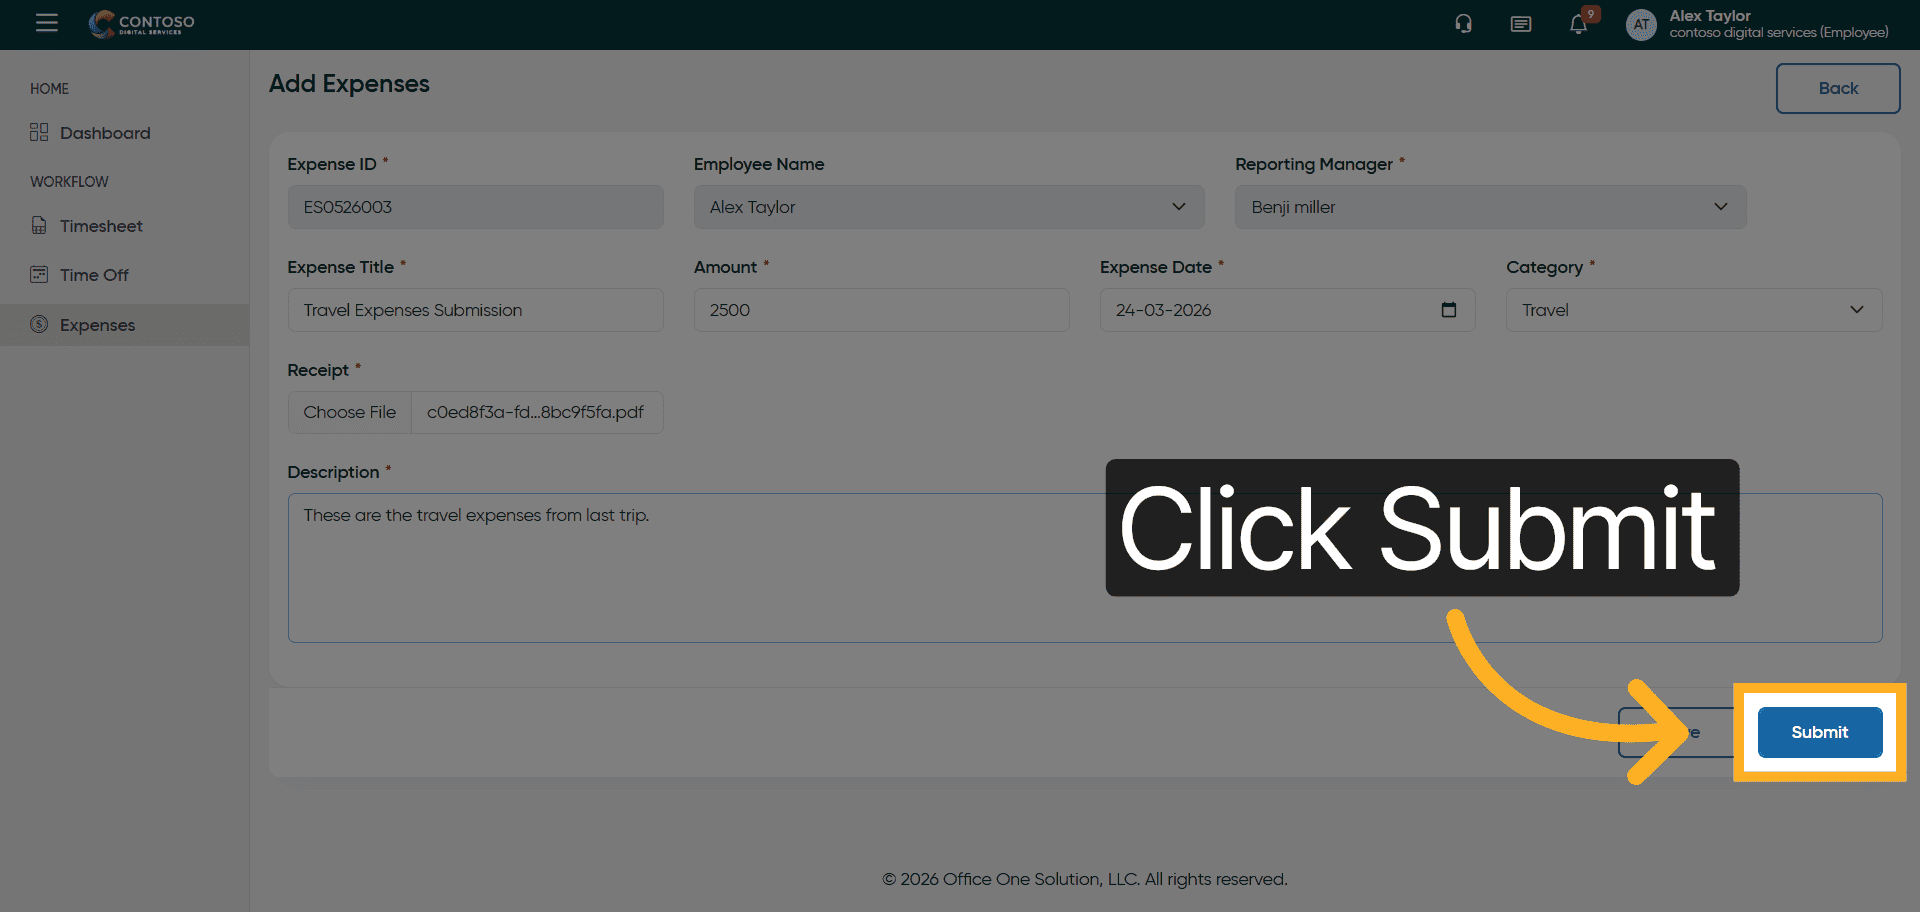
43. Submit Expense Entry
Click the Submit button to finalize and send your expense for approval.
After completing this training, you will be able to efficiently add, edit, and delete expense entries within Office1solution. Practice these steps to ensure accurate financial record keeping and streamline your expense management process.