
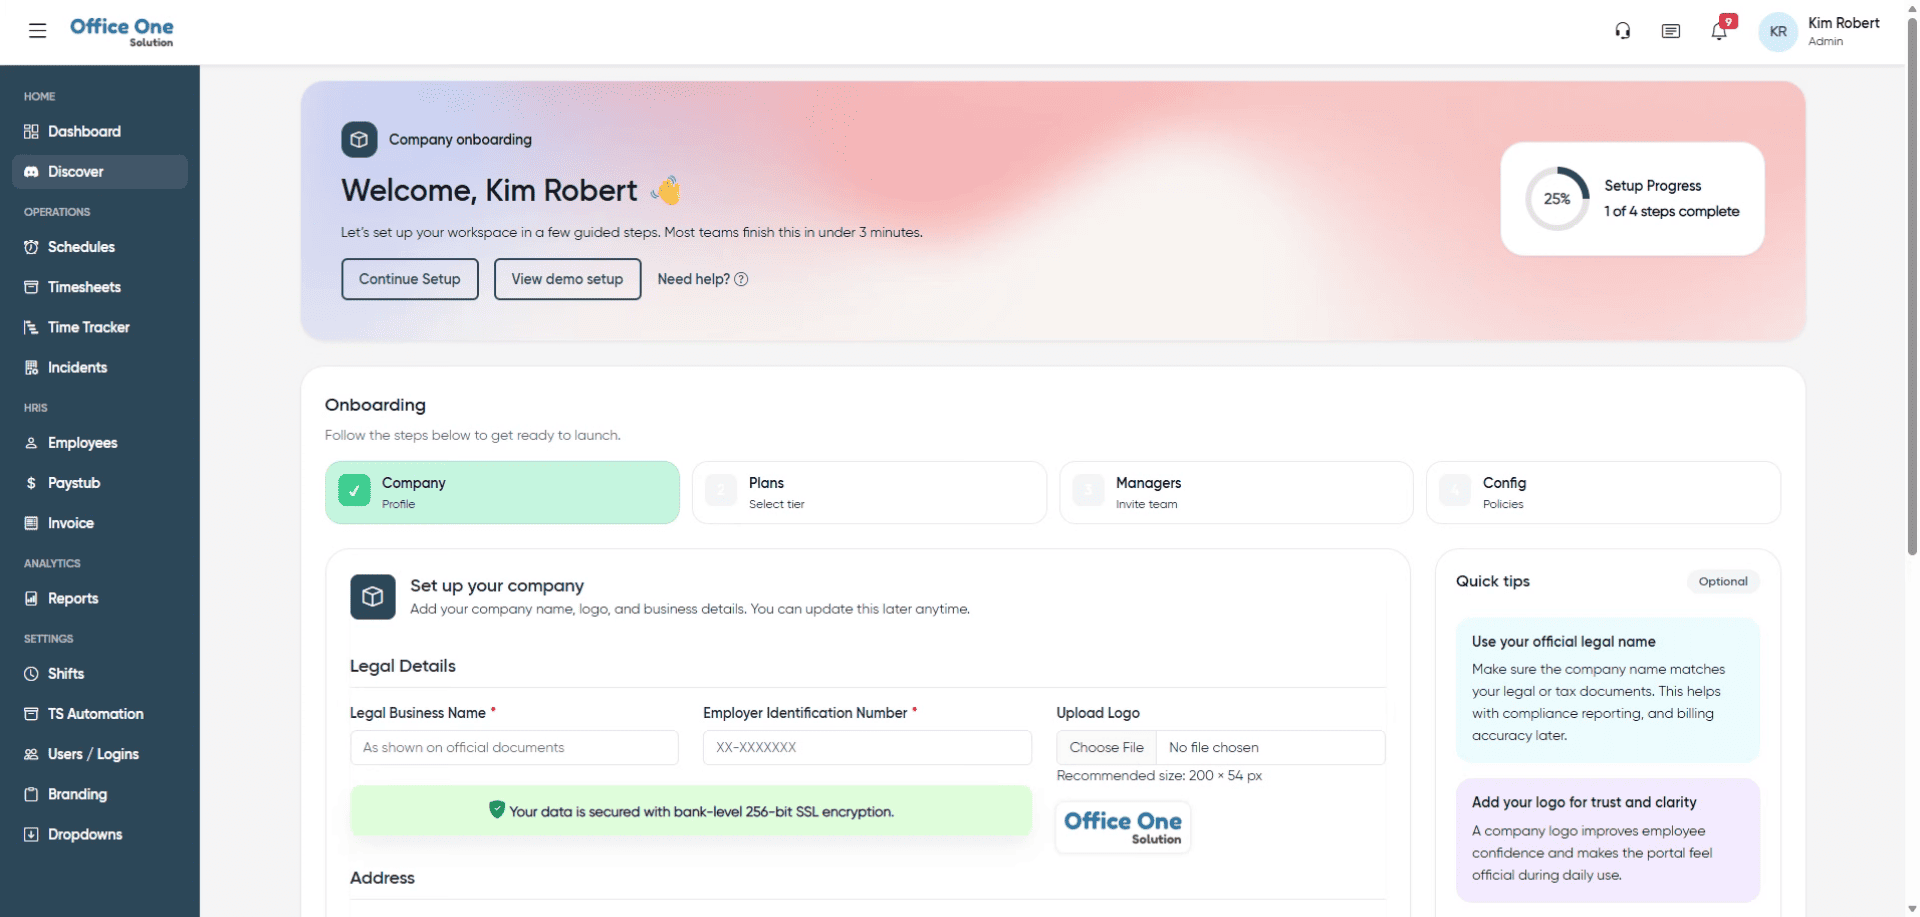
Onboarding Setup
This tutorial guides you through setting up your organization profile and selecting a plan in OfficeOne Solution.
Go to app.office1solution.com
1. Introduction
You will learn how to enter essential company details, upload branding, and finalize your subscription choice.
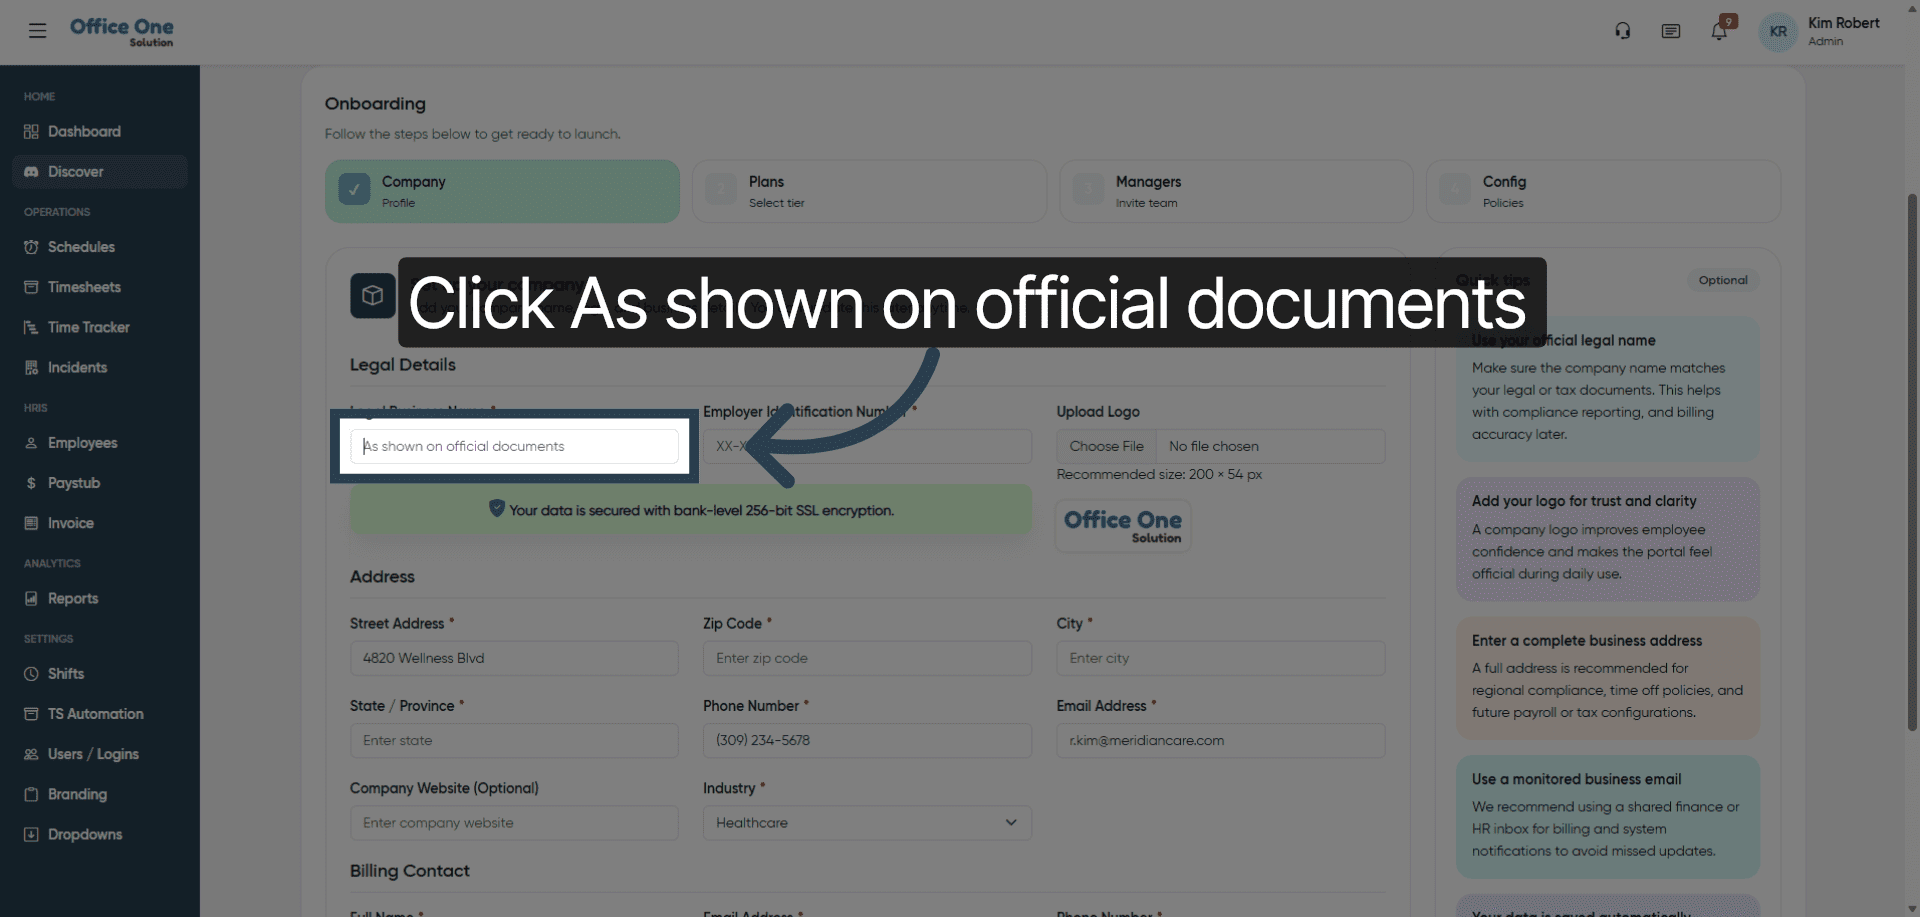
2. Confirm Document Verification
Click “As shown on official documents” to confirm that your information matches official records.
3. Enter First Name
Enter your first name in the provided field to personalize your profile.
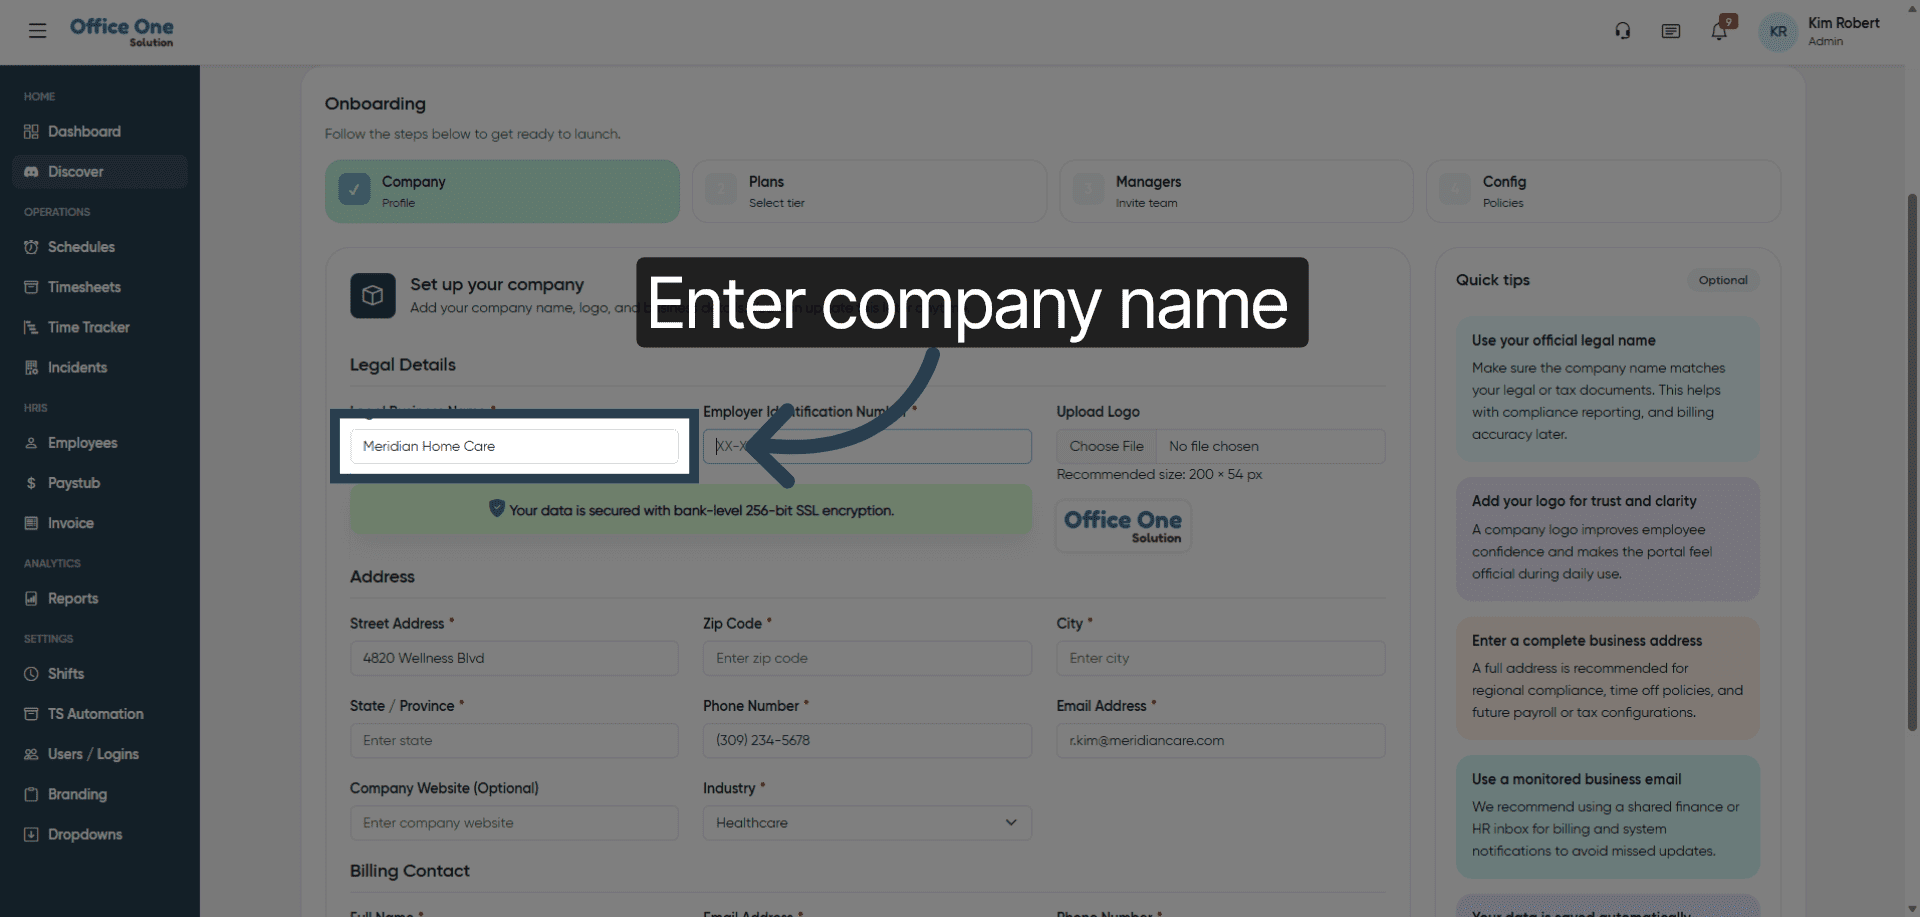
4. Provide Company Name
Fill in your company name to identify your organization within the system.
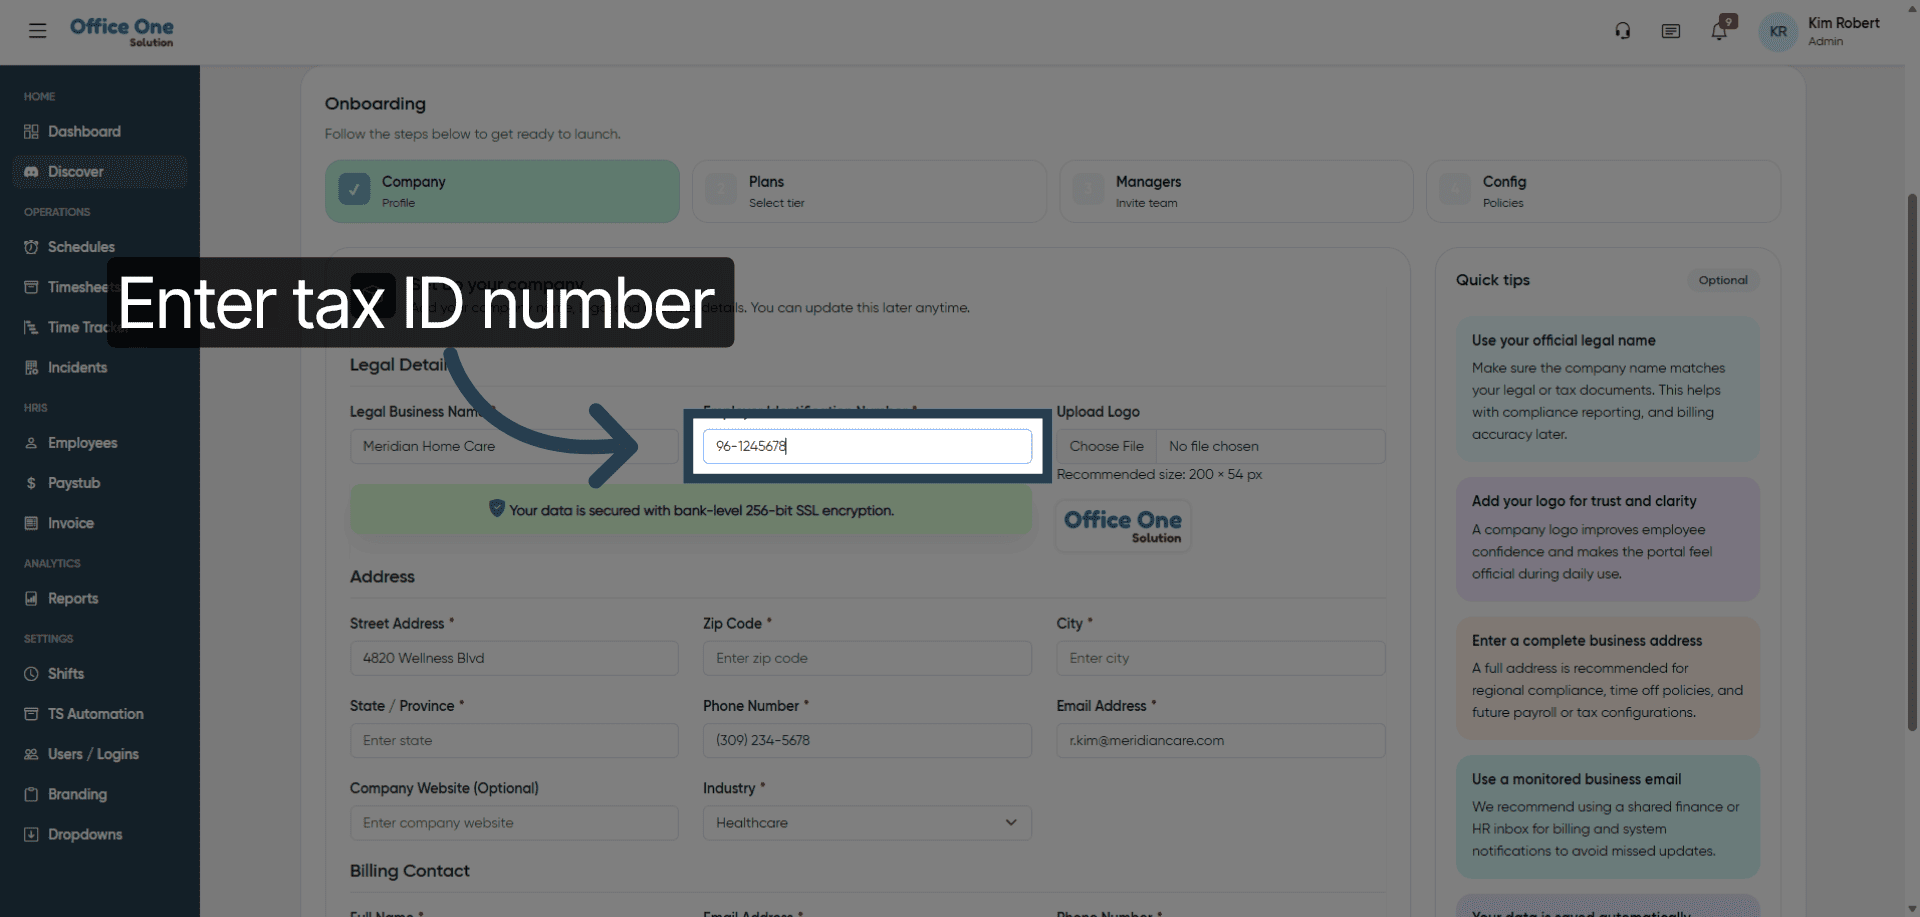
5. Input Tax Identification Number
Enter your organization’s tax identification number to comply with regulatory requirements.
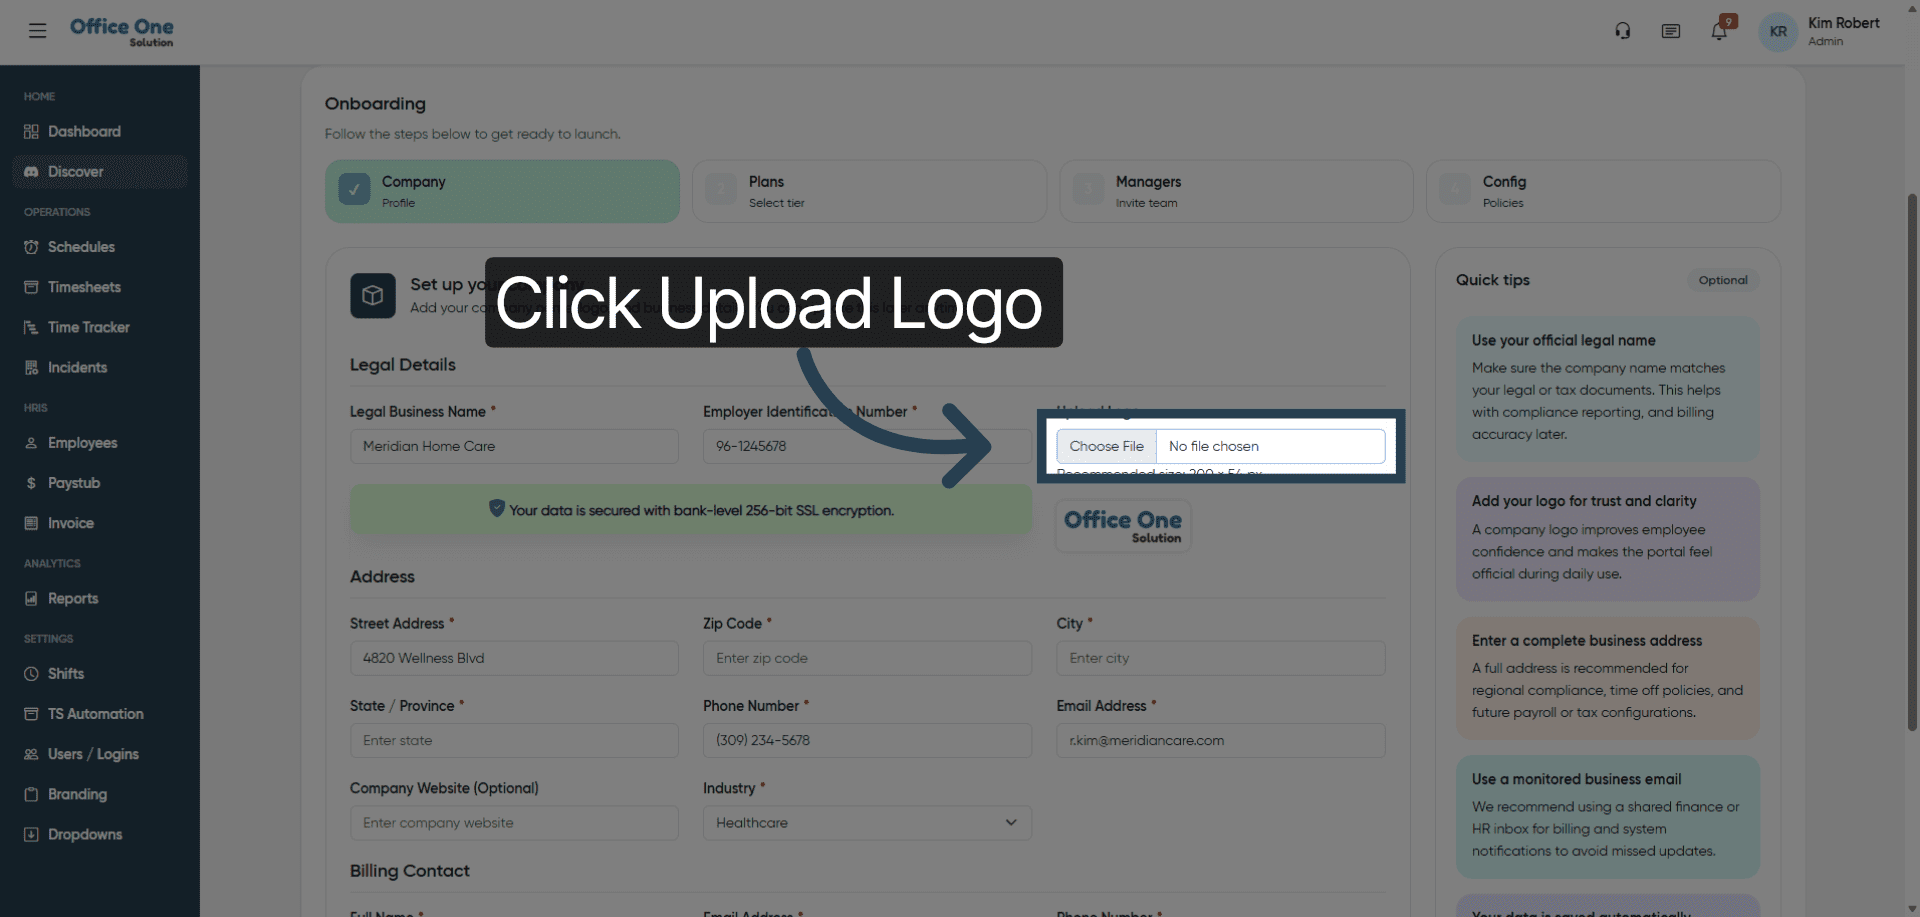
6. Upload Company Logo
Click “Upload Logo” to add your company’s branding to your profile.
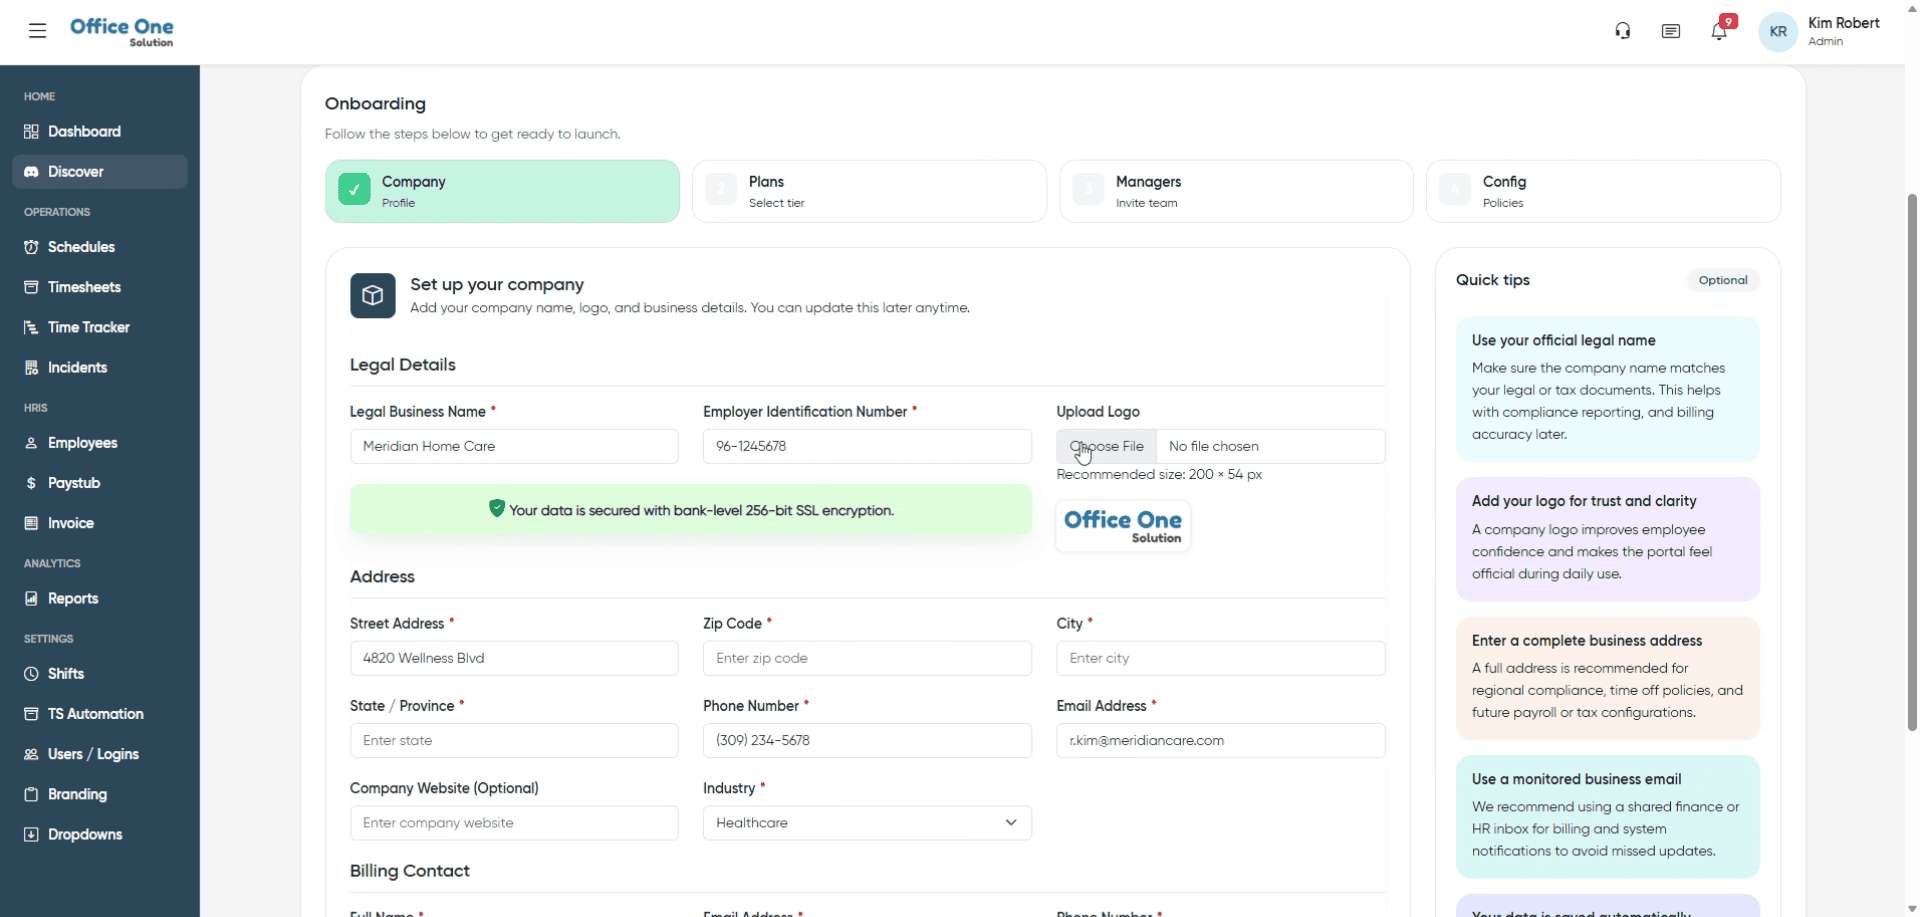
7. Select Logo File
Choose the logo file from your computer to upload it to the system.
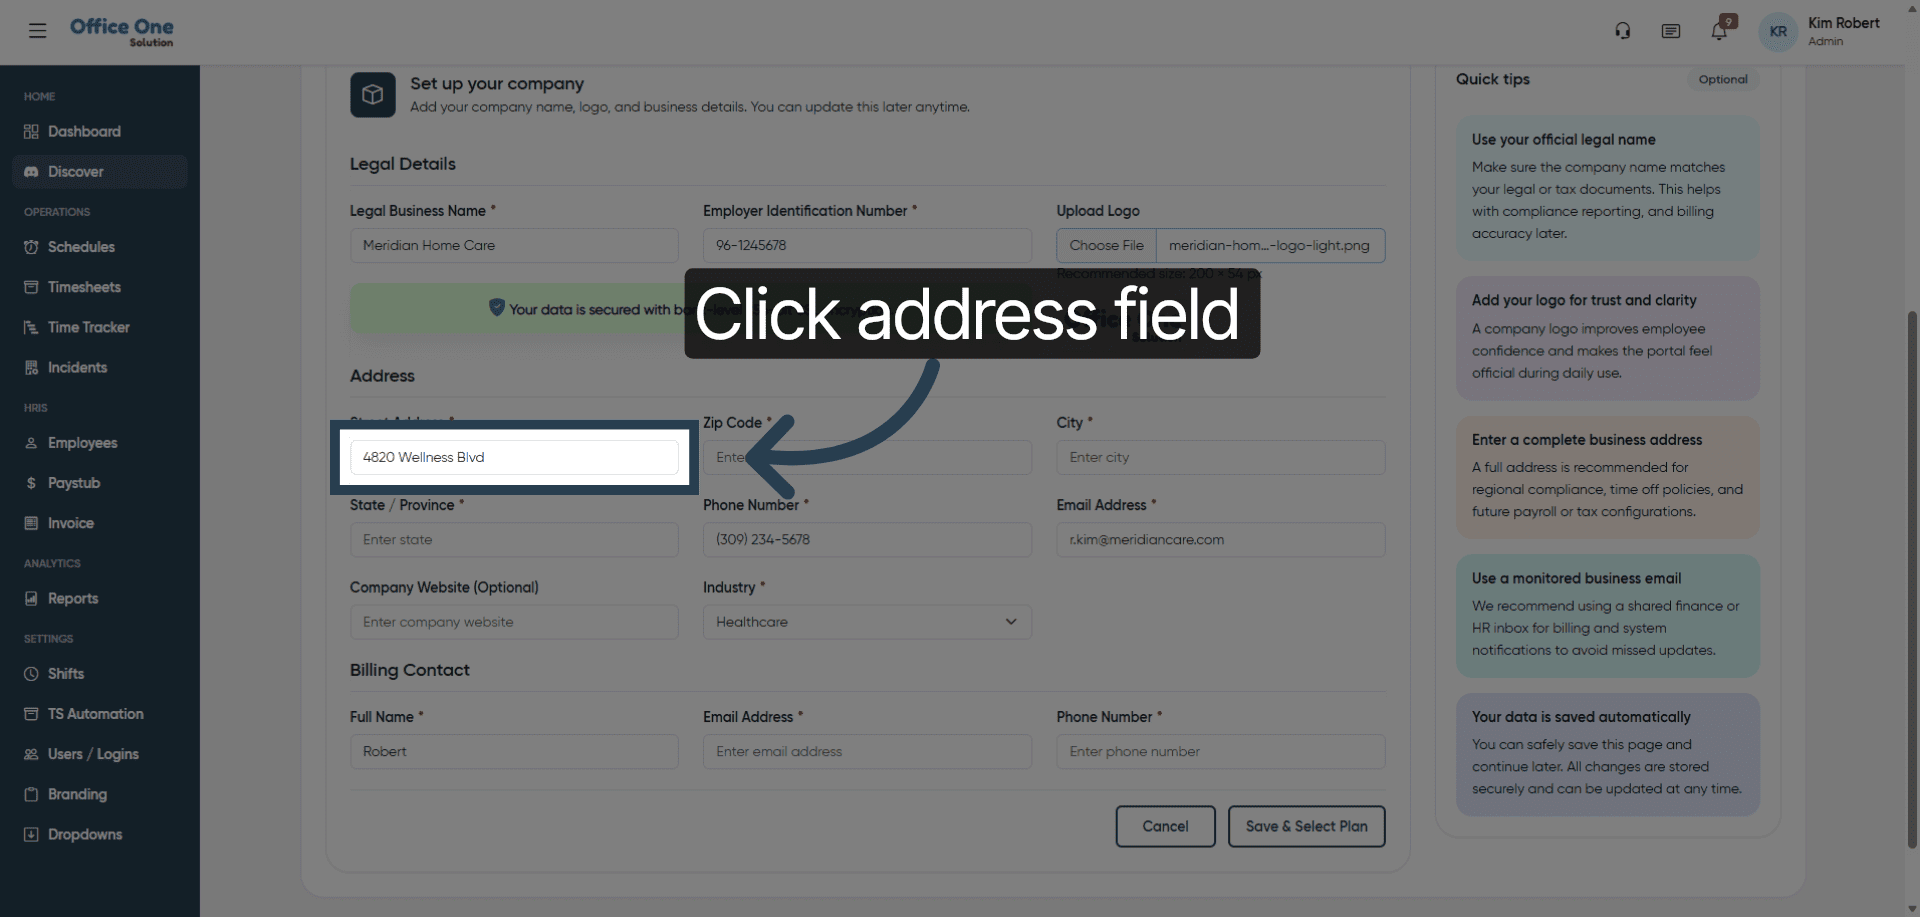
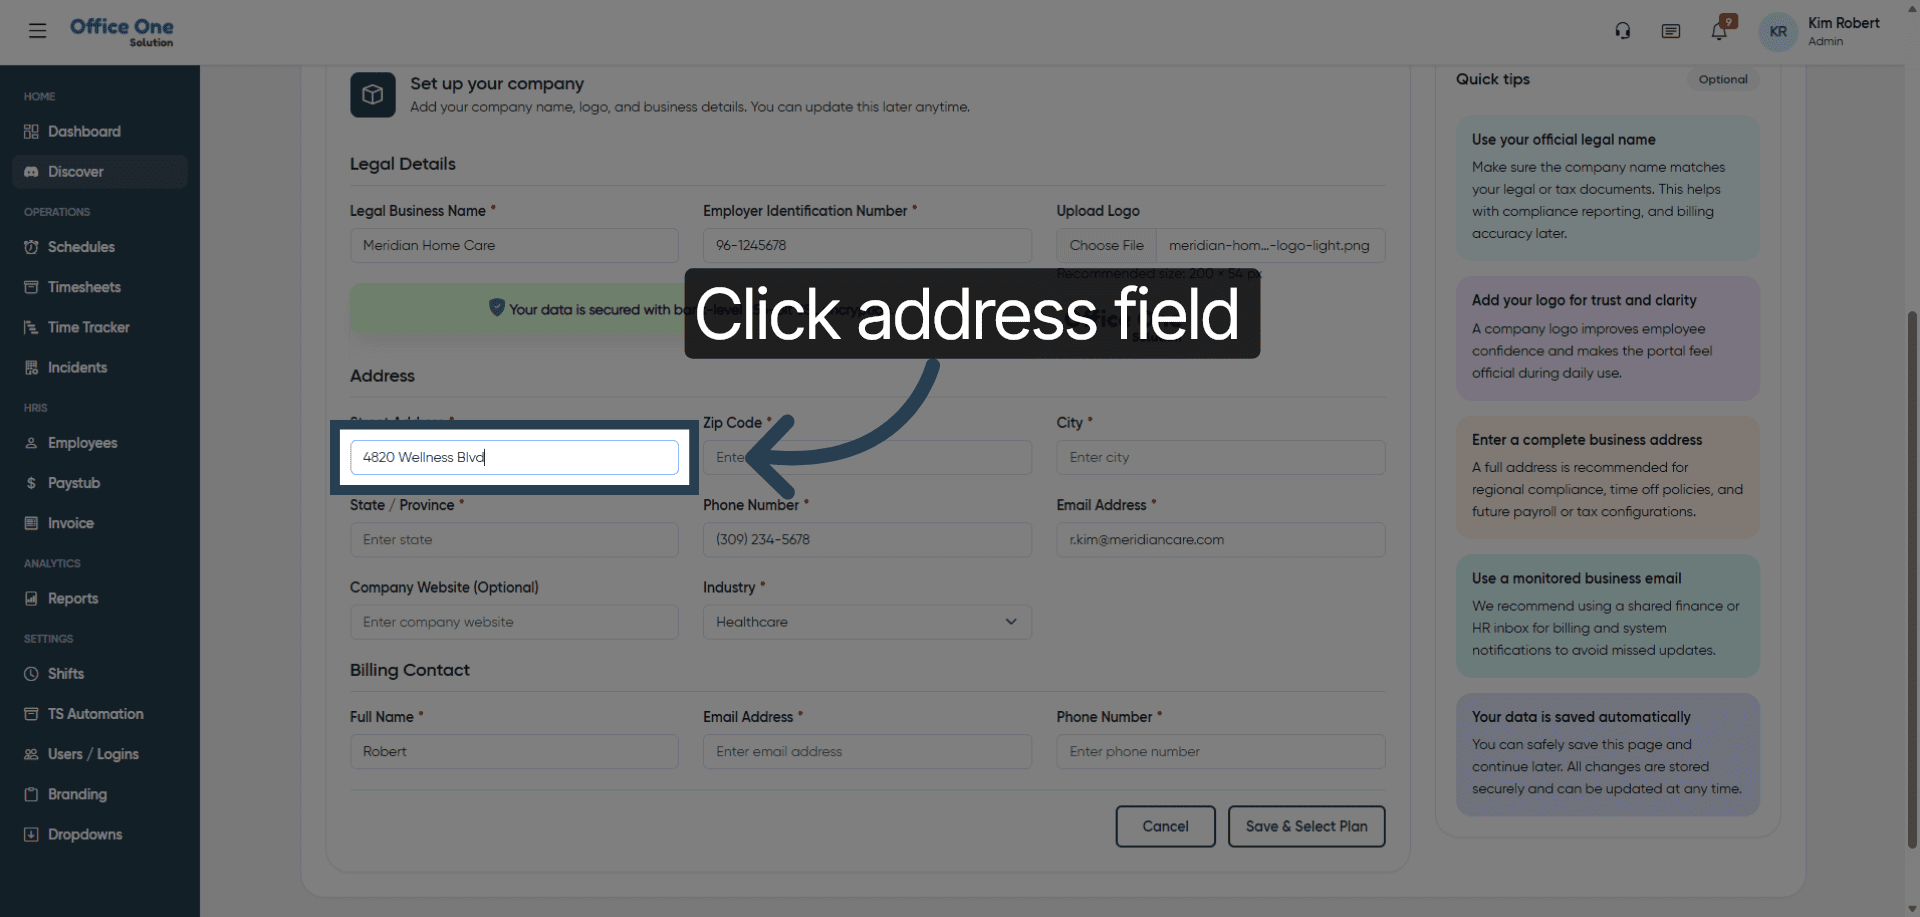
8. Access Address Field
Click the address field to begin entering your company’s location details.
9. Reopen Address Field
Click the address field again to ensure it is active for editing.
10. Enter Street Address
Fill in your company’s street address to complete location information.

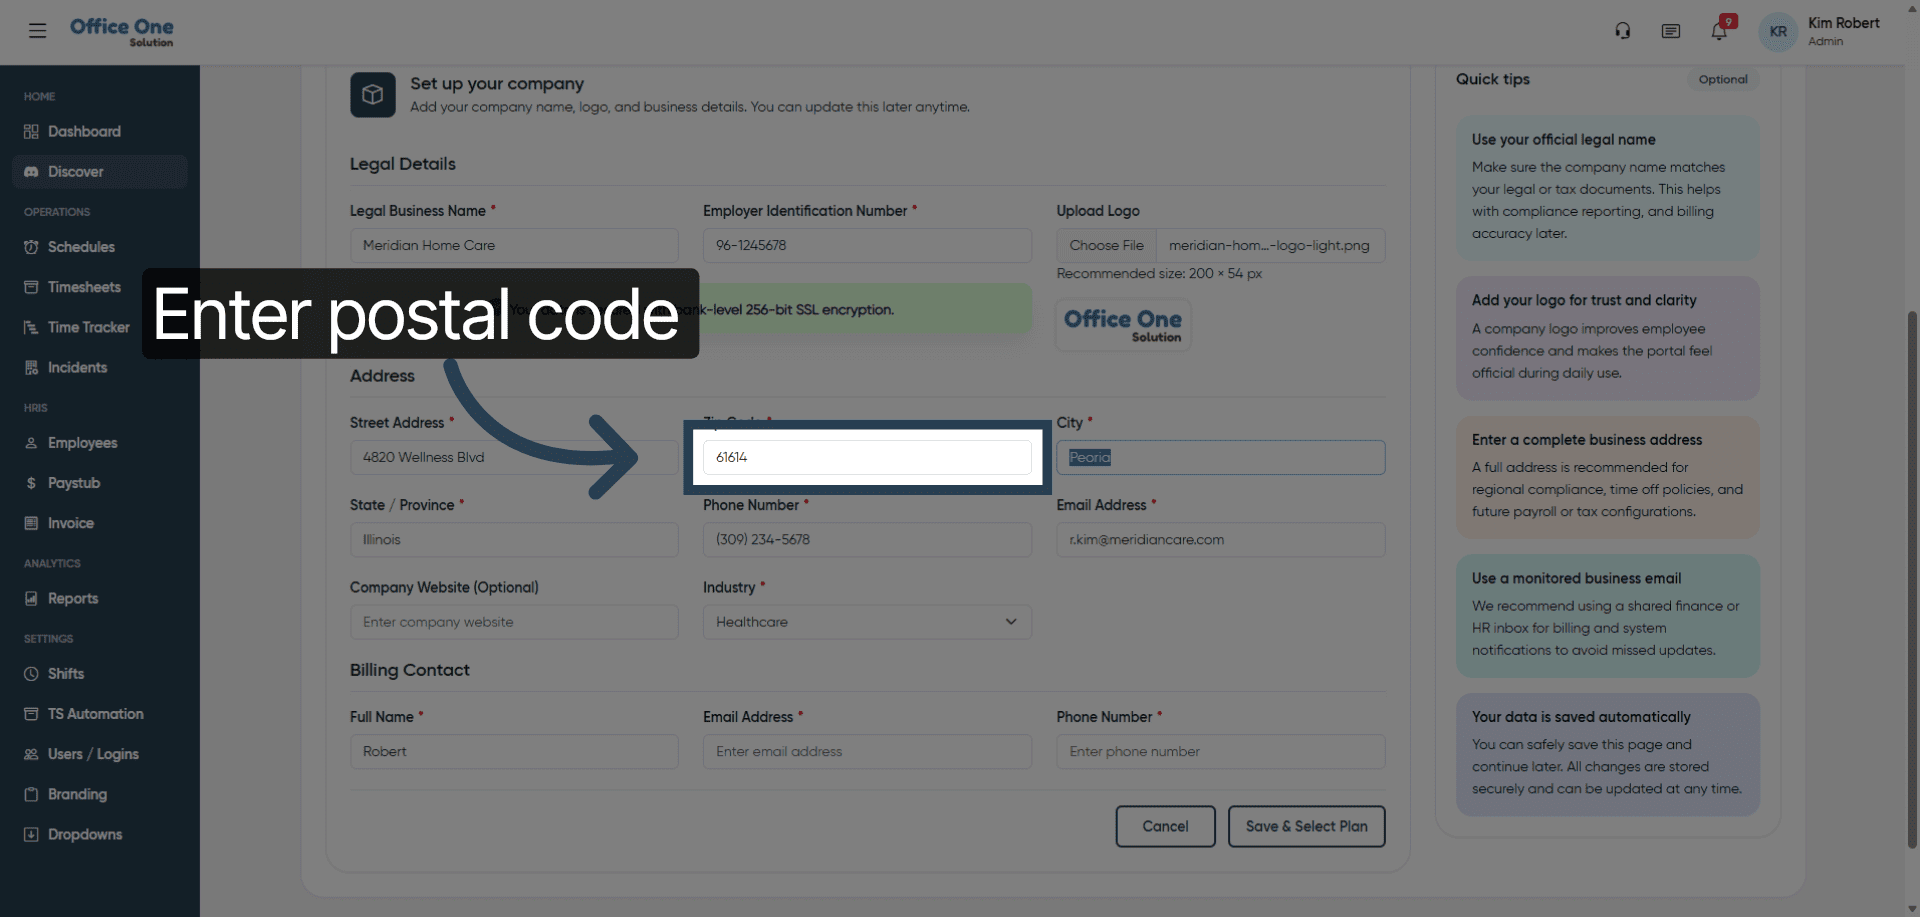
11. Provide Postal Code
Enter the postal code associated with your company’s address for accurate location data.
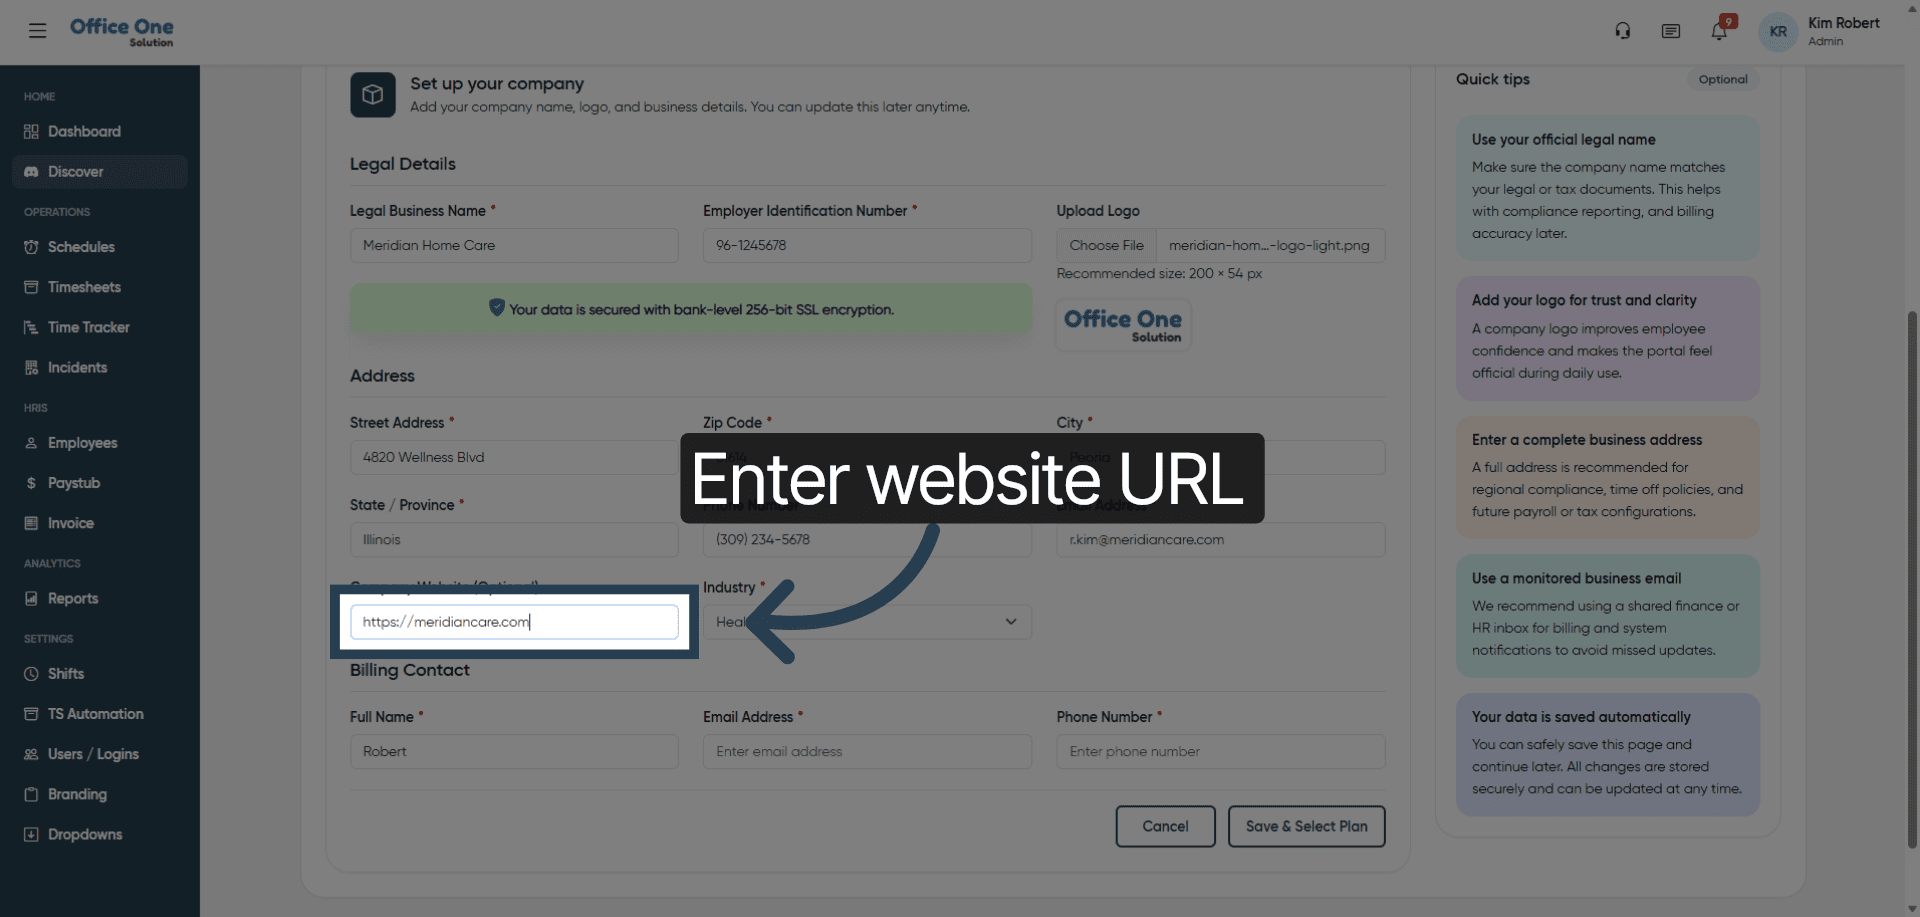
12. Add Website URL
Fill in your company’s website URL to link your online presence.
13. Open Industry Dropdown
Click “Select an industry” to choose the sector that best describes your business.
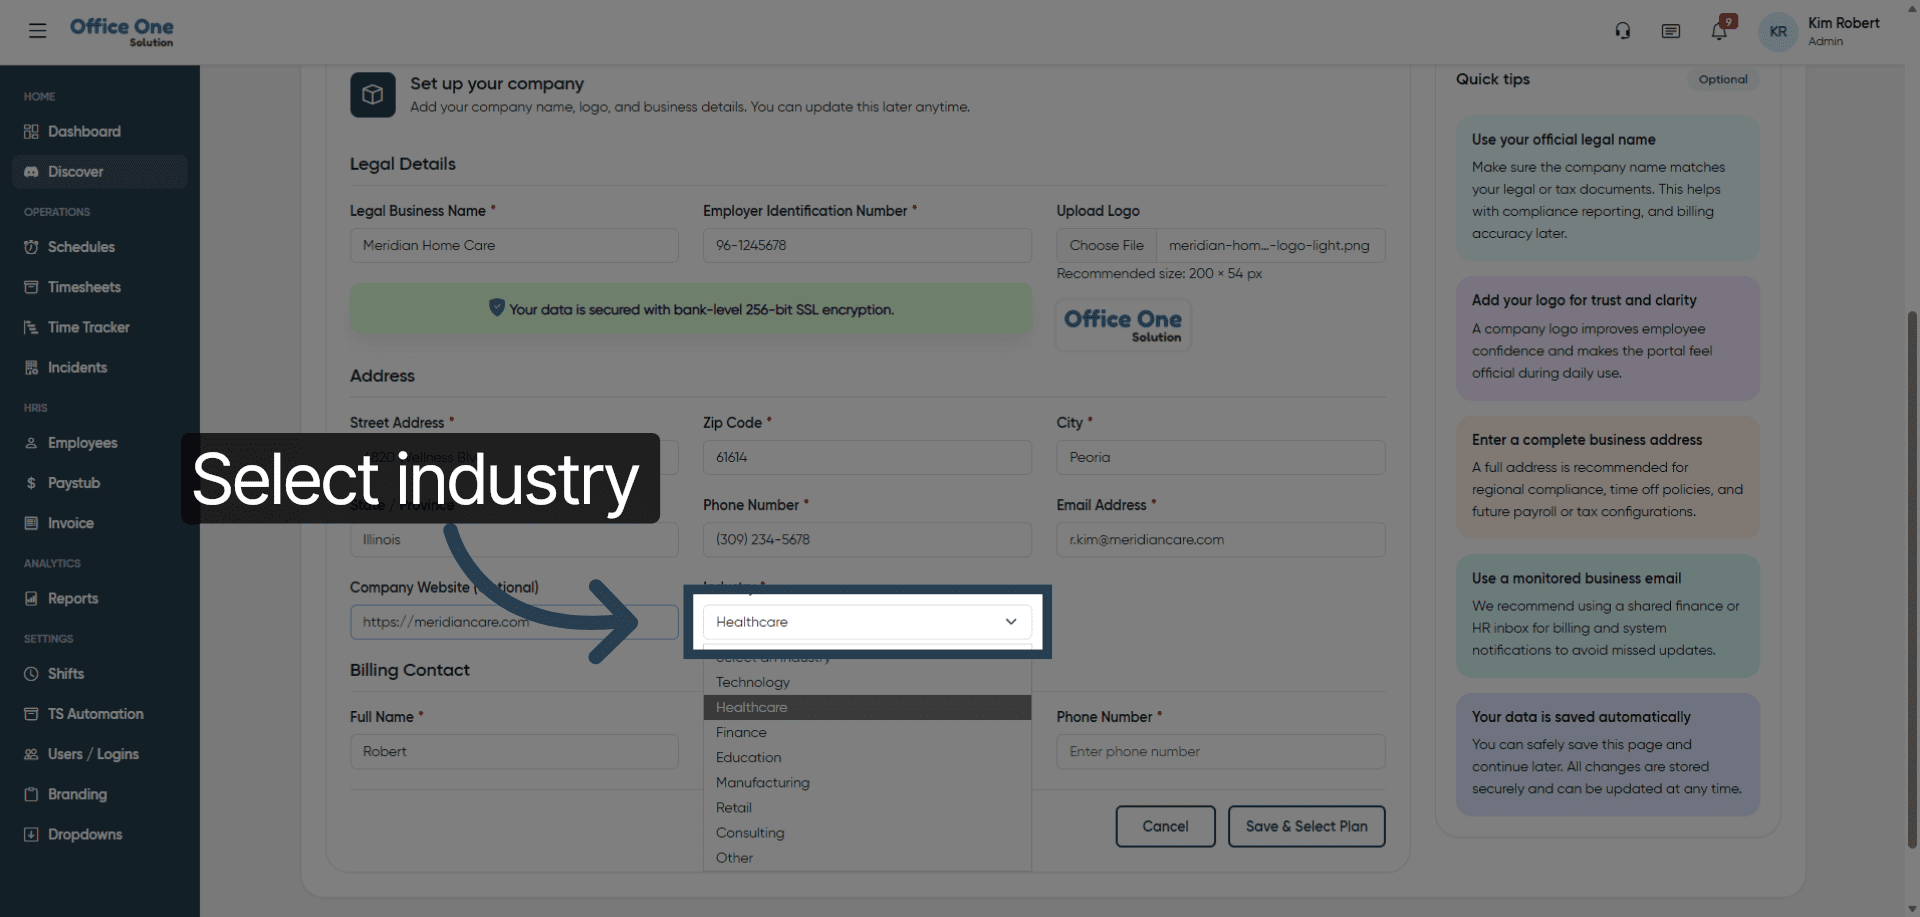
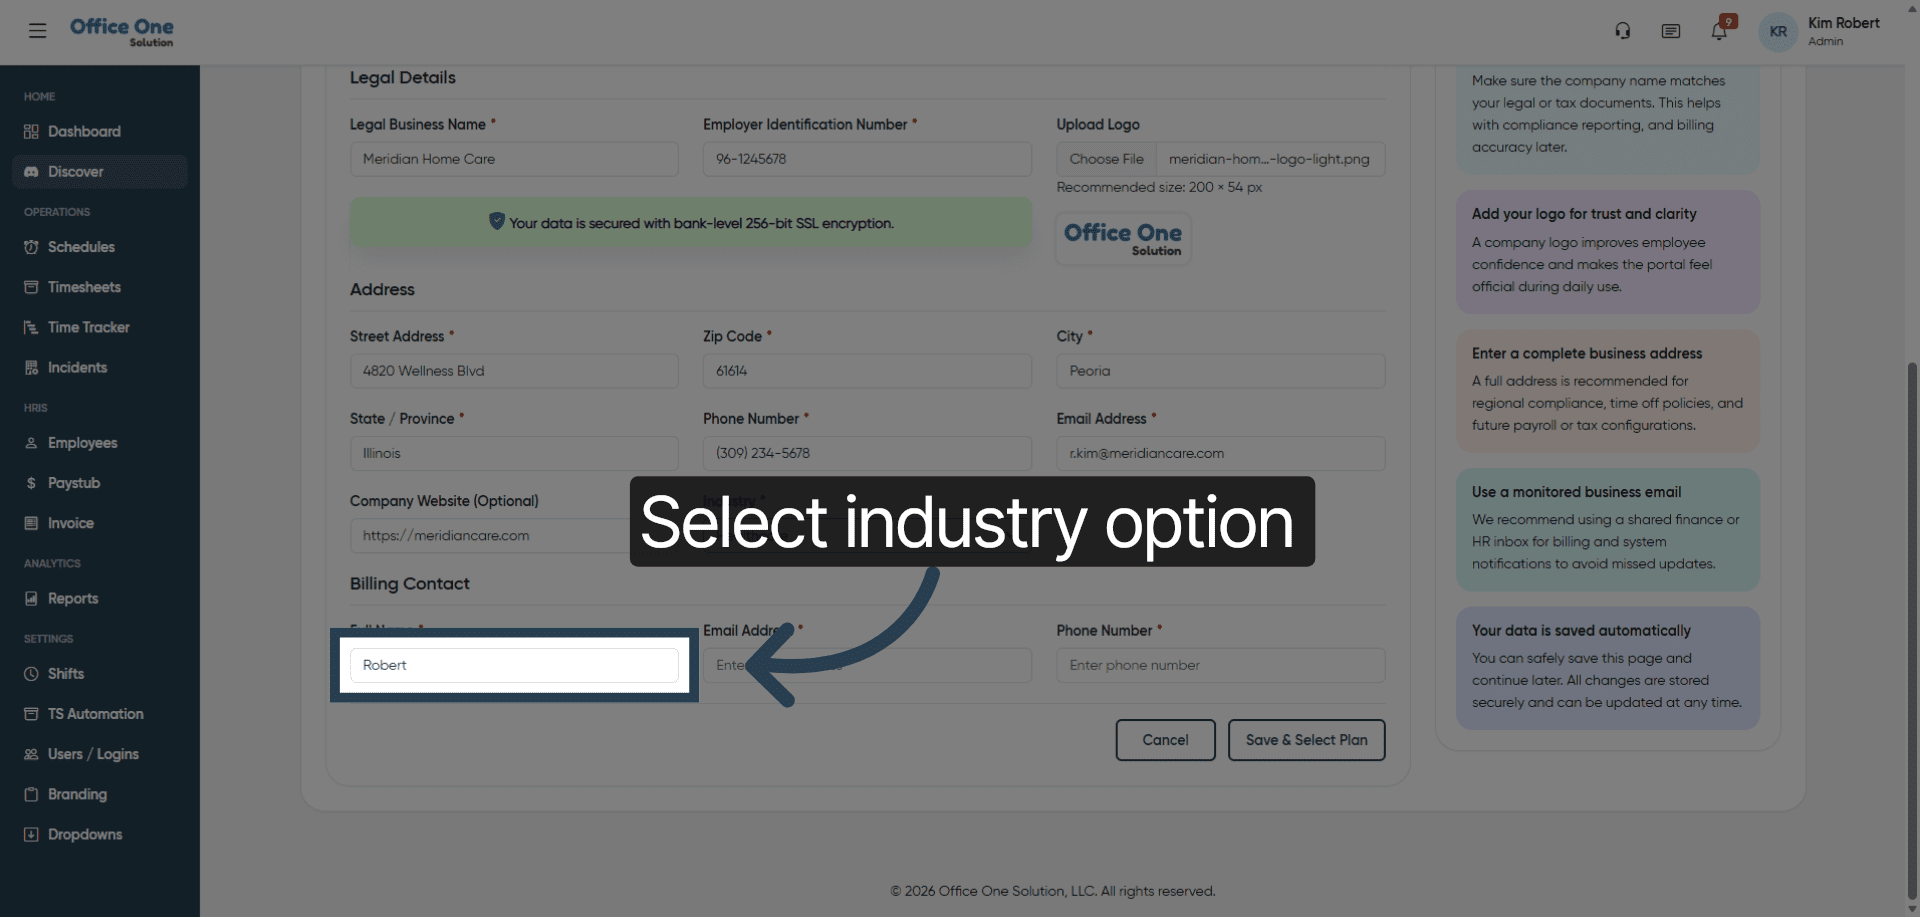
14. Choose Industry Option
Click “Robert” to select the appropriate industry category from the list.
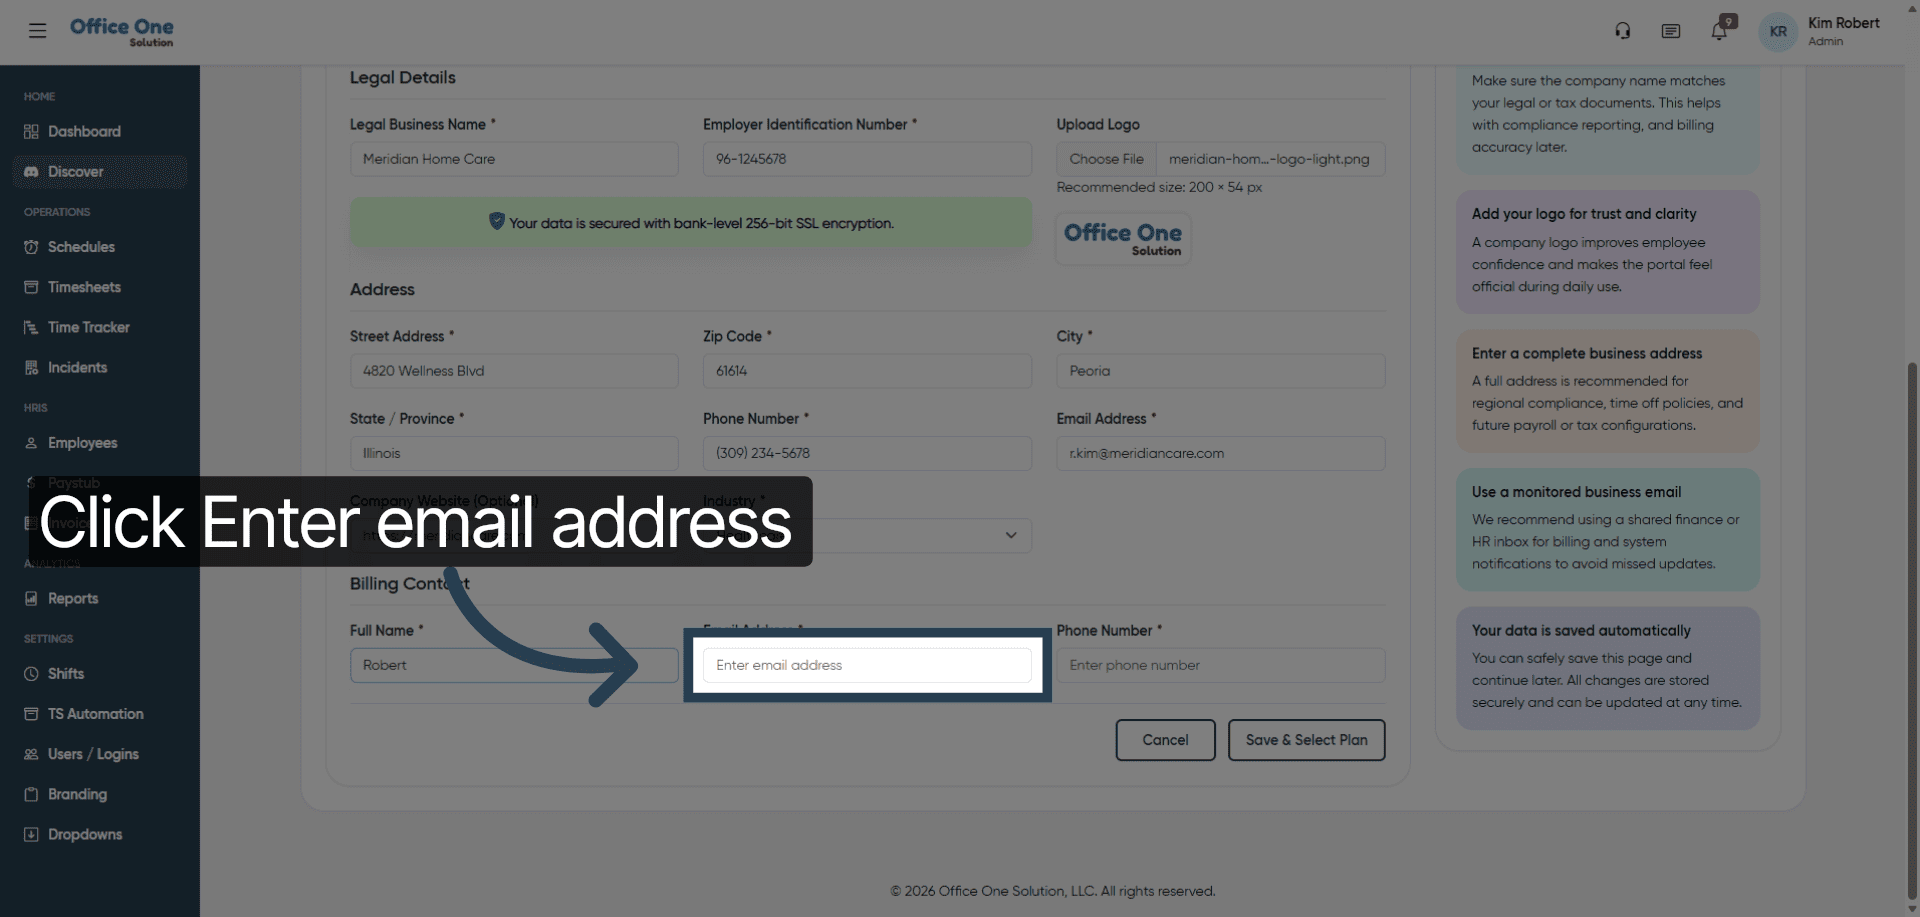
15. Activate Email Field
Click “Enter email address” to start inputting your contact email.
16. Begin Email Entry
Fill in the initial part of your email address to prepare for completion.
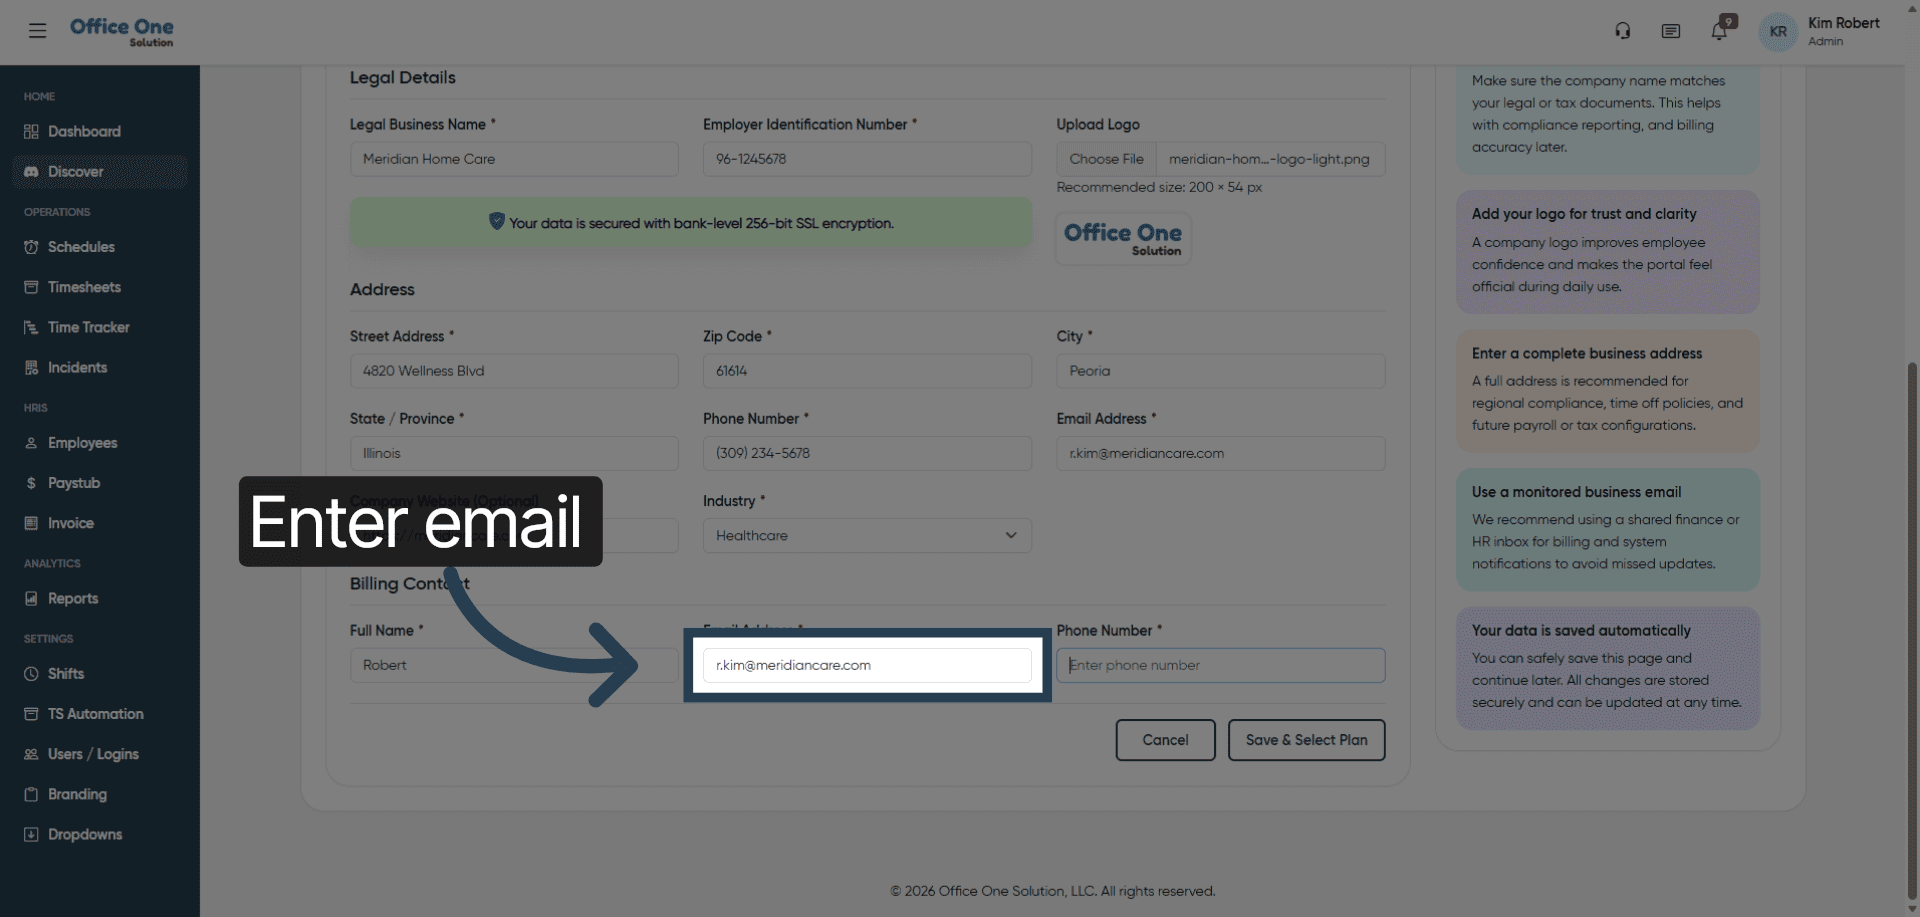
17. Complete Email Address
Fill in your full email address to ensure accurate contact information.
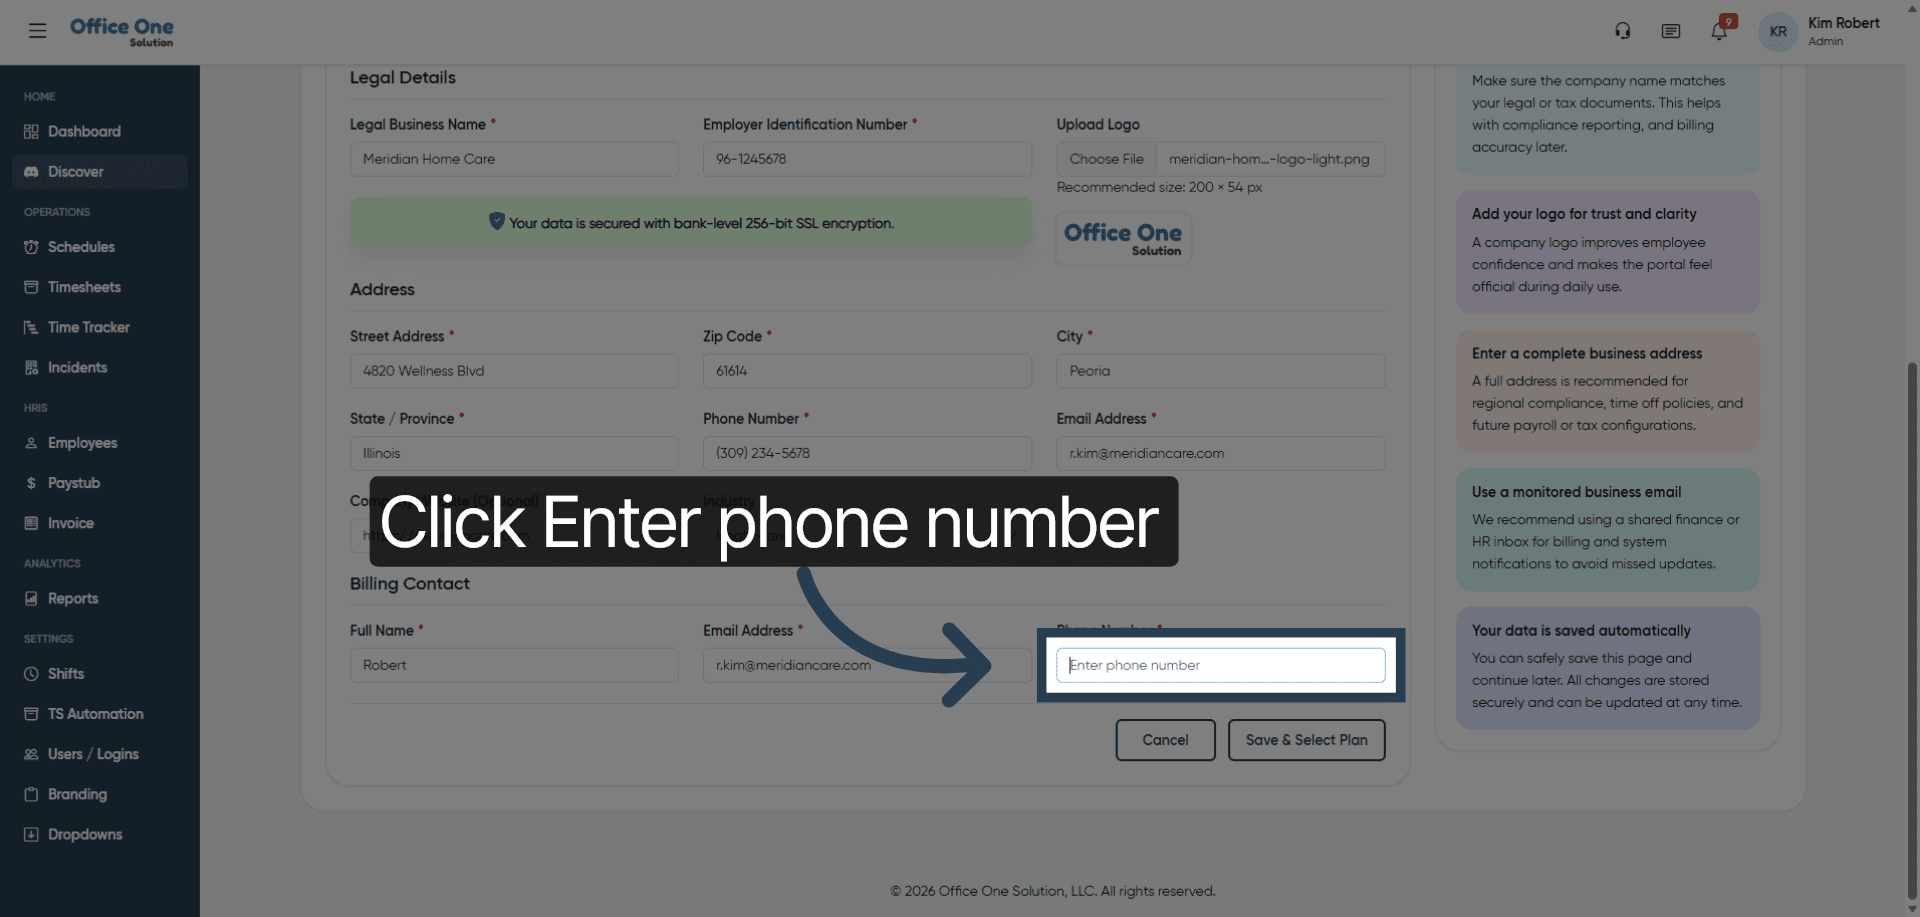
18. Activate Phone Number Field
Click “Enter phone number” to input your contact phone number.
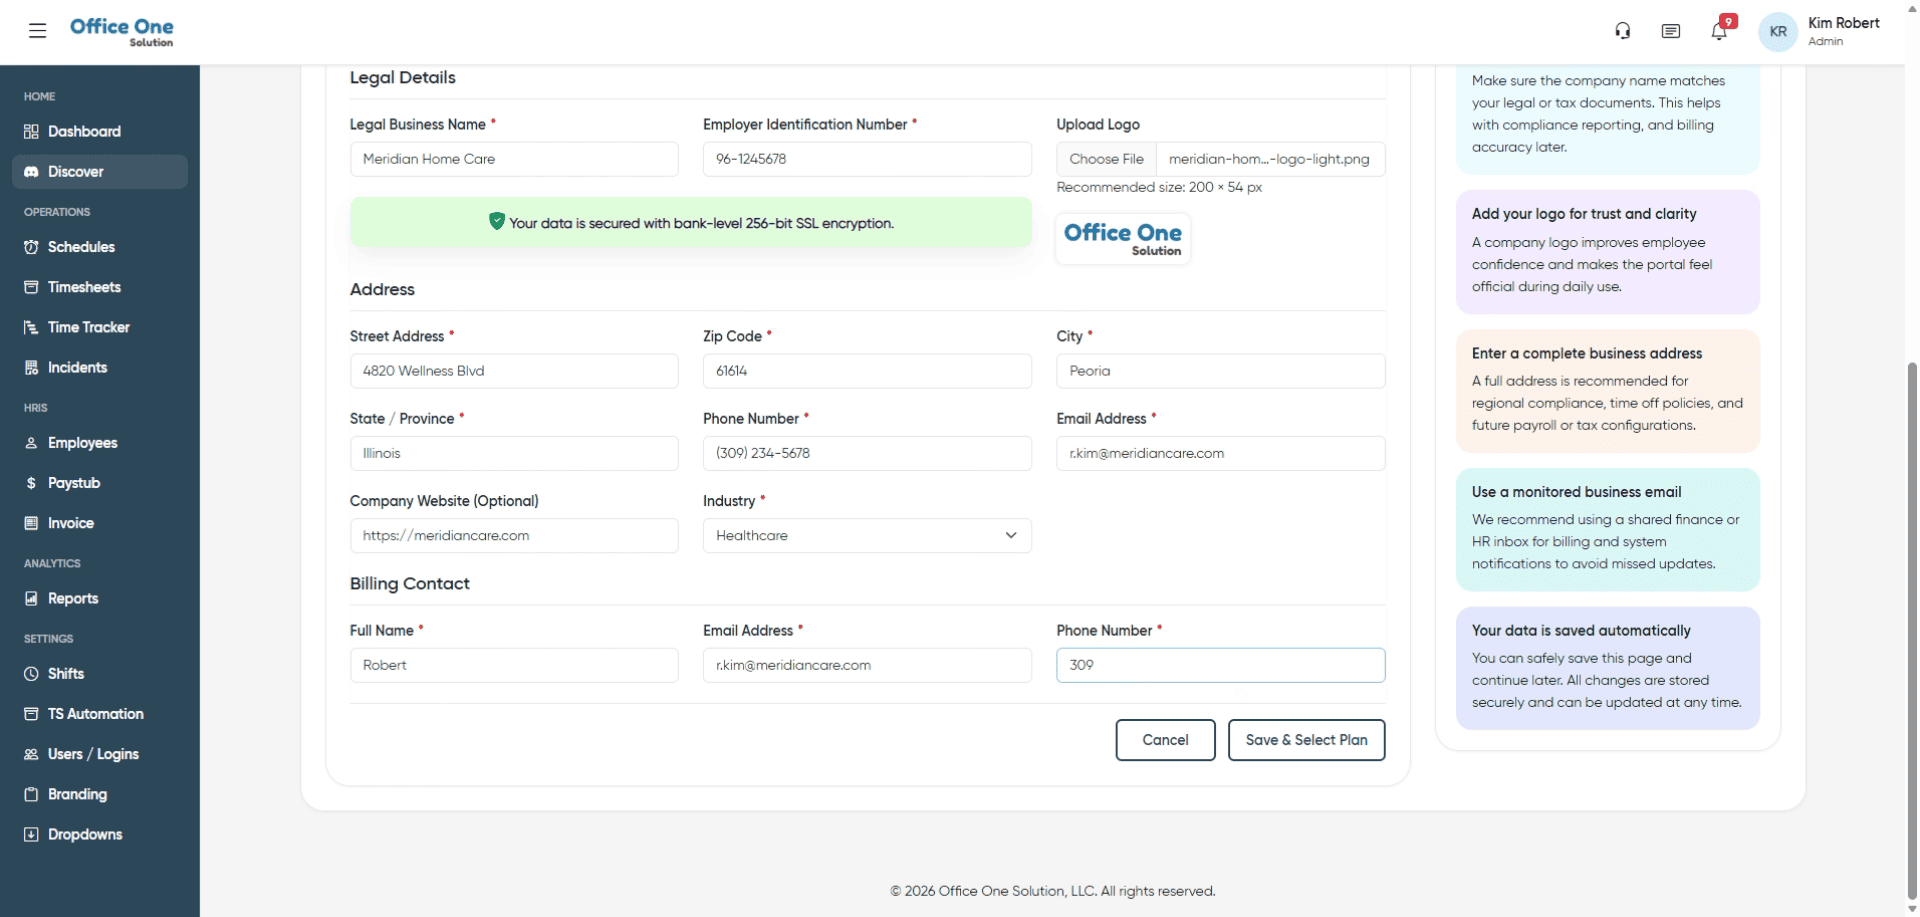
19. Input Phone Number
Fill in your phone number to provide a direct contact method.
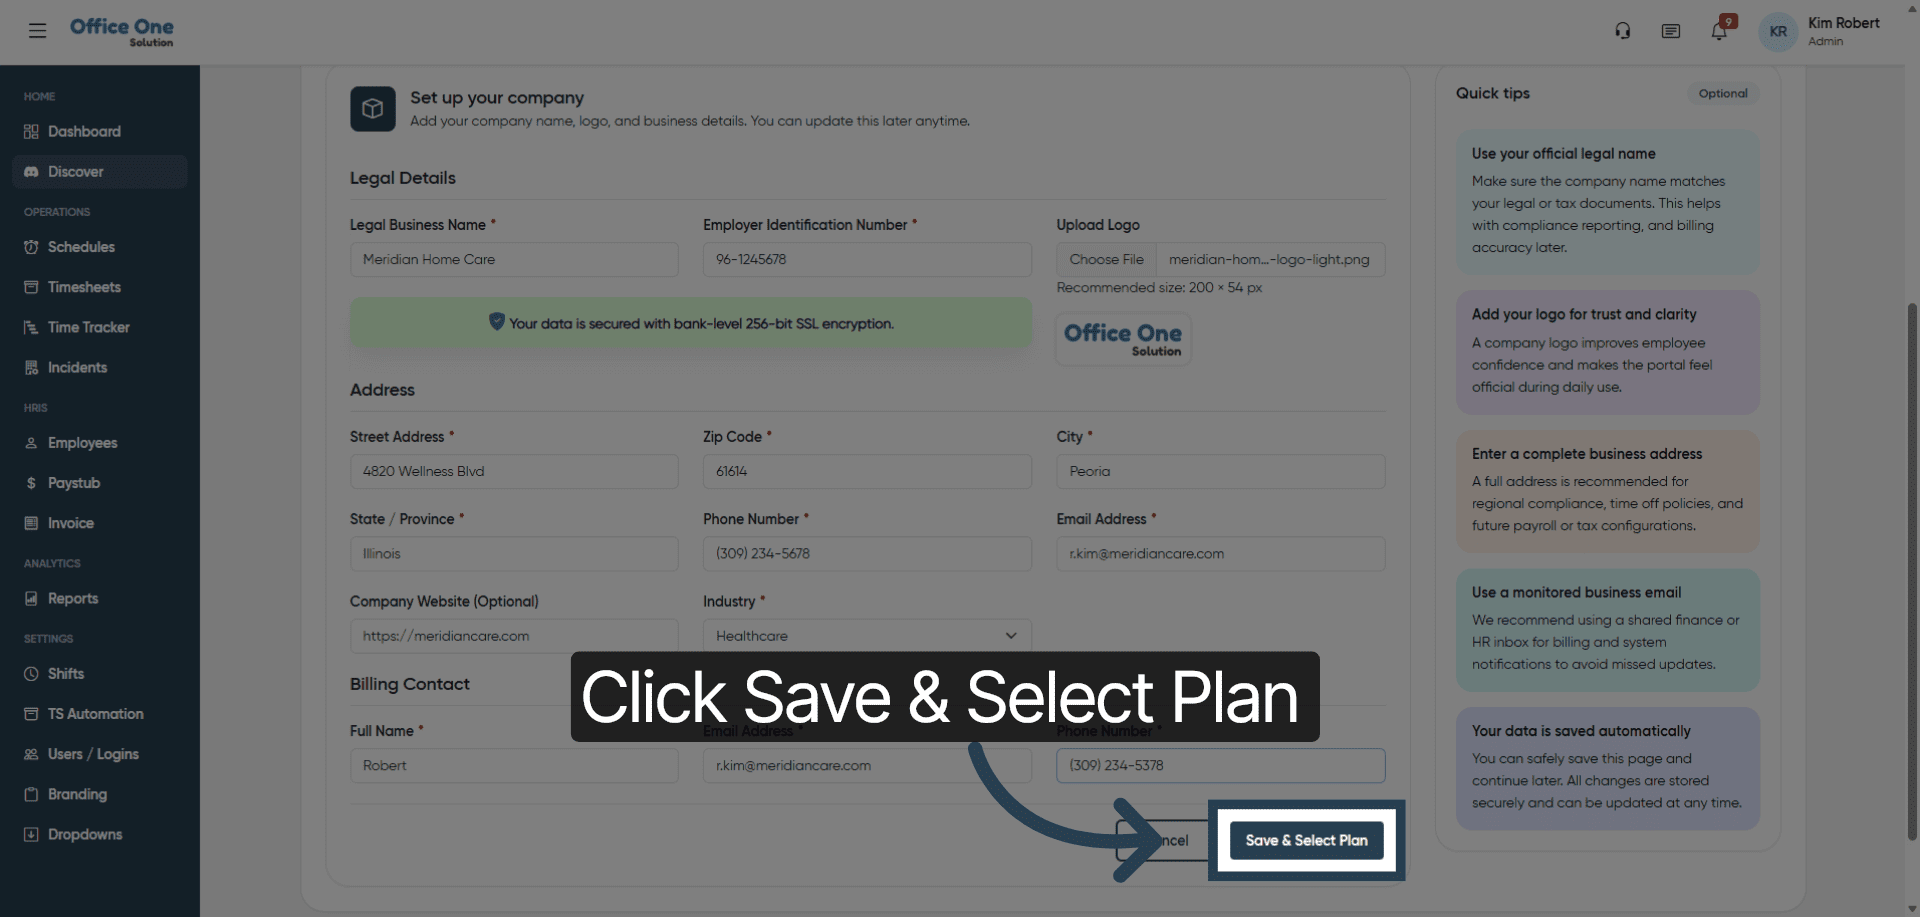
20. Save and Proceed
Click “Save & Select Plan” to save your information and move to plan selection.
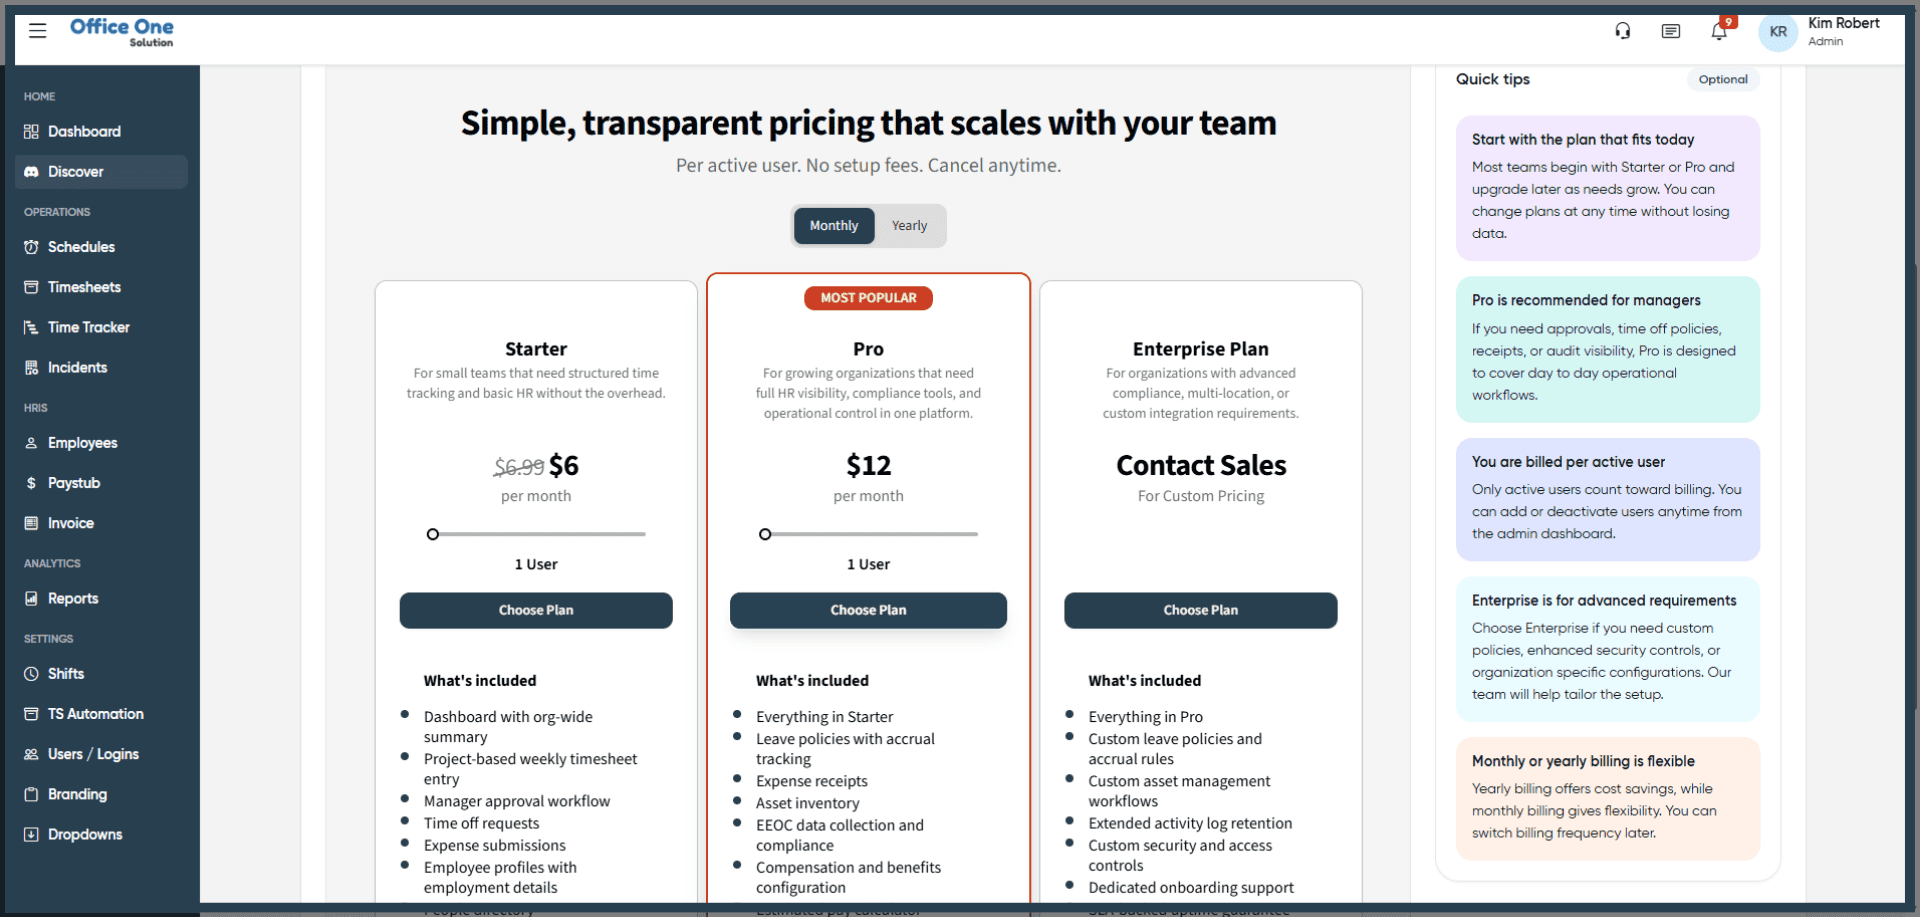
21. Open Plan Selection
Click “Choose Plan” to view available subscription options.
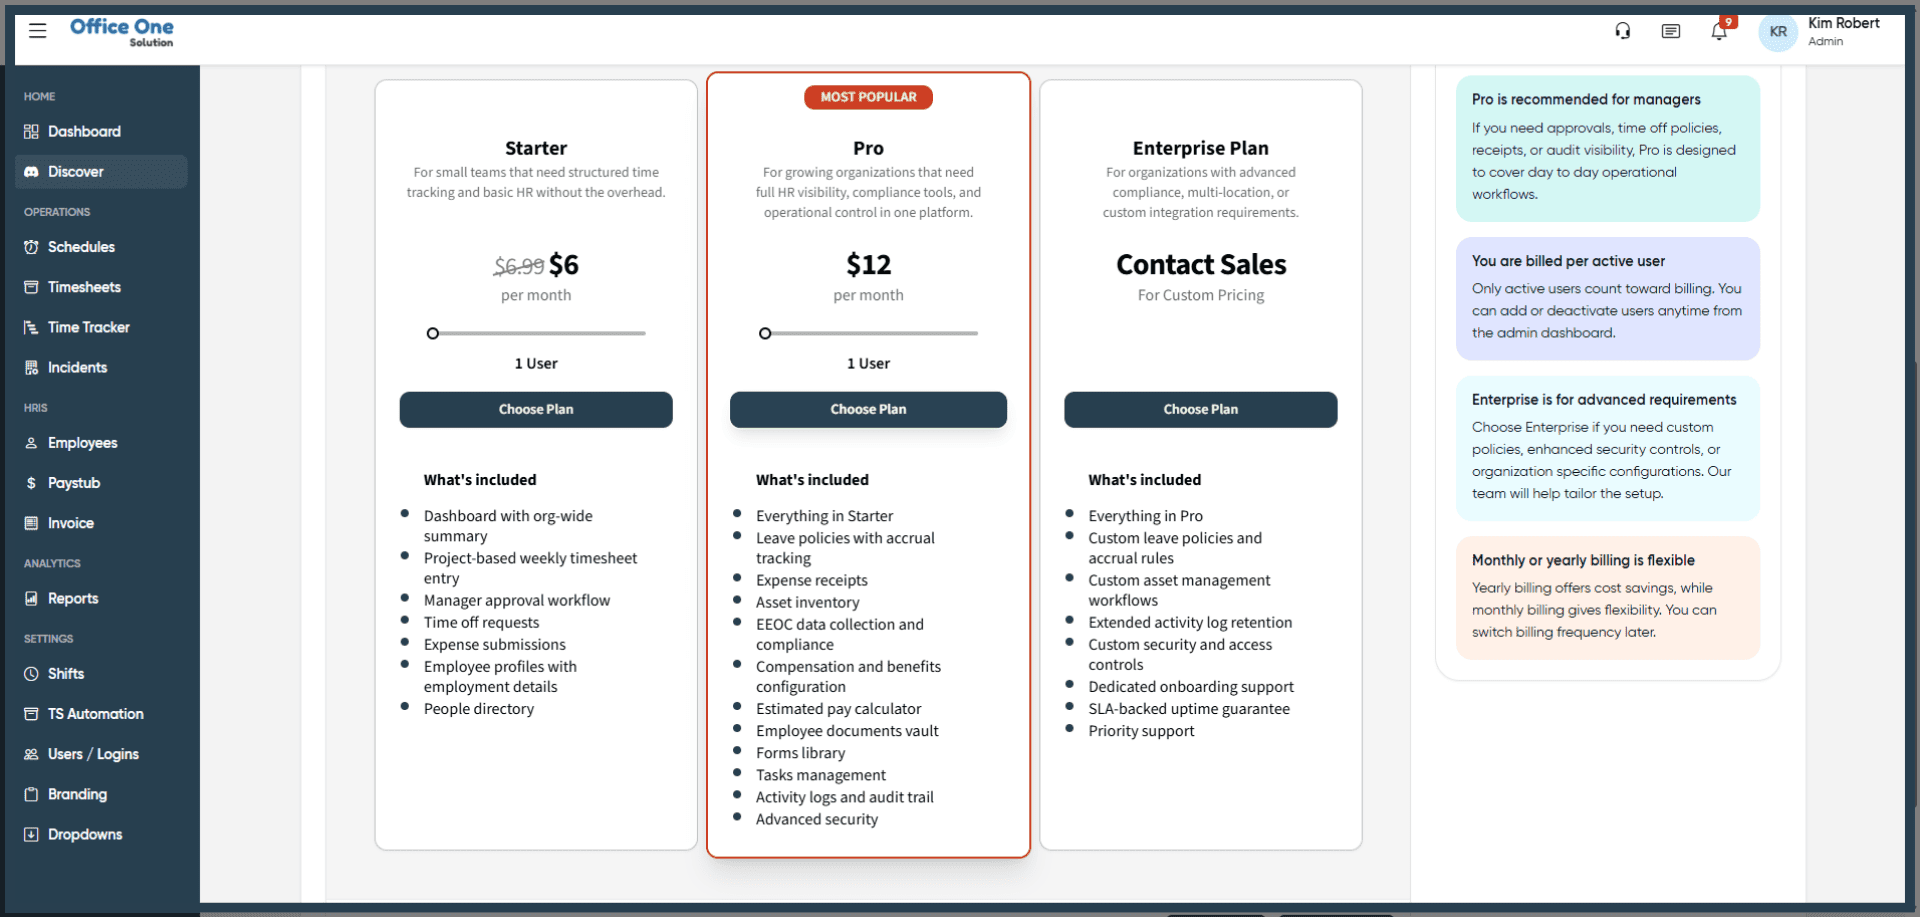
22. Confirm Plan Choice
Click “Choose Plan” again to finalize your subscription selection.
You have successfully completed your organization’s onboarding by entering company details, uploading branding, and selecting a subscription plan. You can now proceed to configure additional settings or start using Office 1 Solution’s features.