
Add Incident
This tutorial guides you through managing incident records in OfficeOne
Go to app.office1solution.com
1. Introduction
You will learn how to add, edit, and save incident details effectively.
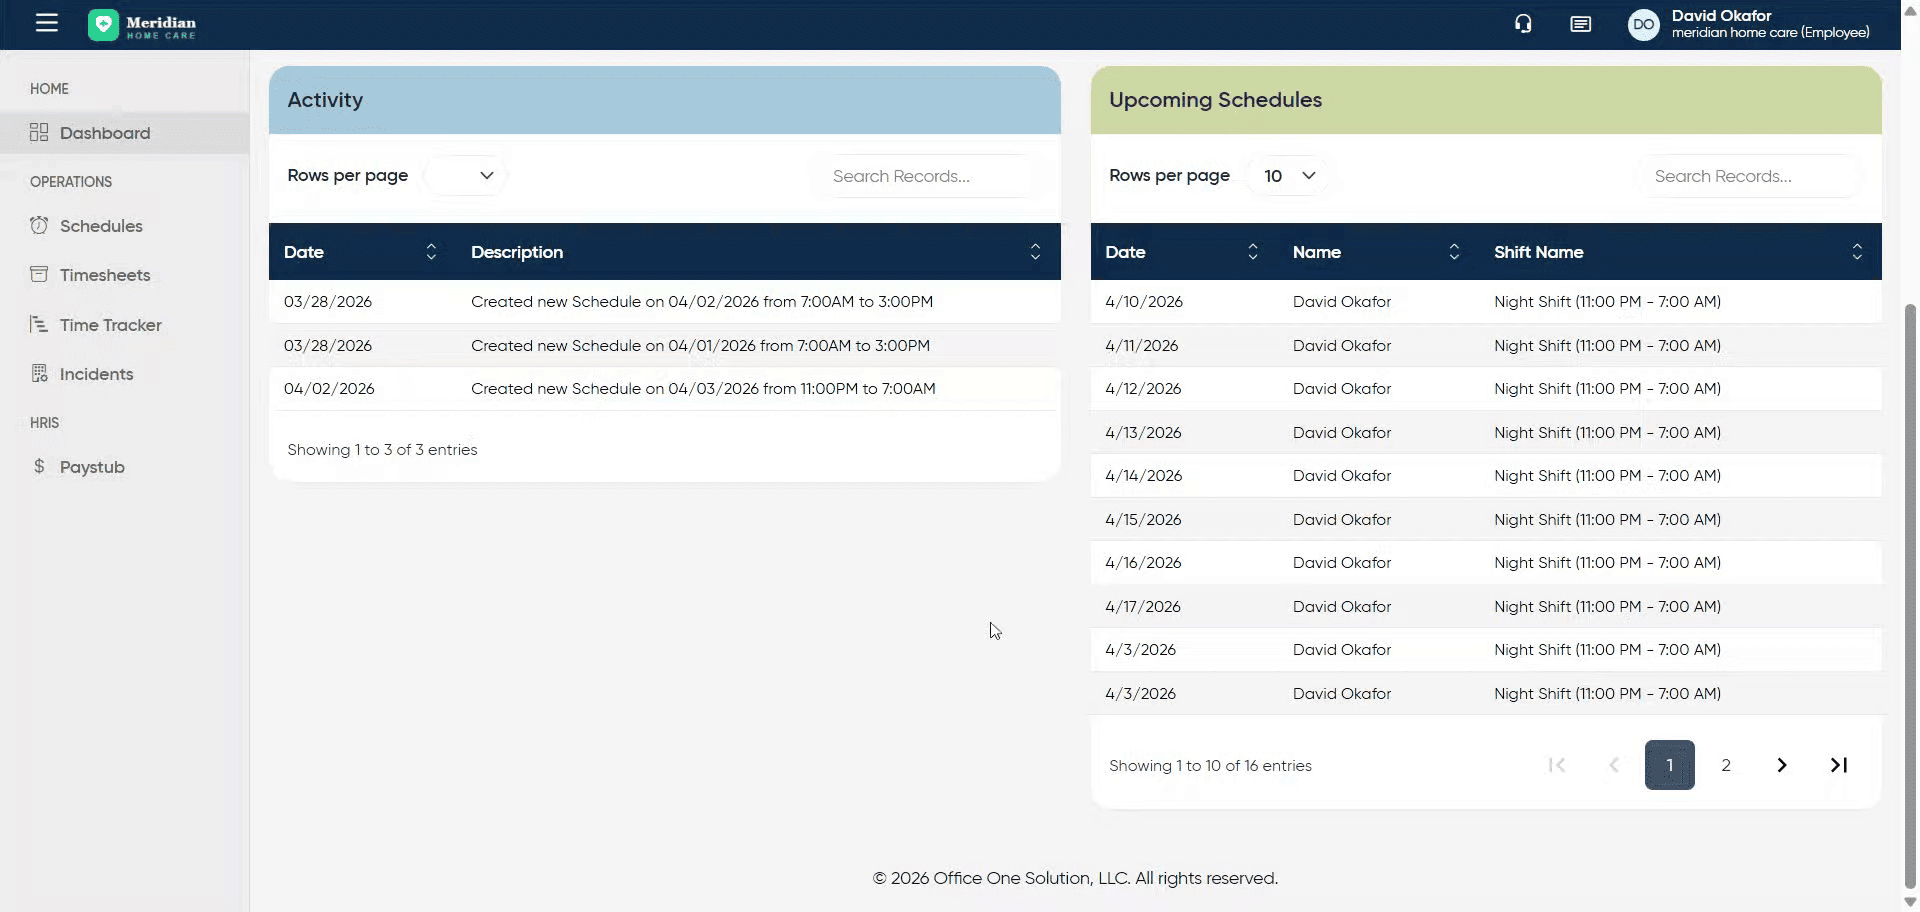
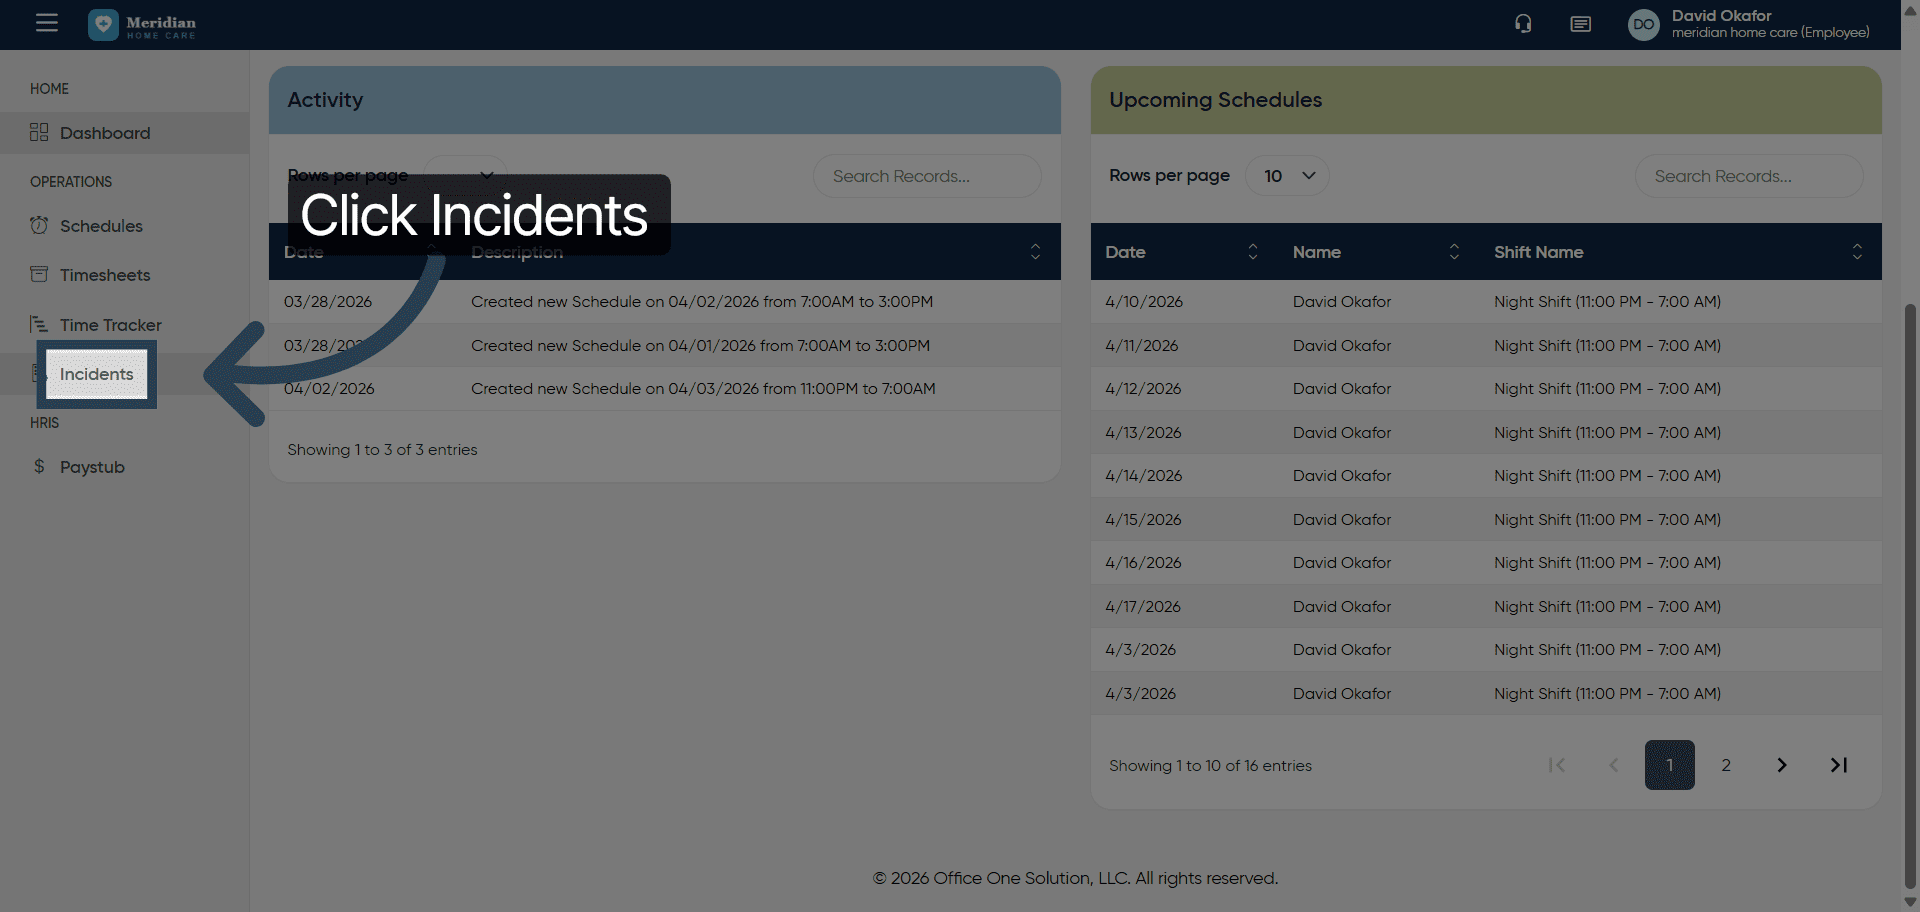
2. Access Incident Management
Click “Incidents” to open the incident management section.
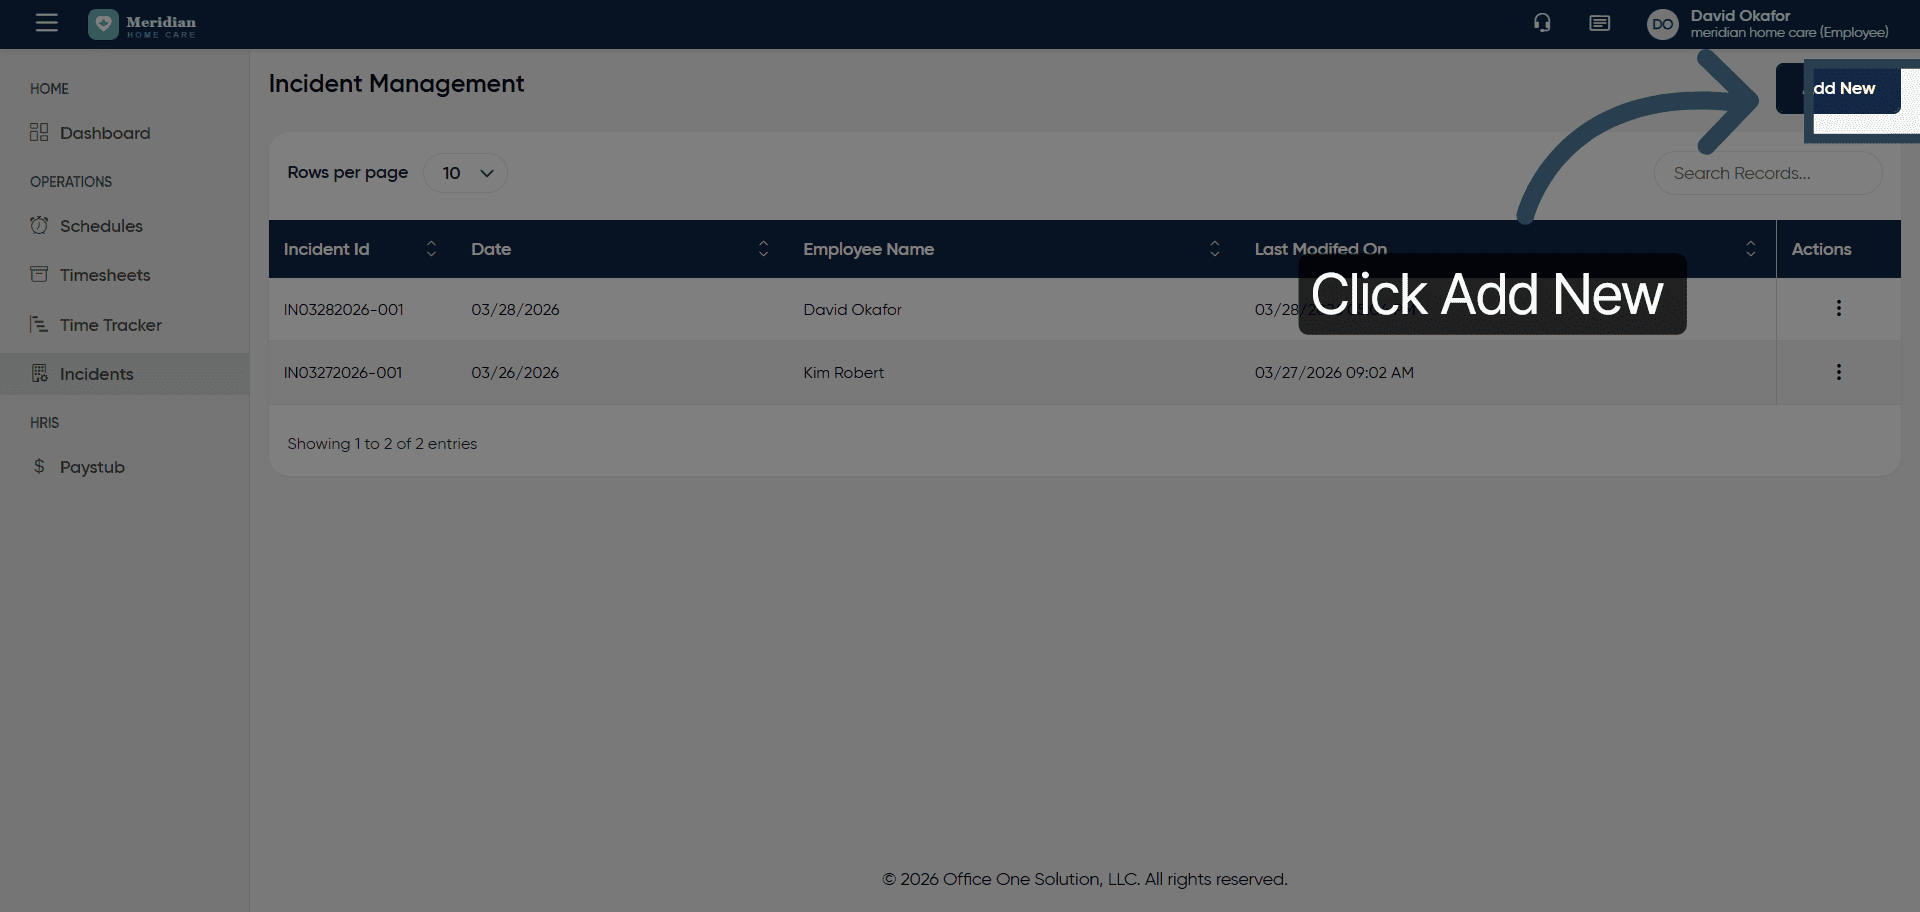
3. Initiate New Incident Entry
Click “Add New” to start creating a new incident record.
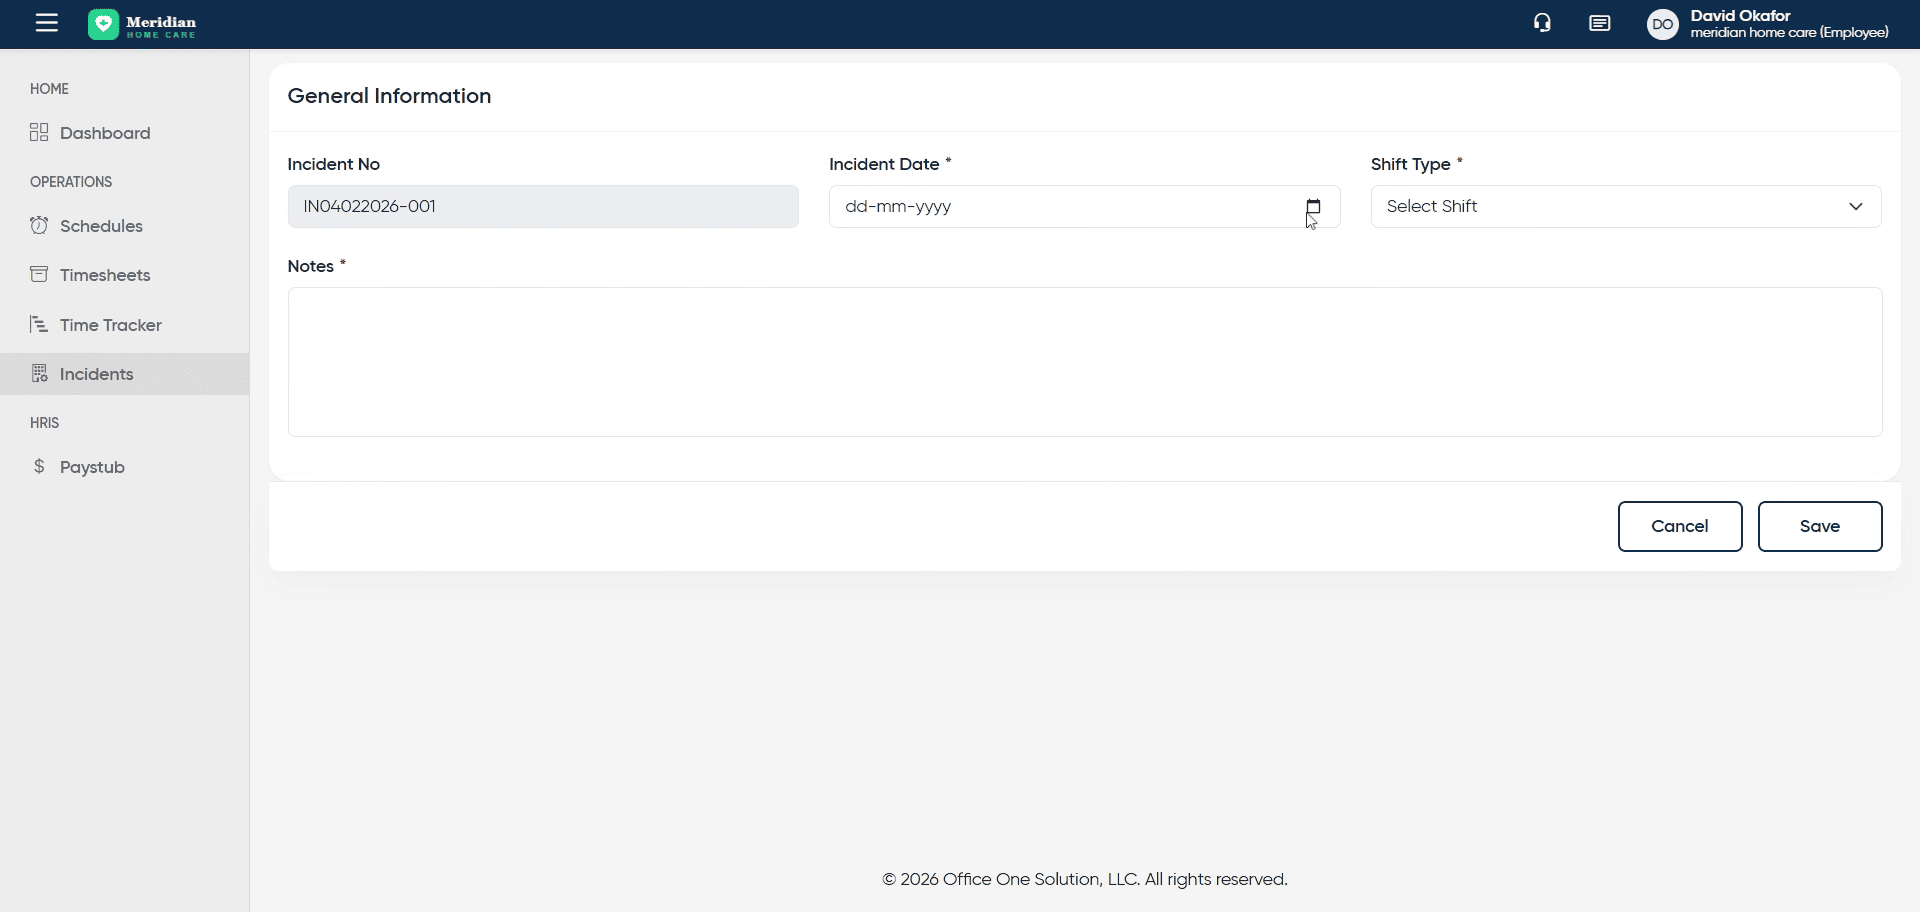
4. Open Incident Date Field
Click “Enter Incident Date” to specify when the incident occurred.
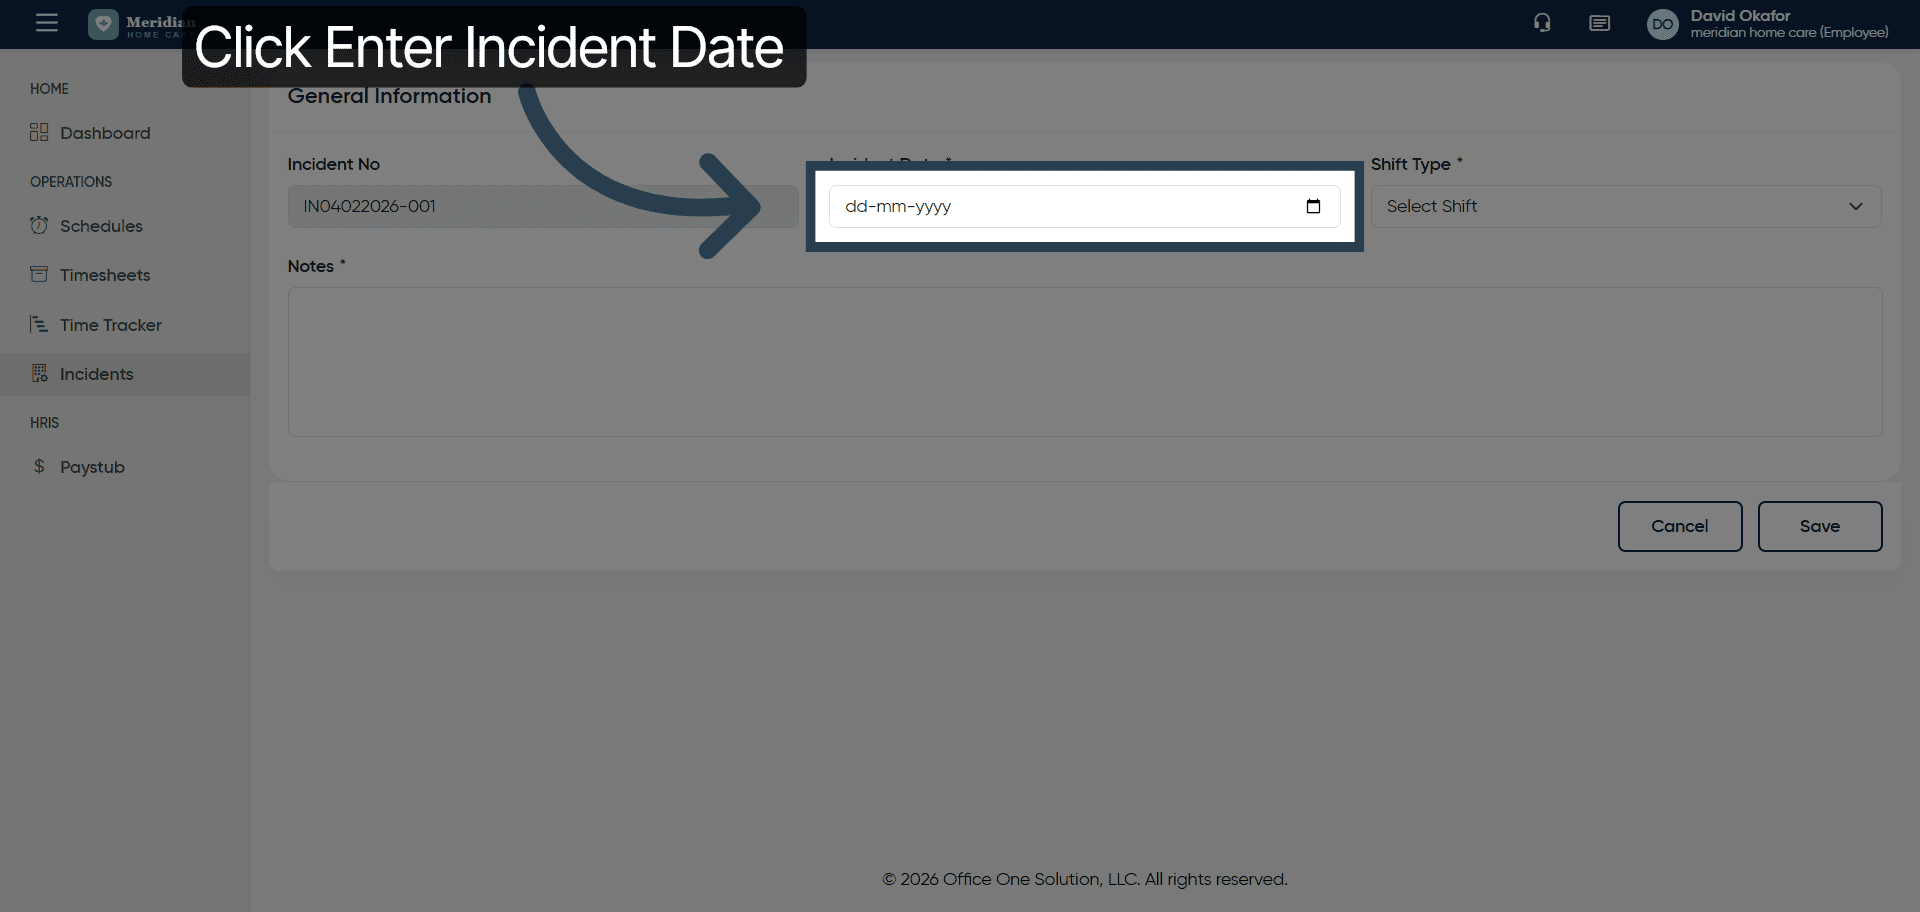
5. Enter Incident Date
6. Open Shift Selection
Click “Select Shift” to choose the relevant work shift for the incident.
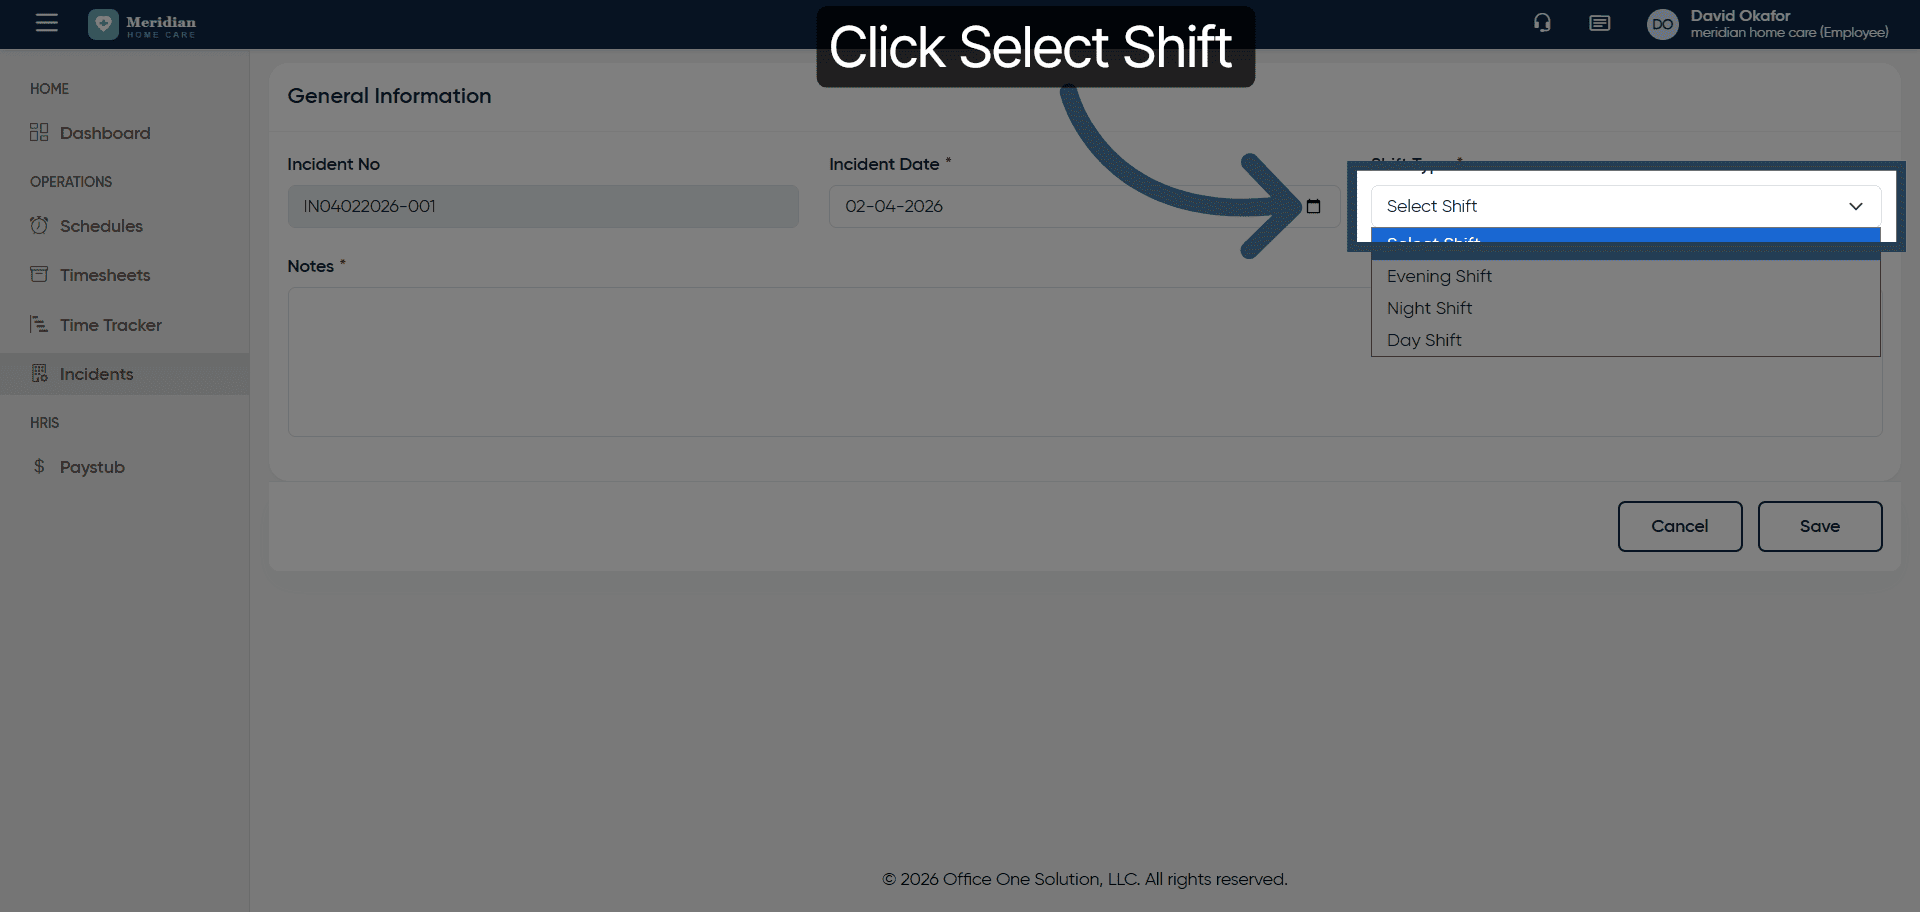
7. Choose Work Shift

8. Access Additional Fields
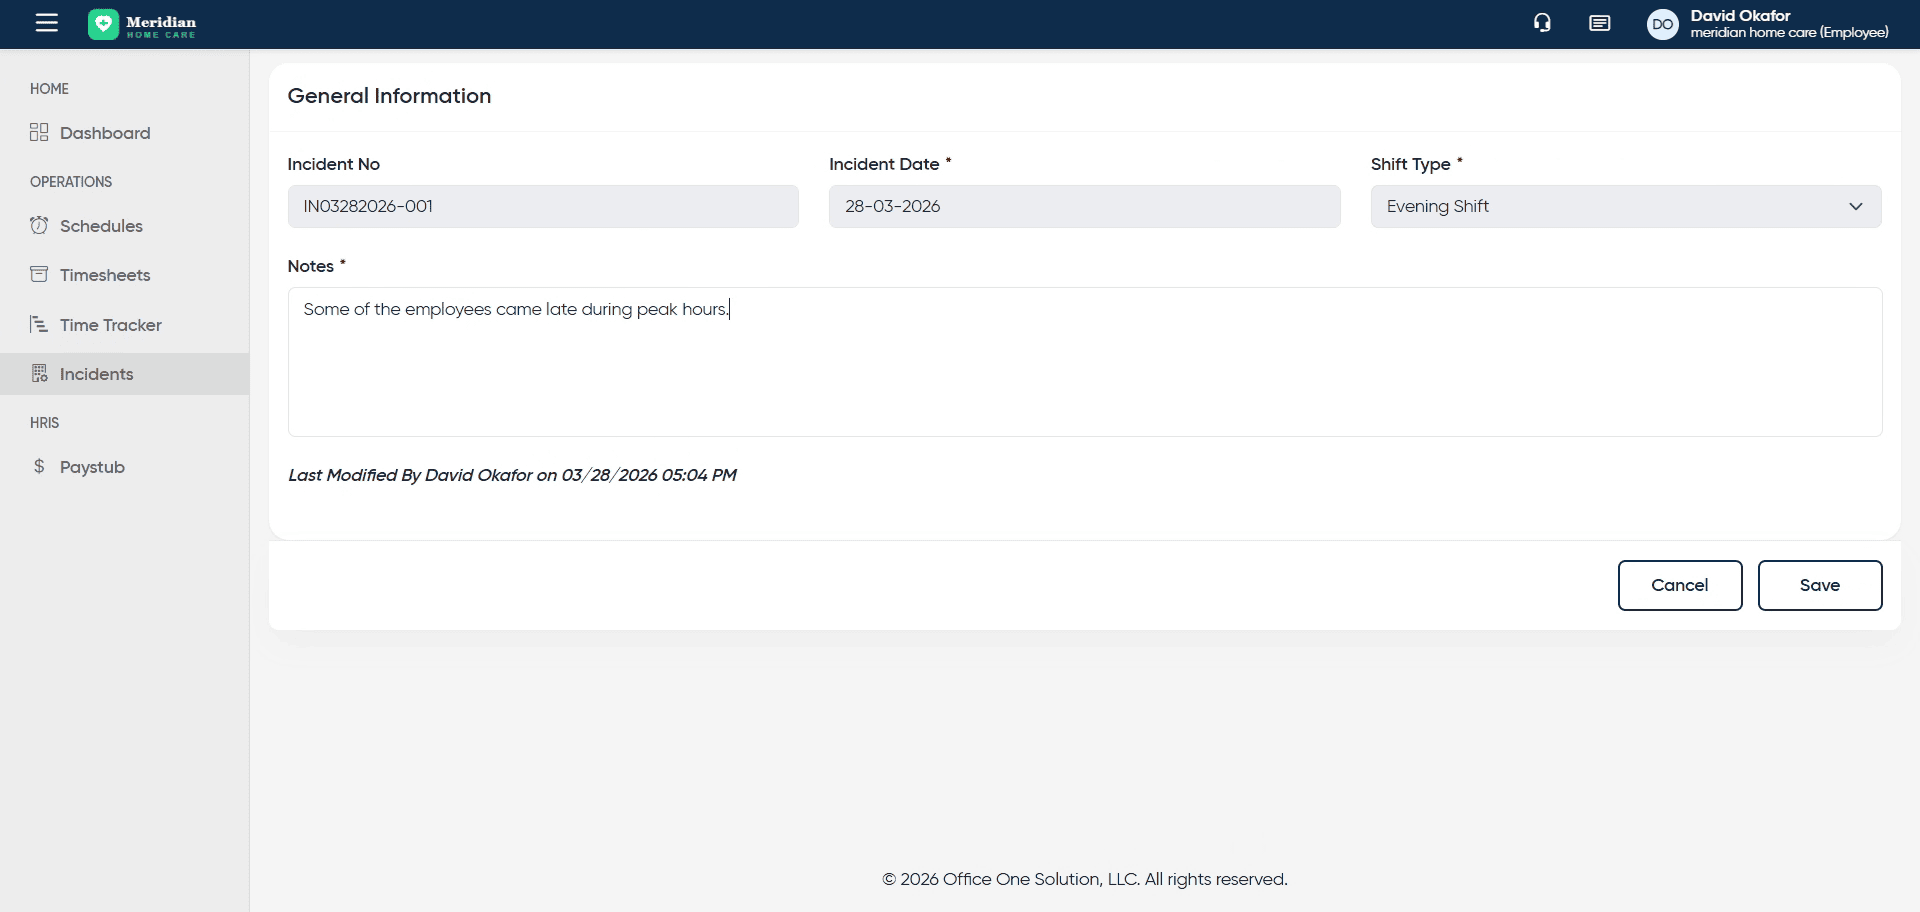
Fill all the required details.
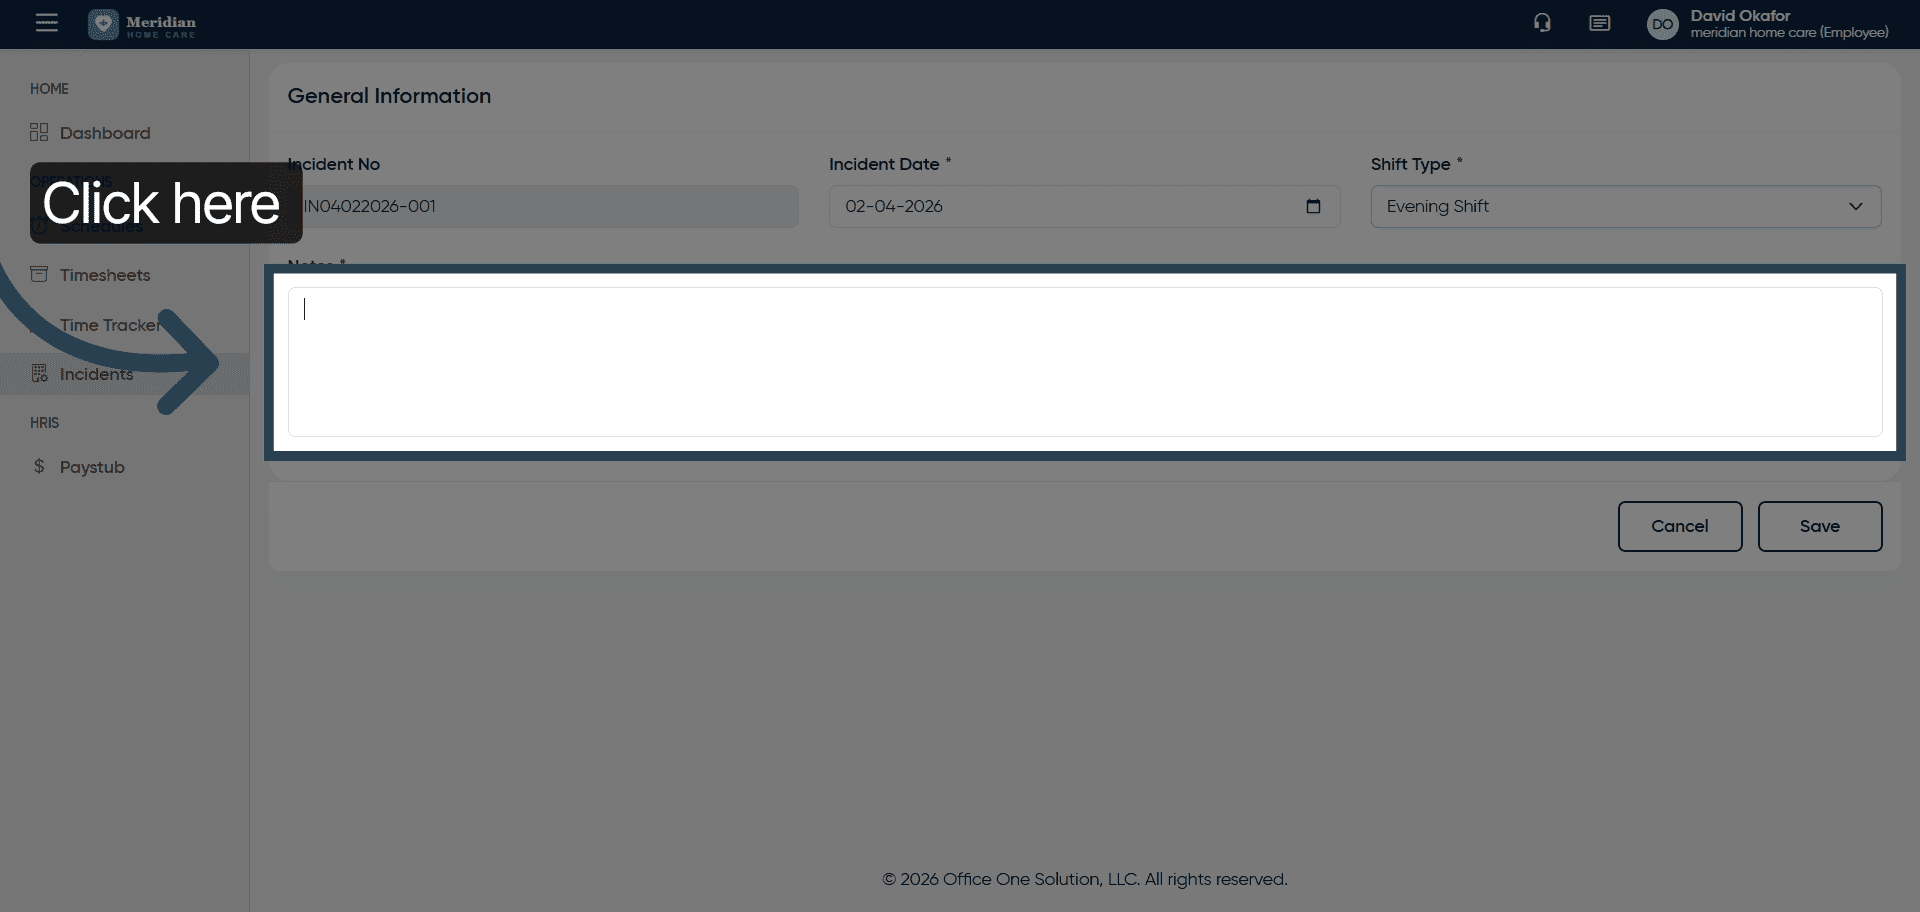
9. Describe Incident Details
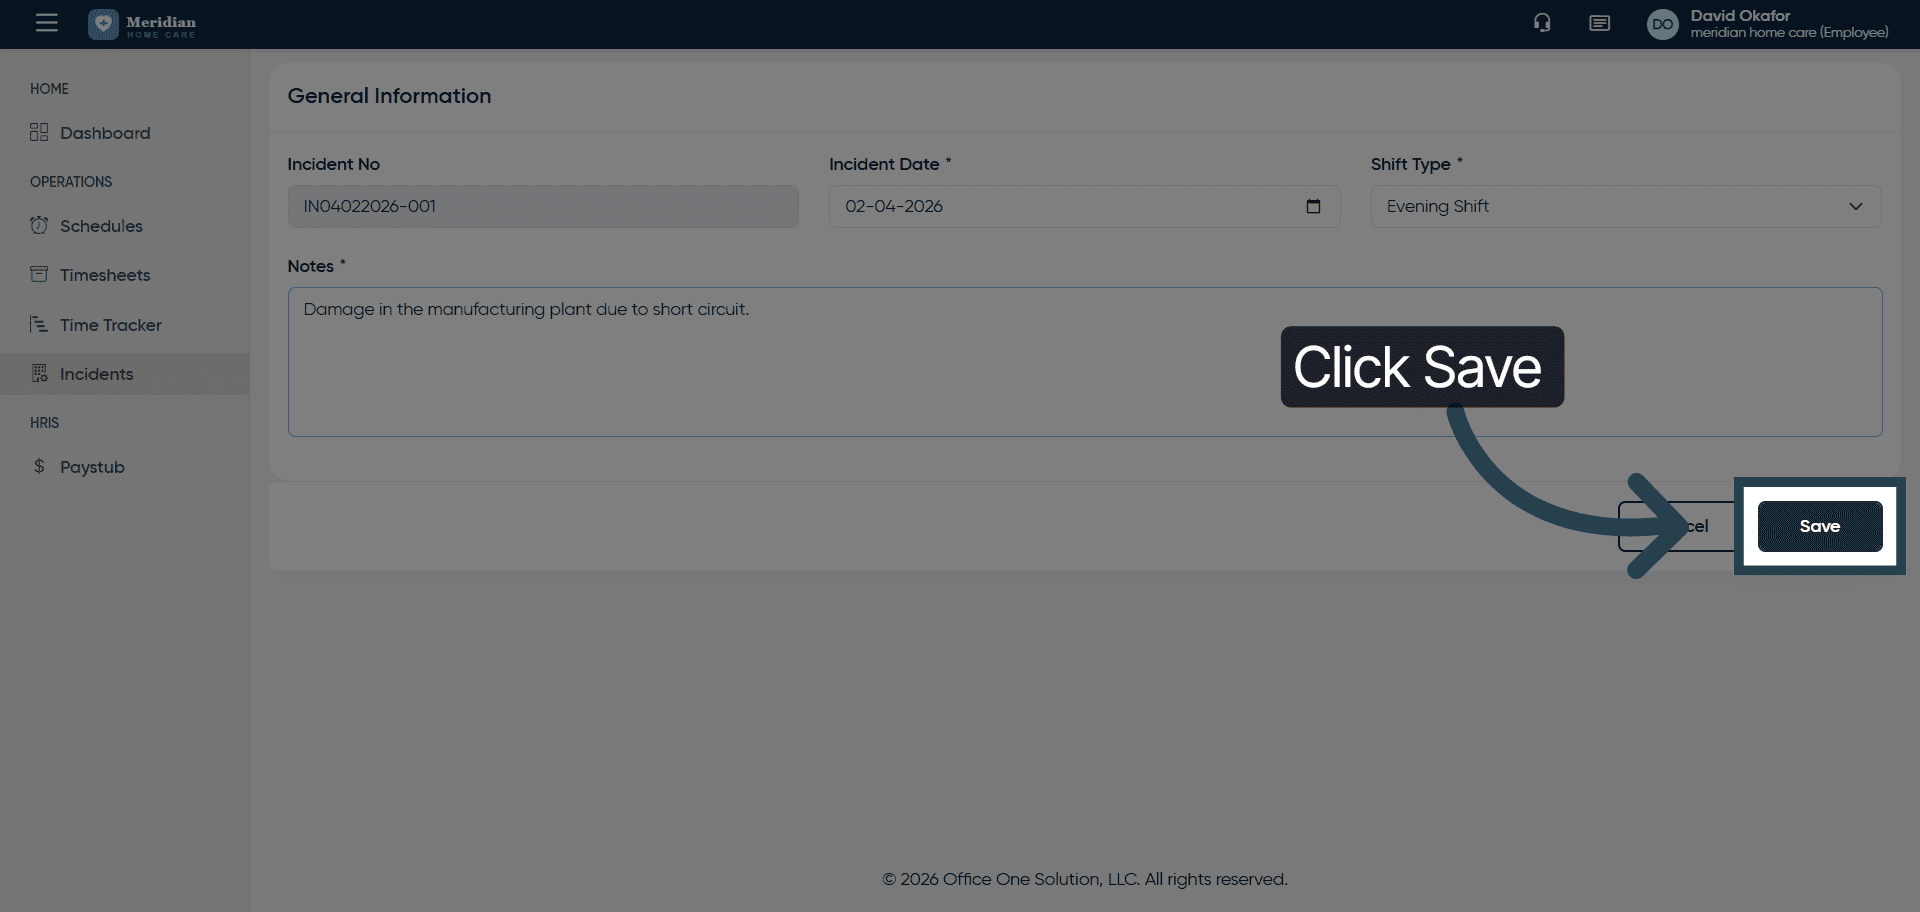
10. Save Incident Record
Click “Save” to store the new incident information.
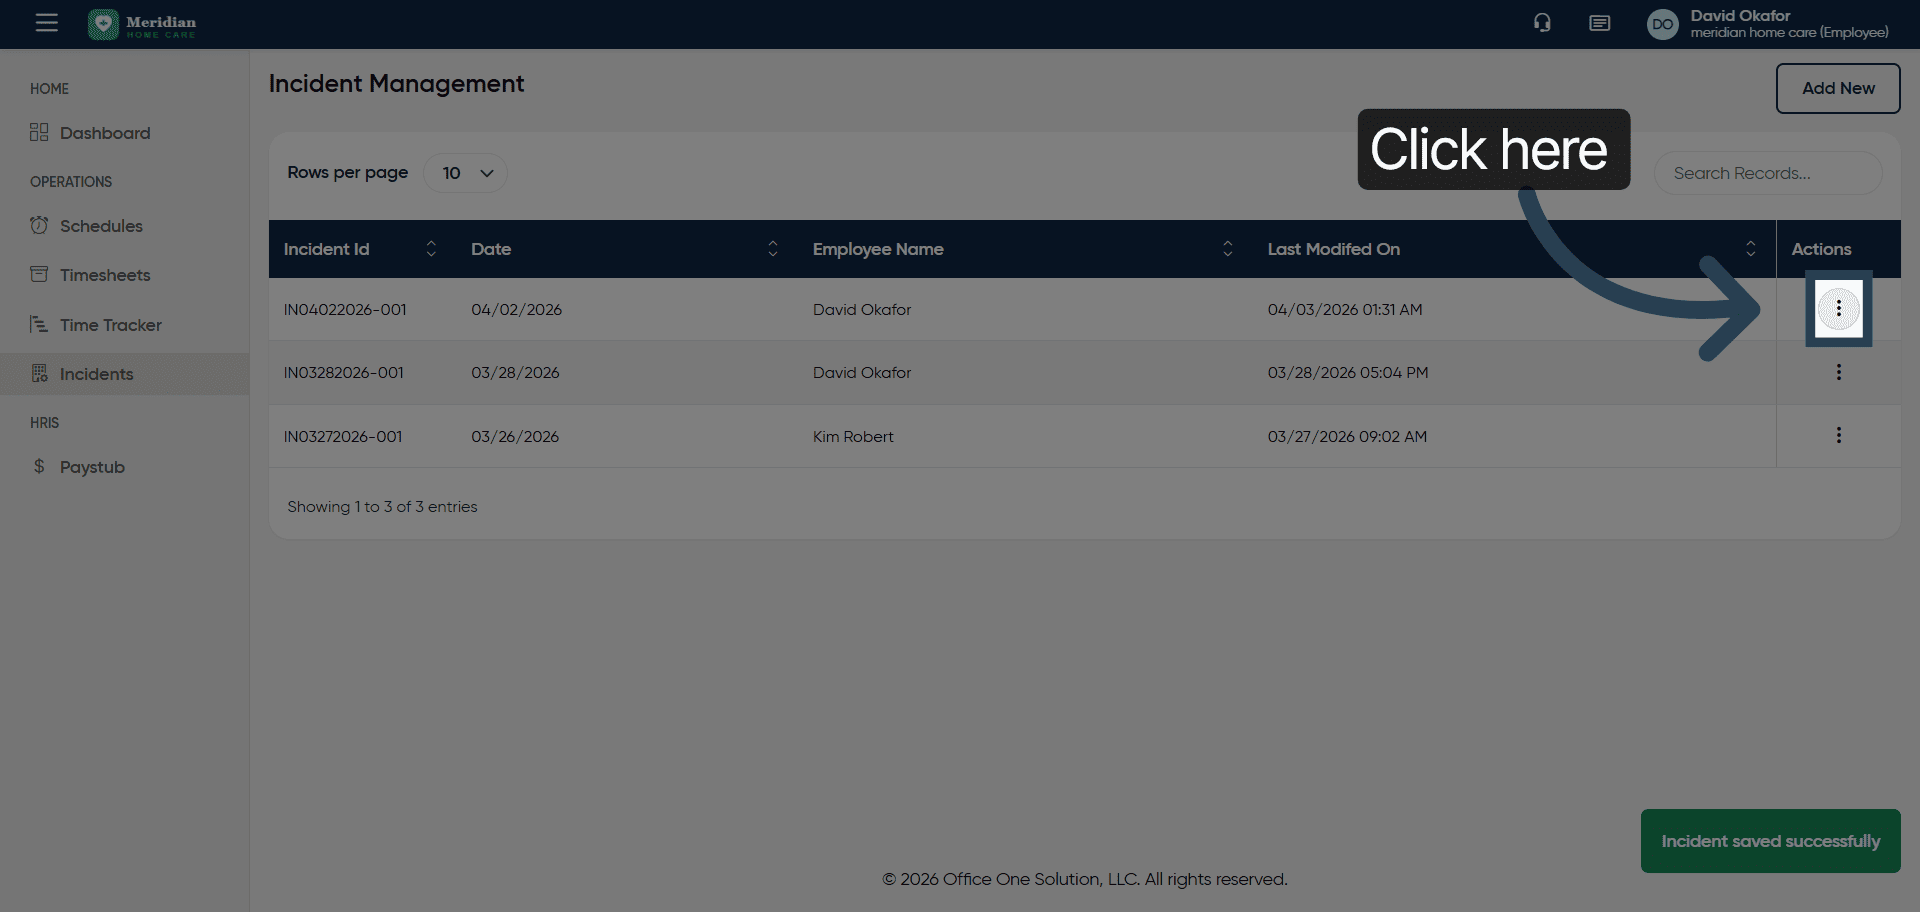
11. Open Incident Options
Click here to access further incident management options.
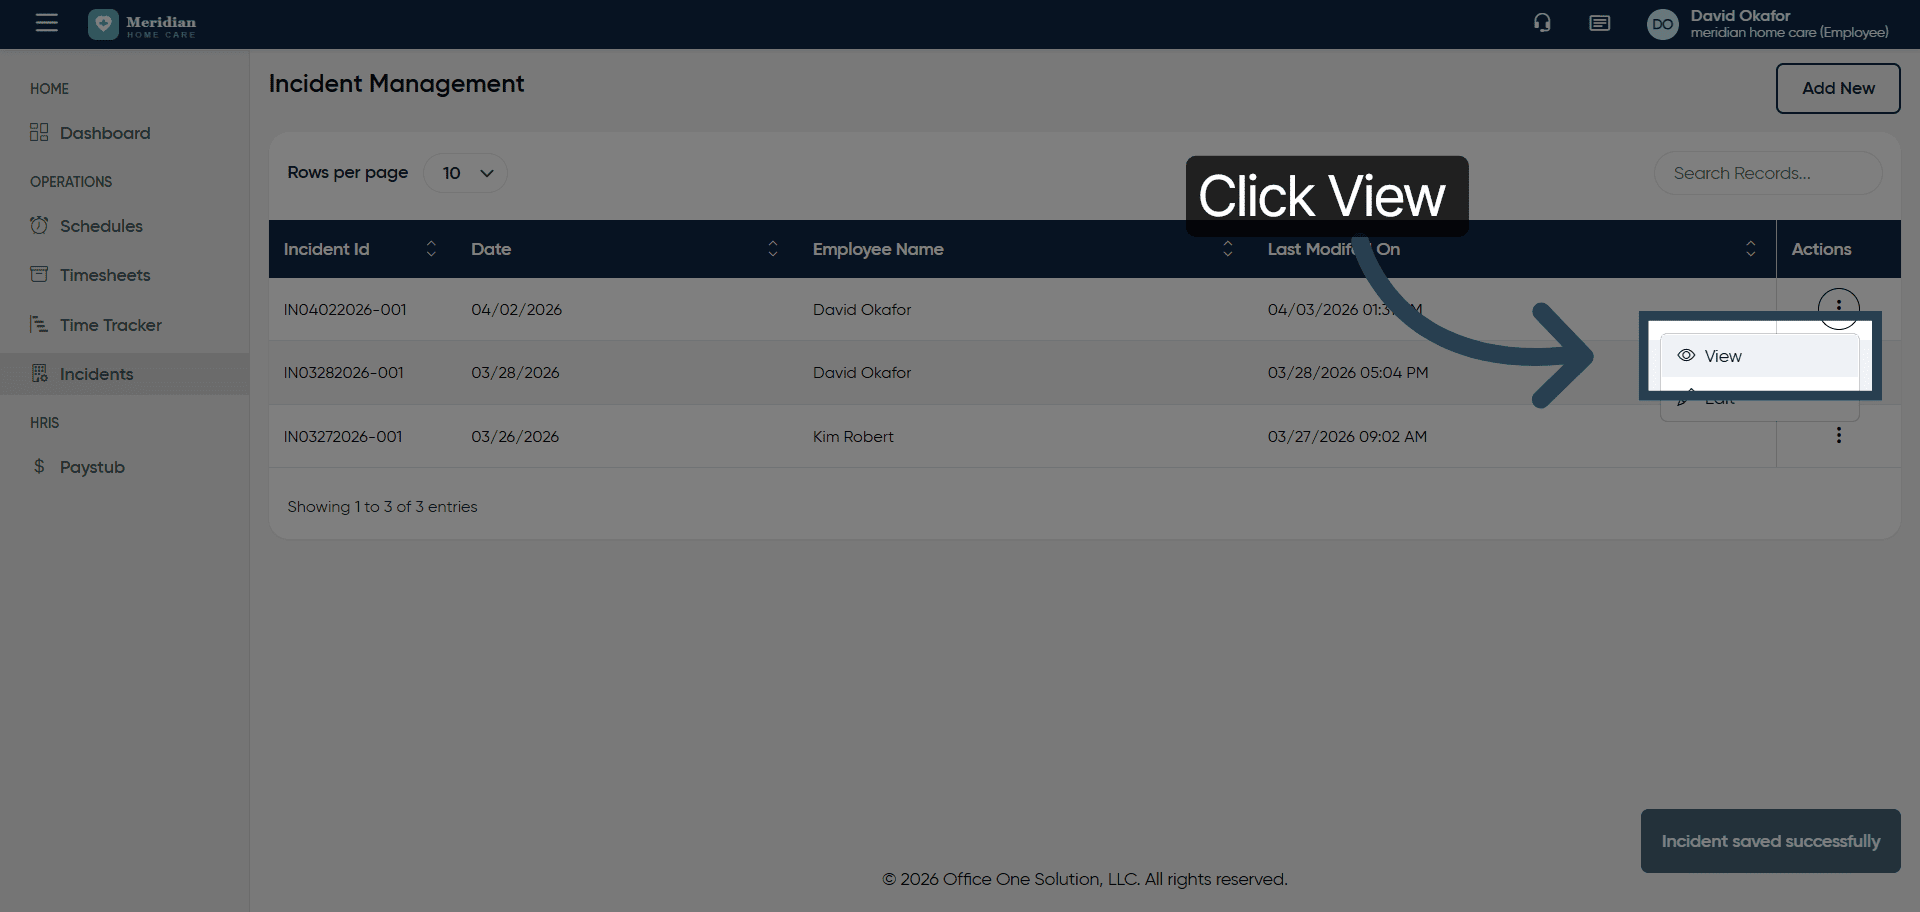
12. View Incident Details
Click “View” to see the full details of the incident record.
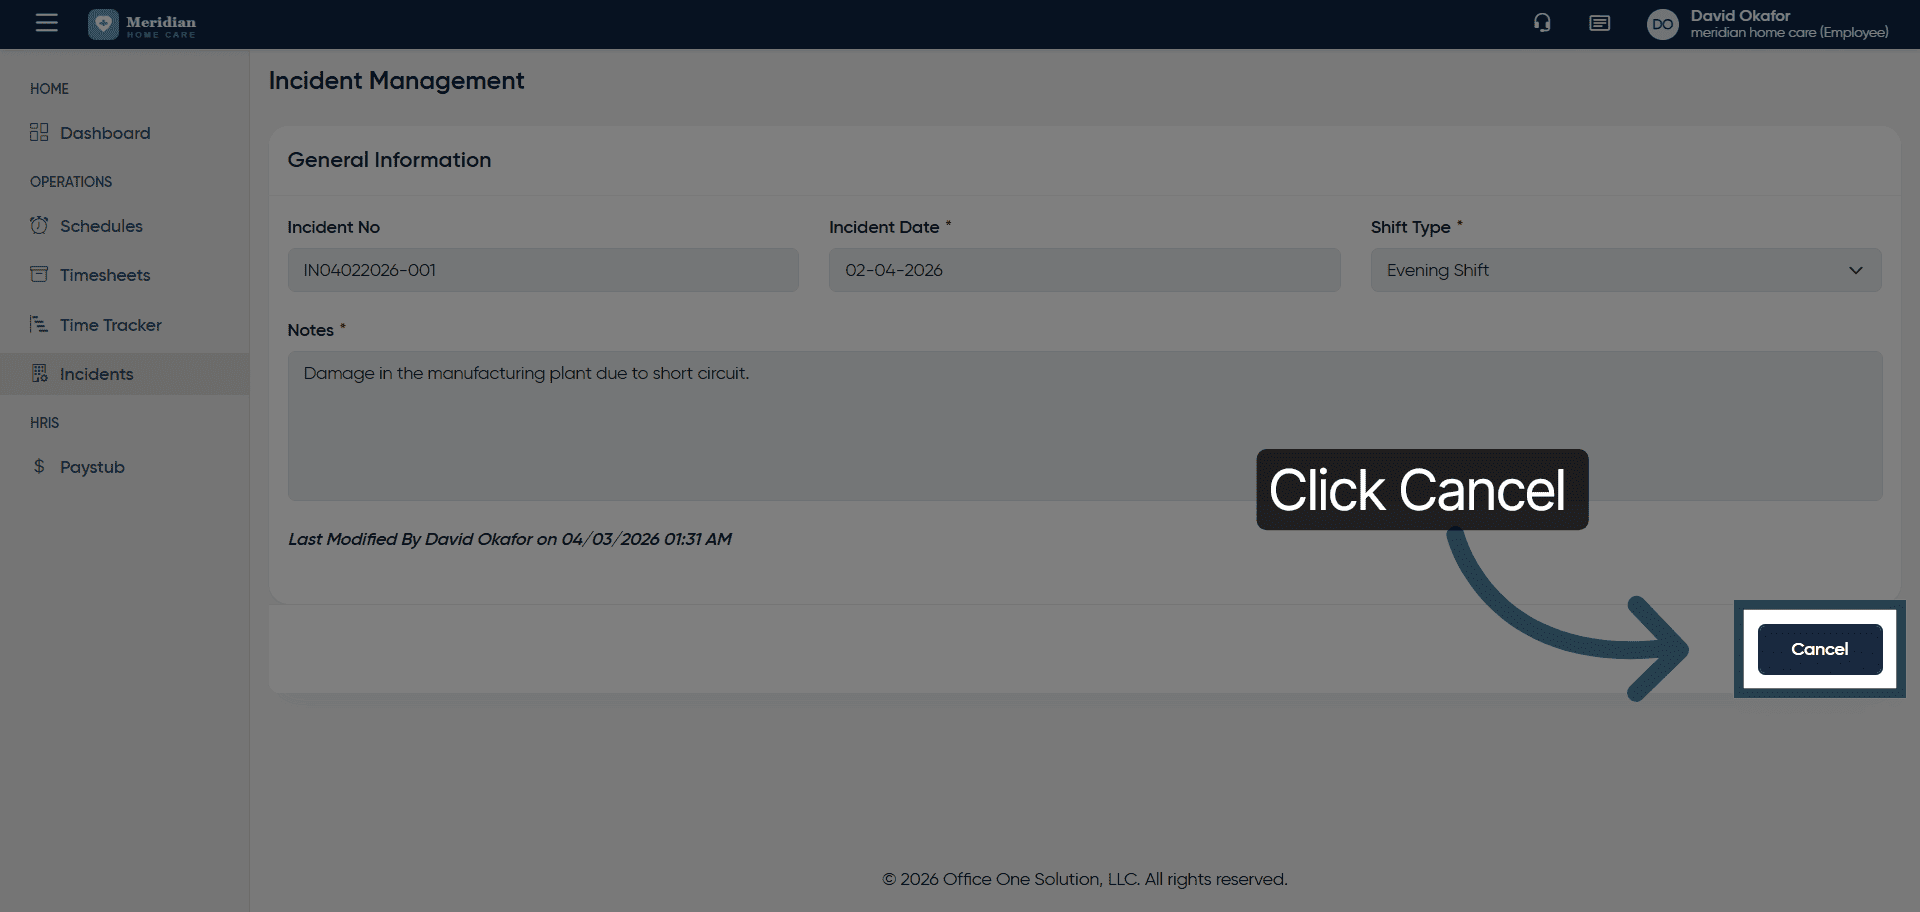
13. Cancel Current Action
Click “Cancel” to exit from the screen
14. Access Edit Mode
Click here to enable editing of the incident record.
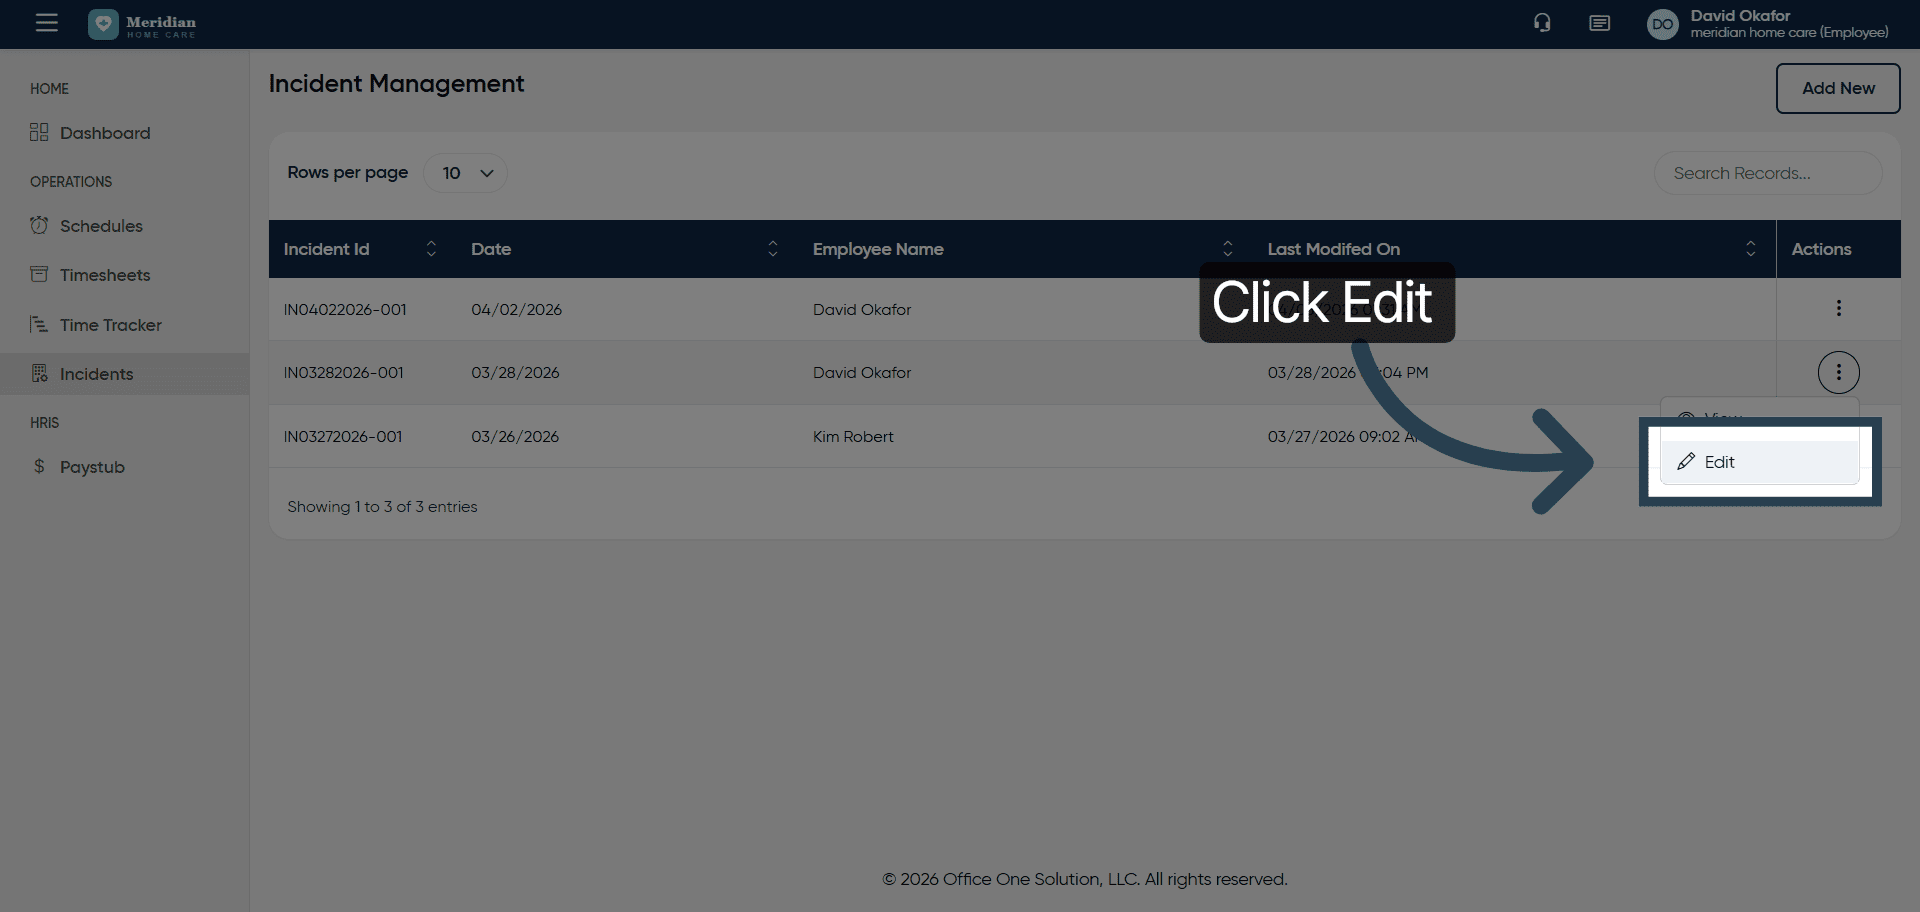
15. Select Edit Option
Click “Edit” to modify the incident information.
16. Select Incident Description
Edit the required informatio
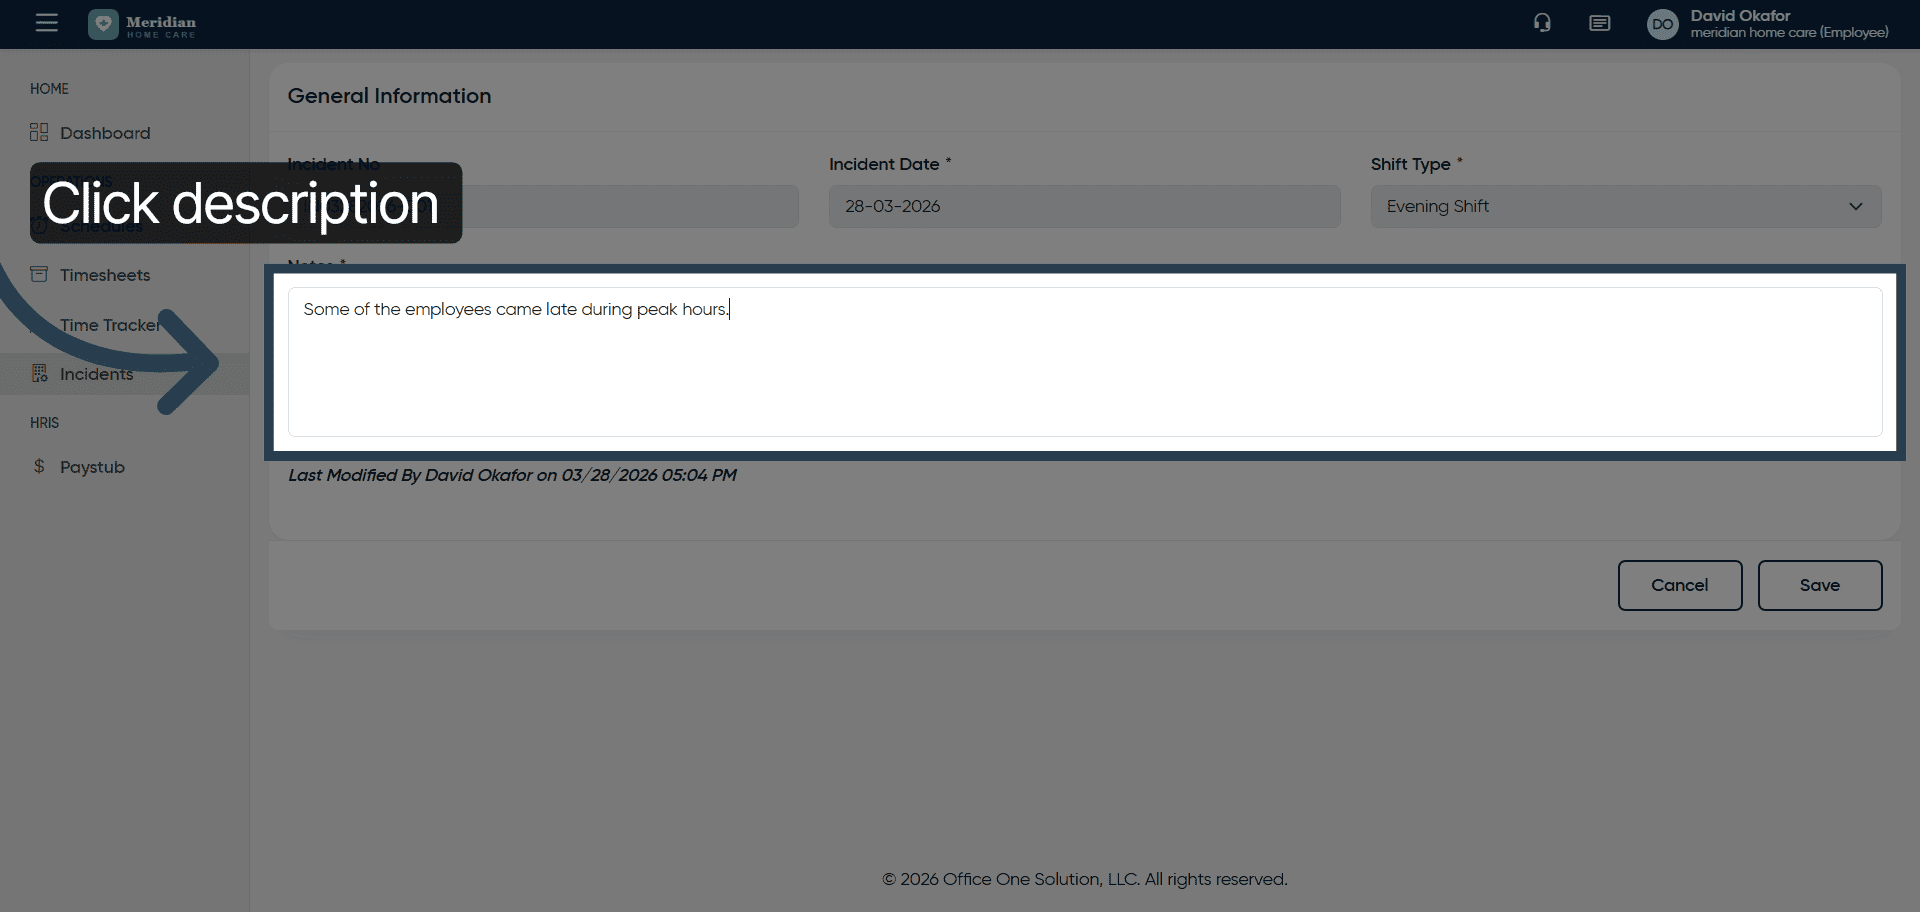
17. Update Incident Description
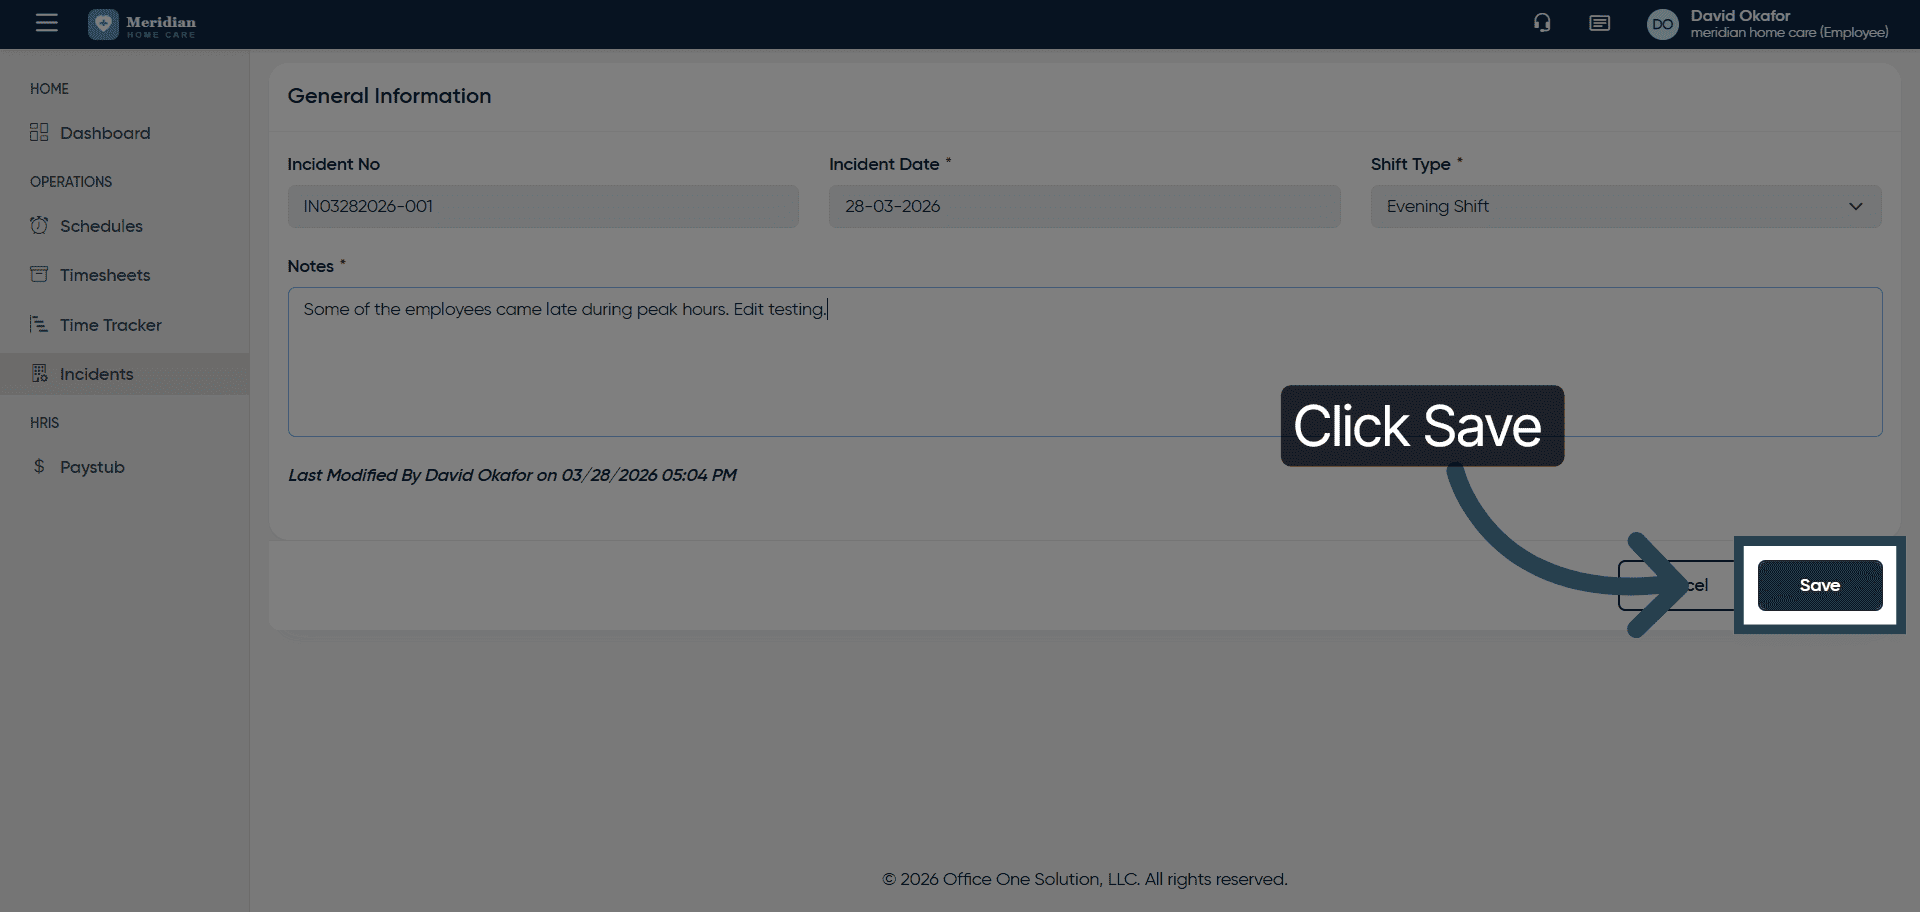
18. Save Updated Incident
Click “Save” to apply the changes to the incident record.
You have successfully managed incident records by adding new entries, viewing details, editing descriptions, and saving updates in OfficeOne.